Murukku Recipe (Murukulu)
Updated: December 13, 2022, By Swasthi
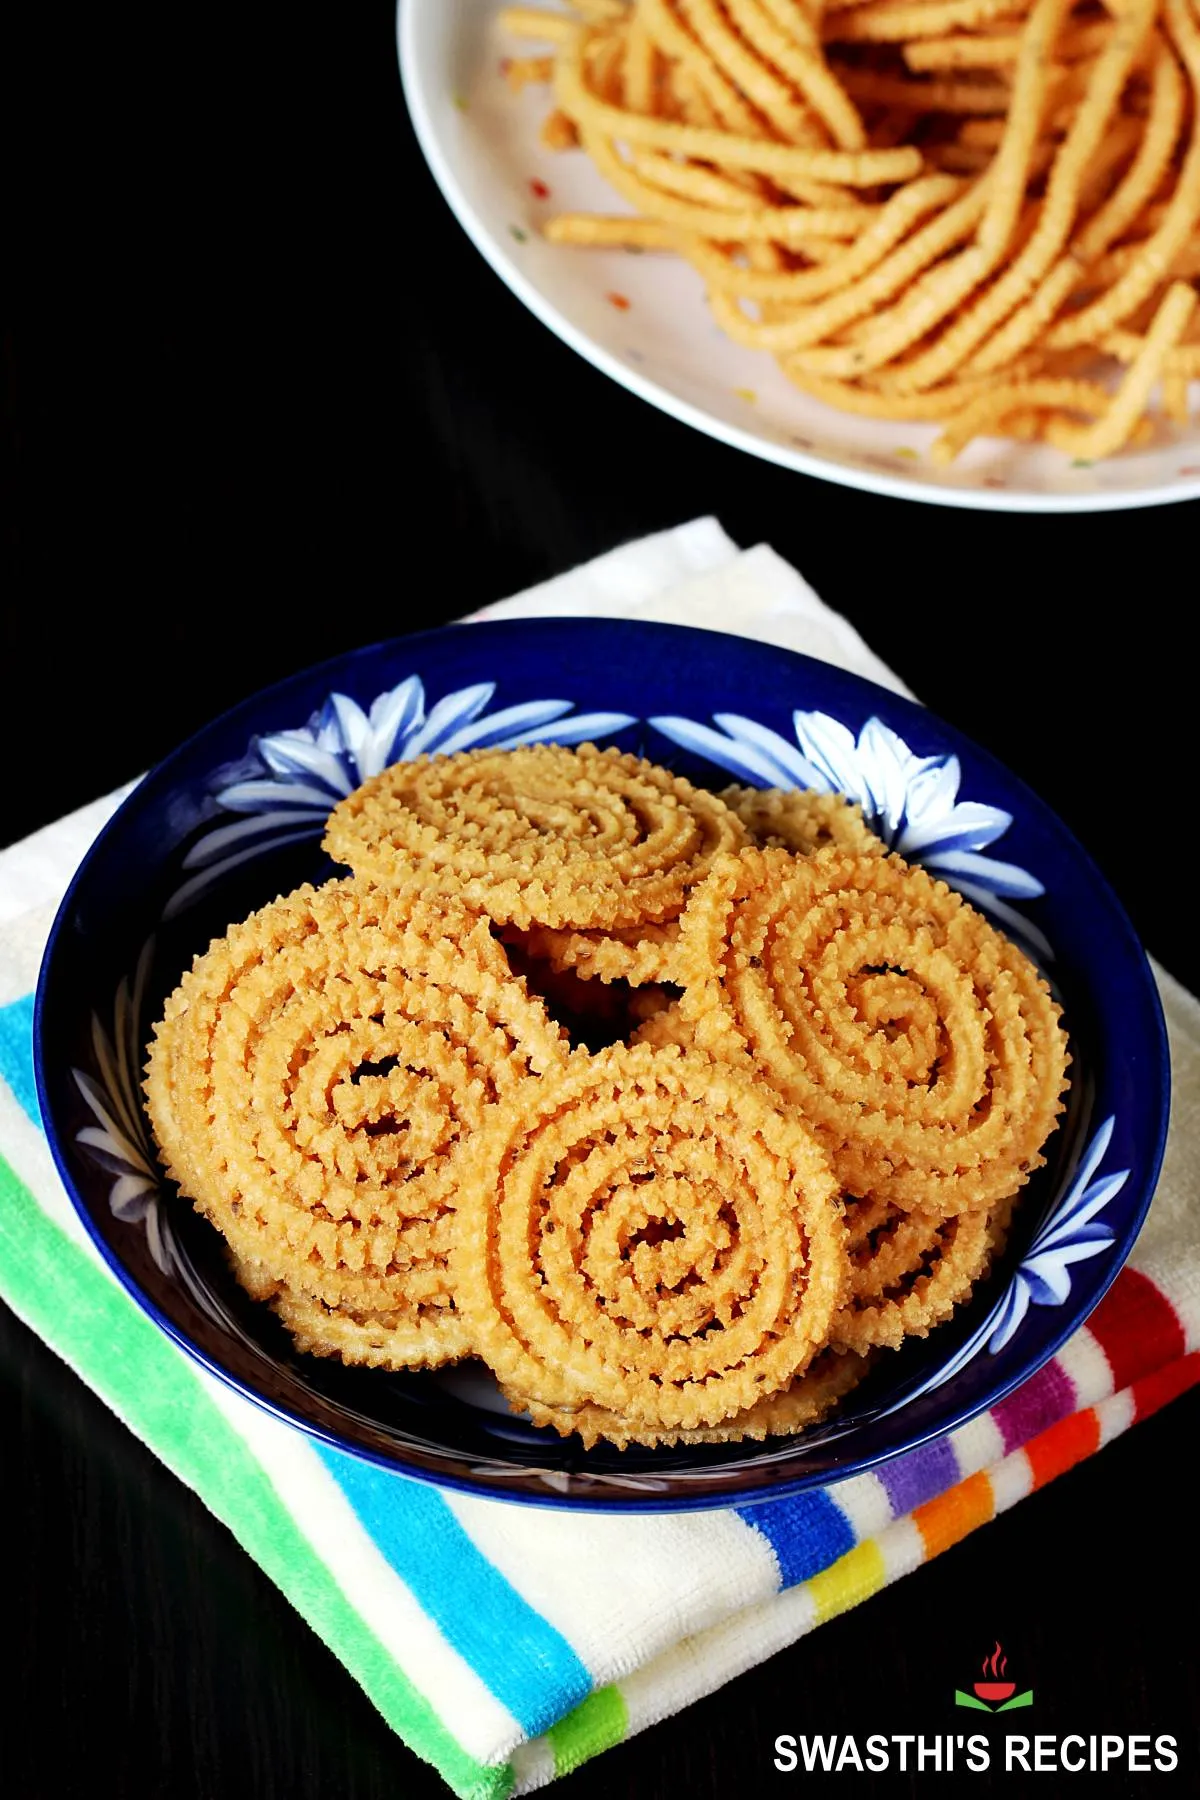
Murukku also known as Murukulu is a crunchy and flavorsome deep fried snack made with rice flour, dal flour and spices. In South India, Murukku is traditionally prepared during festivals like Diwali, Sankranti and Dasara/ Vijayadashami. In this post I share the recipe to make the classic version of Murukku that are not only crunchy and delicious but are also downright addictive. You will also find many troubleshooting tips to make the dough, shape and fry the Murukku perfectly every single time. I also share a sweet murukku recipe towards the end of this post.
About Murukku
Murukku is a South Indian round spiral shaped fried snack made with rice flour, urad dal flour and basic spices like red chilli powder, hing, sesame seeds, salt and ajwain. The name “Murukku” is derived from a Tamil word for twisted. Since the dough is twisted to make round shaped spirals, it is known as Murukku.
These are also known as Murukulu and Chakralu in Andra Pradesh. The same dough made in concentric layers is known as jantikalu. Chakli is a similar snack made in Karnataka and Maharashtra but the ingredients are different.
Though traditionally Murukku is made with rice and urad dal flour, you will find the modified versions/recipes with many different kinds of cereal grains, lentils and nuts.
Since these are also a popular tea-time snack made all-around the year in South Indian homes, many home cooks have come up with their own versions where you will even find ingredients like coconut milk, roasted peanut paste, yogurt and spiced buttermilk being used to make the dough.
Found in many Bakeries and farsan shops across the South, you will be surprised at the numerous murukku flavors available. There are many versions of these spiral savories, each tastier than the previous.
Why Homemade?
But homemade is the best because we have the option to use the best organic ingredients especially oil. Homemade murukku stay fresh longer than the store bought ones.
In this post I have also shared a sweet murukku recipe. Please find it at the end of the post.
Murukku Maker Vs Plastic Bag
To make these at home we need a murukku maker which is easily available online or you can simply use a plastic or piping bag. Also most Indian stores have them. With the plastic bags, you can make the murukku much the same way but they won’t have the mullu on them.
Murukku is made with the murukku maker using specific discs that have a star shaped hole through which the dough is released when we press down the murukku maker.
My Recipe
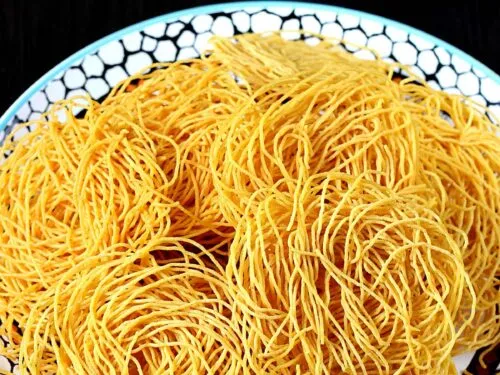
This is an old and classic recipe followed by many South Indian home cooks and can be made in two ways. One is the traditional murukku style with closed spirals. The other is the concentric layers of jantikalu.
It is both similar to Karnataka style chakli as both use rice flour, but different as it contains urad dal flour instead of fried gram or chatni dal flour. It uses minimal spices unlike the normal chakli.
This tasty, fried snack stays fresh for a month, if you store it properly. Pack it for road trips or picnics, and simply munch on the go.
More murukku recipes
Karasev
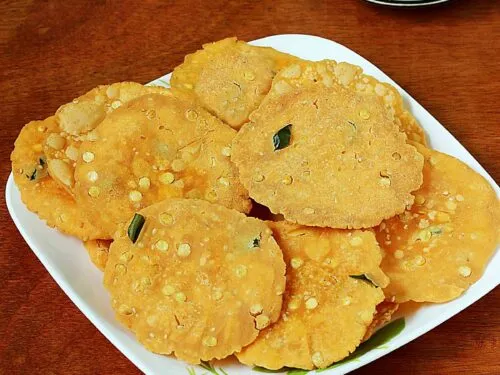
Thattai recipe
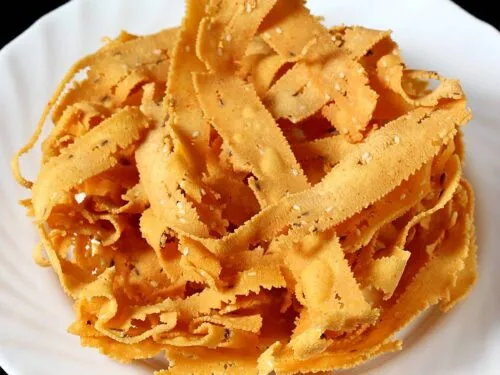
Ribbon pakoda
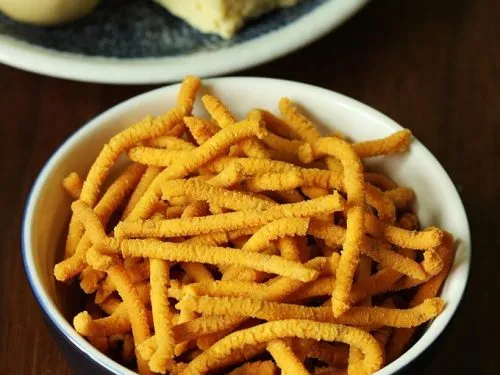
Omapodi/ sev
Chakli
You may like to check this collection of Diwali snacks recipes and Diwali Sweets recipes.
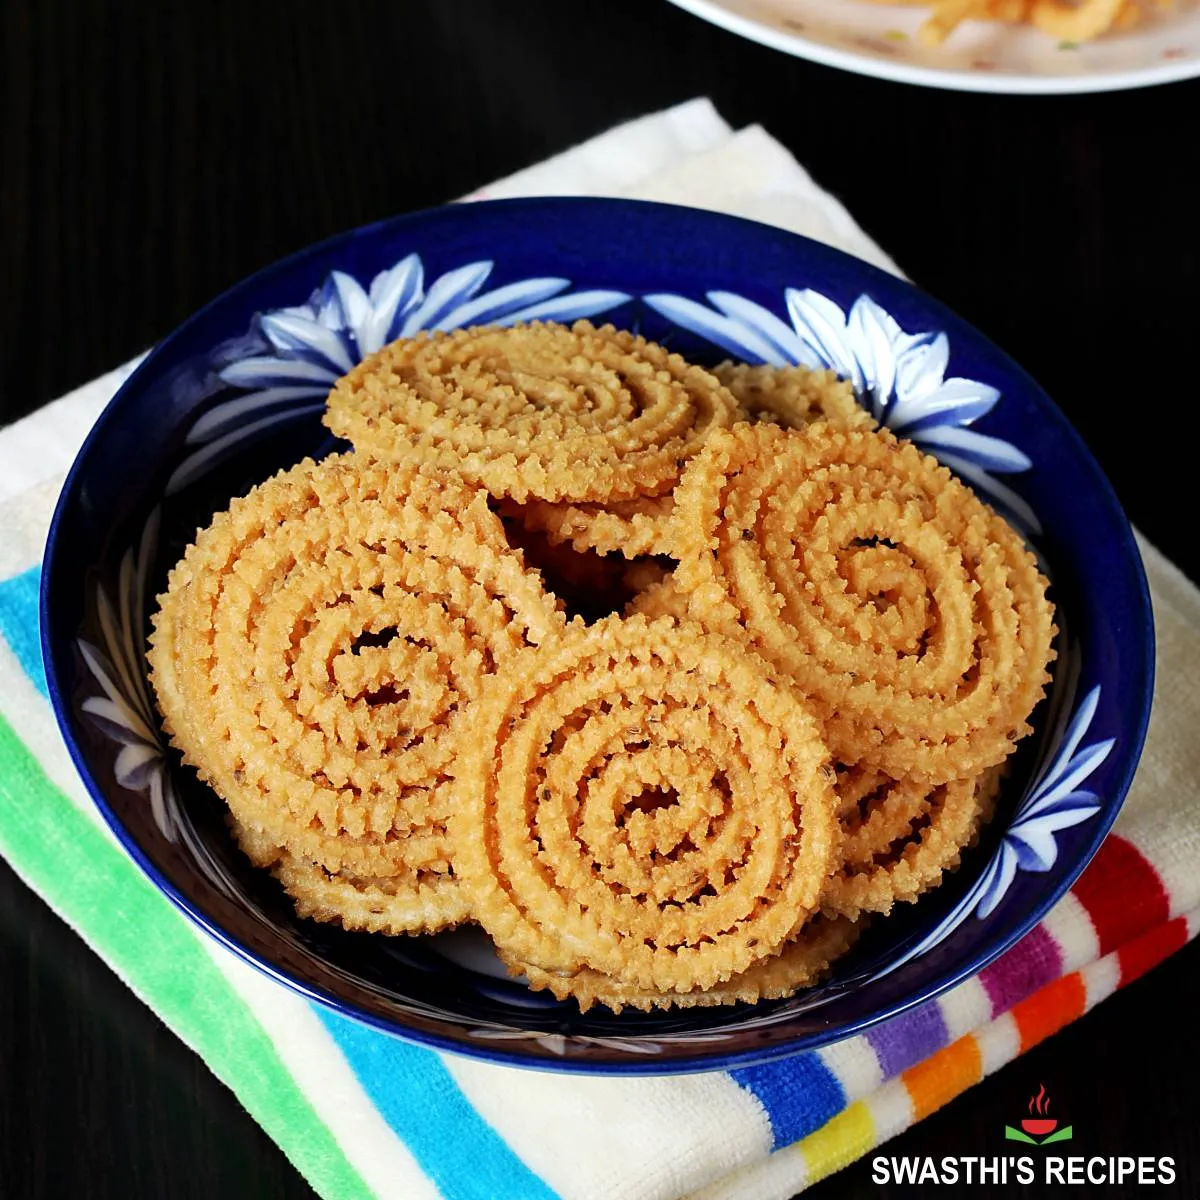
Photo Guide
How to make Murukku (stepwise photos)
Prepare the Ingredients
Skip this dry roasting instruction if you’re using chutney dal or fried gram (pottukadalai). Powder 3 tablespoons of roasted gram or fried gram. Use the exact amount of fried gram powder as stated in the recipe – 3 tablespoons. Reserve the remaining for using in chutneys or in stir fry veggies.
1. Clean and dry roast ¼ cup or 4 tablespoons of urad dal on medium heat. Roasting is highly recommended to prevent the murukku from becoming chewy instead of crunchy after a couple of days a day or two.
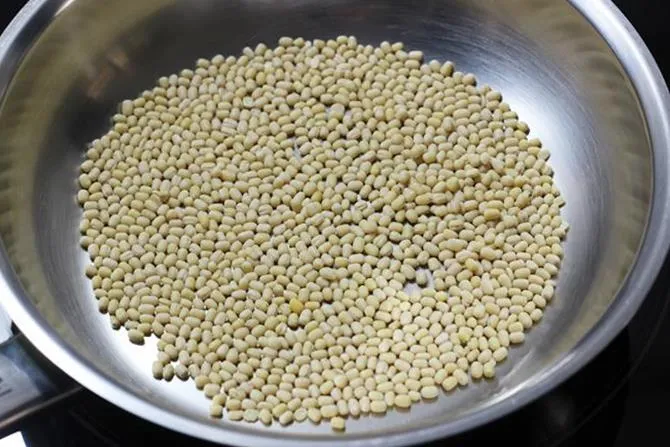
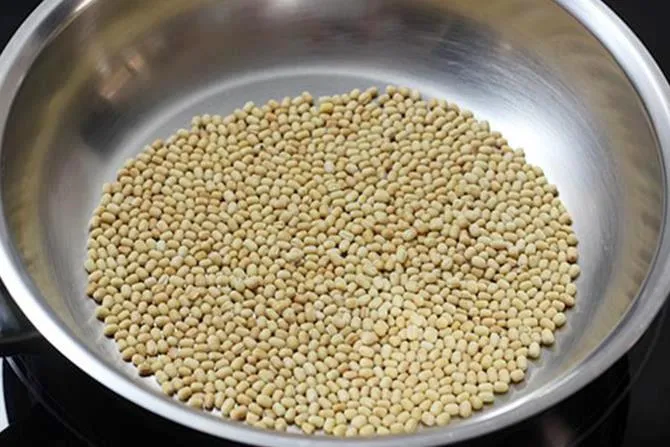
2. Keep stirring the urad dal for even roasting. When the dal turns light golden brown and aromatic, remove from heat. We don’t want to over roast and risk burning the dal.
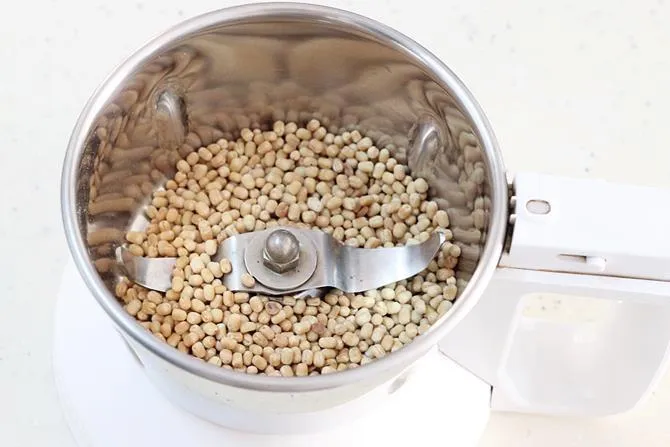
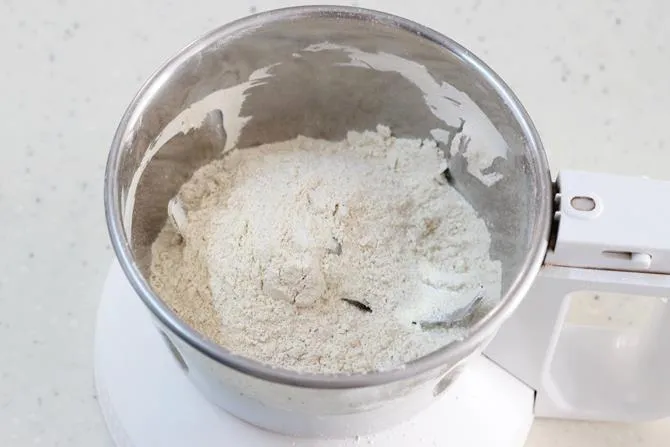
3. Cool the roasted dal and add to a blender or grinder.
4. Powder it to a fine flour. If the flour is coarse and not fine, the murukku will not be as crunchy or the murukku will break as you shape them. Measure and use only ¼ cup urad dal flour. You will have a little excess which you can add to any fritter batter.
Make the Murukku Dough
5. Add 1 cup of rice flour and 4 tablespoons of the ground urad dal flour (or 3 tablespoons of roasted gram flour) to a mixing bowl. To this add:
¾ teaspoon of carom seeds/ajwain (omam/ vammu)
½ teaspoon chilli powder (optional)
¾ teaspoon of sesame seeds/til (optional)
1/8 teaspoon of asafetida/hing (optional)
½ teaspoon of salt
I didn’t add sesame seeds or red chili as my little kid cannot eat spicy food.
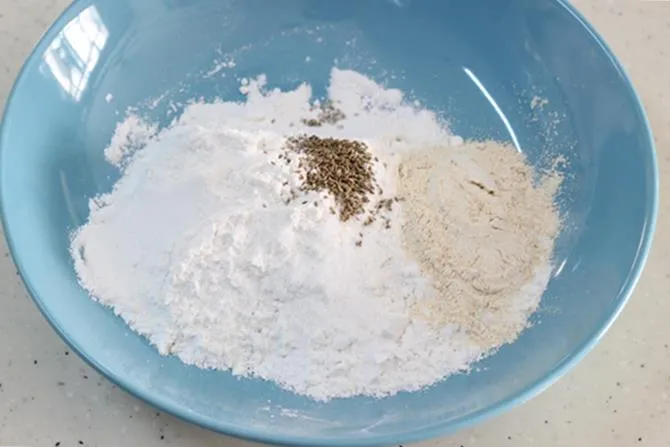
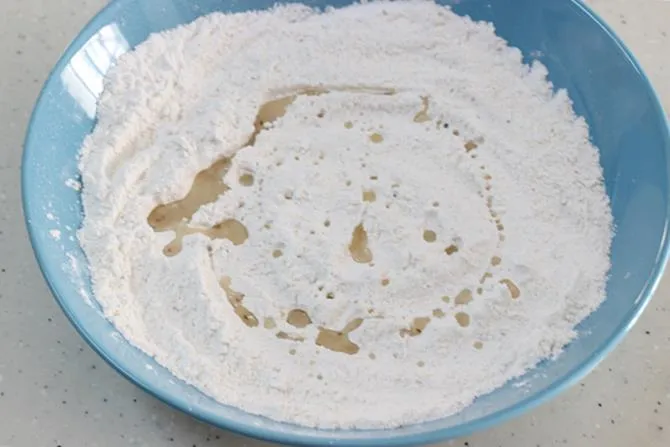
6. Mix everything to combine. Heat 1 tablespoon of oil in a small kadai and pour it into the flour mixture. Hot oil provides your murukku with a light texture. Mix again to combine with a spoon.
7. Slowly add water, start with 3 tablespoons, and keep mixing to form a dough. Add more water, 1 teaspoon at a time, as required. Make a firm but pliable dough. The dough should be non-sticky but at the same time it should not be crumbly or dry. If the dough is sticky, add a little flour and knead again. Or Add a few drops of water and mix again if it is dry.
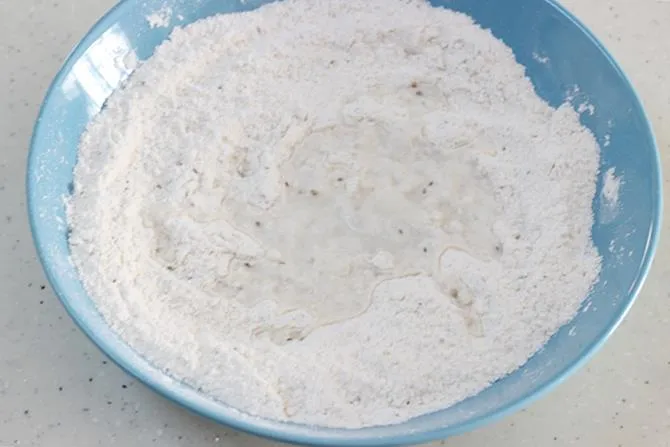
8. If the dough is sticky and soggy, it will absorb lot of oil while frying. If the dough is very dry, then murukku strands will break when you press them in shapes.
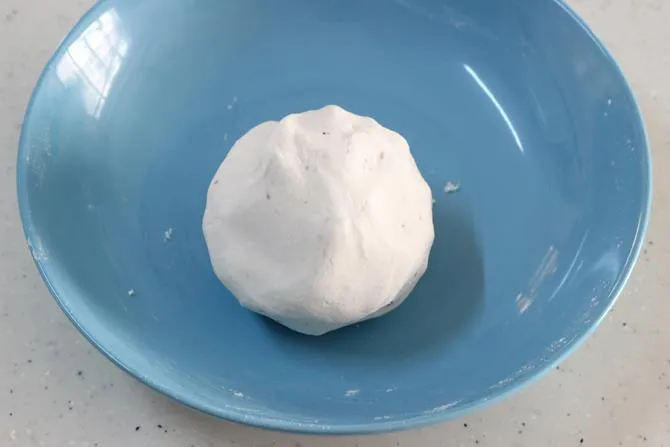
9. Grease the murukku mould, fit in the the star muruku disc or plate. Stuff enough dough inside (up to ¾ the mould) and keep it ready.
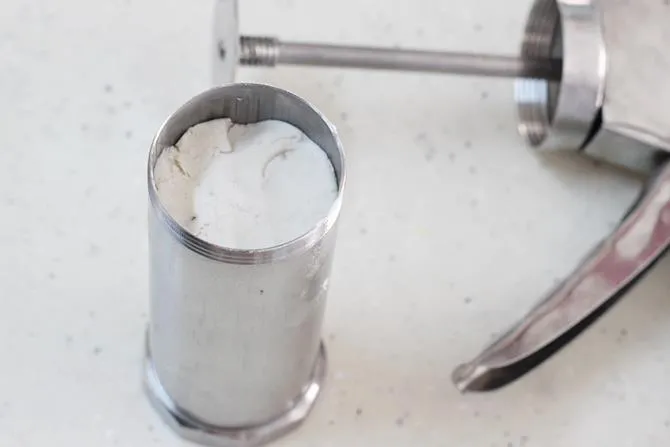
Shape Murukku
10. Press the murukku maker to release the dough and shape the dough to spirals using circular hand motions on parchment, muslin cloth or aluminum foil. Make more murukulu and cover to prevent them from drying out. Start from the inner center and move your hand in clockwise direction to make a spiral, similar to making chakli (watch the video for the exact procedure).
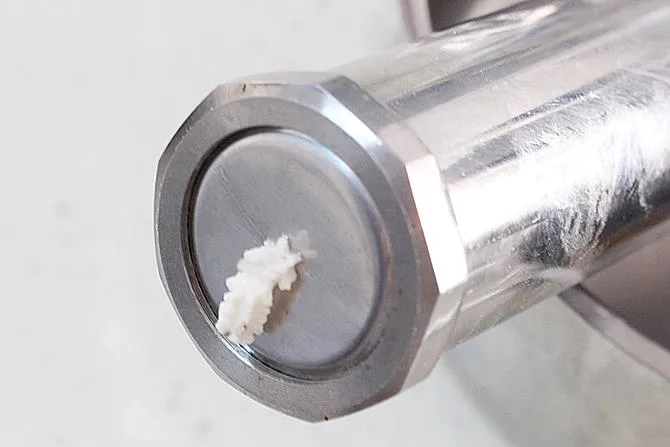
11. I prefer to use small cuts of butter paper for convenience, as it is easy to lift each murukku and drop into oil to fry.
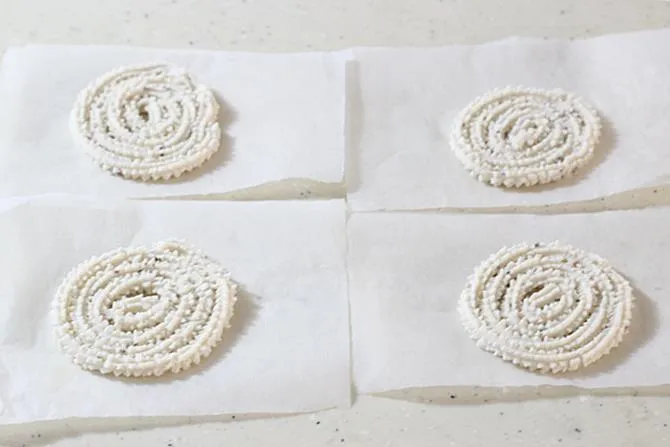
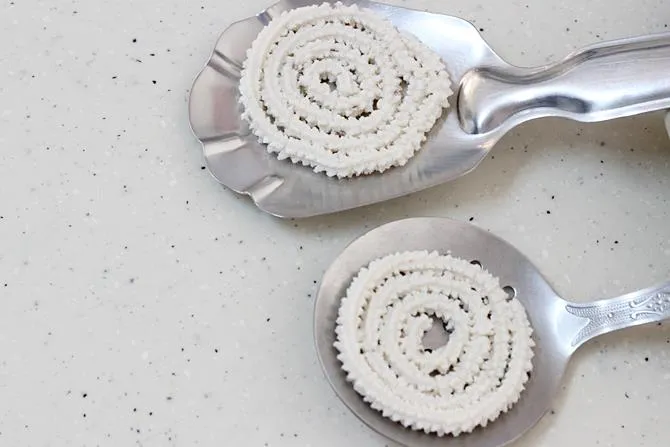
12. If you are a beginner cook, you can also make these on steel spatulas. A holed/slotted spatula works better.
Fry the Murukku
13. Heat 2½ to 3 cups of oil in a large thick bottomed pan or kadai on medium high. When the oil is hot enough, drop a small piece of dough in it. If it rises fast without browning, the oil is well heated. Gently place the murukku spatula in the oil. The murukku will automatically come out from the spatula when it is getting fried.
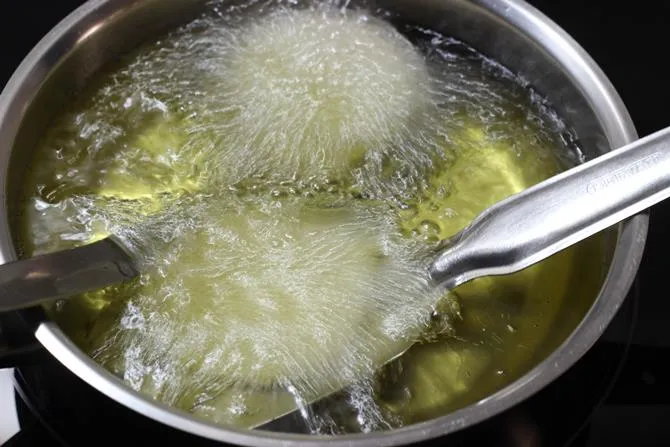
14. If you’ve made these on cloth or foil, lift them gently and drop one murukku at a time into the oil. Add 2 to 3 but don’t crowd the pan. Fry them on a medium heat until golden brown and crisp, stirring frequently. The oil bubbles will reduce when the murukku is fried well. If not fried well, it will turn chewy after 1 to 2 days, so cook it well.
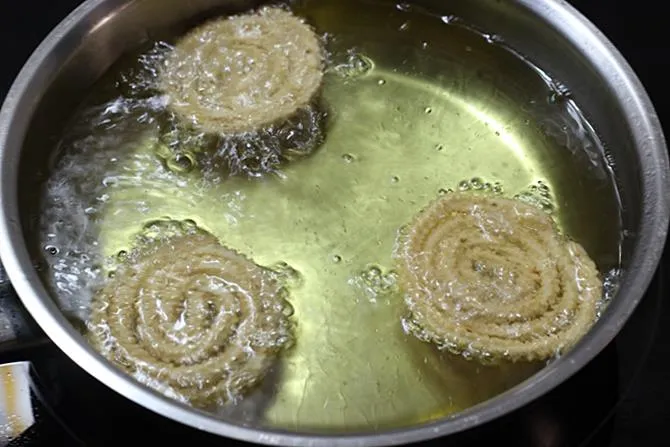
15. Drain to steel colnder. Fry the remaining murukku in batches.
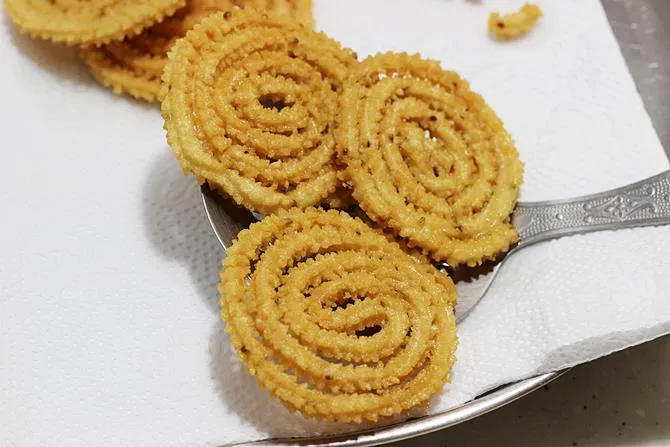
Cool murukku completely before you store in an airtight stainless steel or glass jar (avoid plastic).

How to make Jantikalu
16. The same dough is used to make the Andhra version of murukku. They require a large holed sev plate or jantikalu plate. You make layers of concentric circles directly into the hot flame.
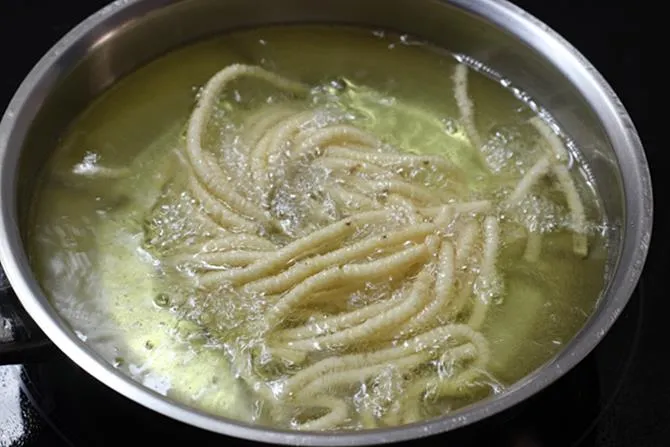
17. Fry this sev version of murukulu until golden brown stirring often. Drain to steel colander. Fry the remaining jantikalu in batches.
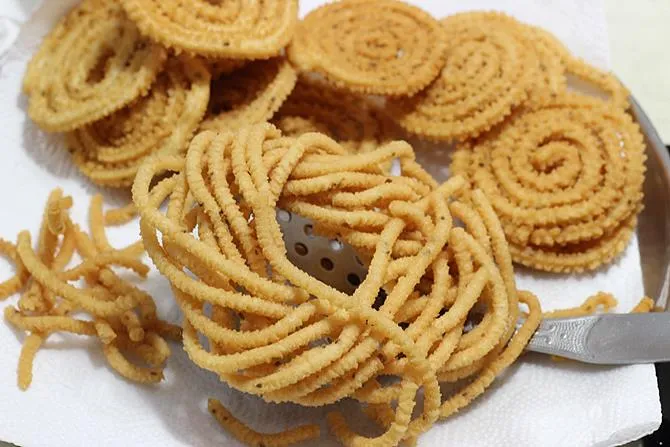
Cool completely, break to pieces and store in an airtight stainless steel or glass jar.
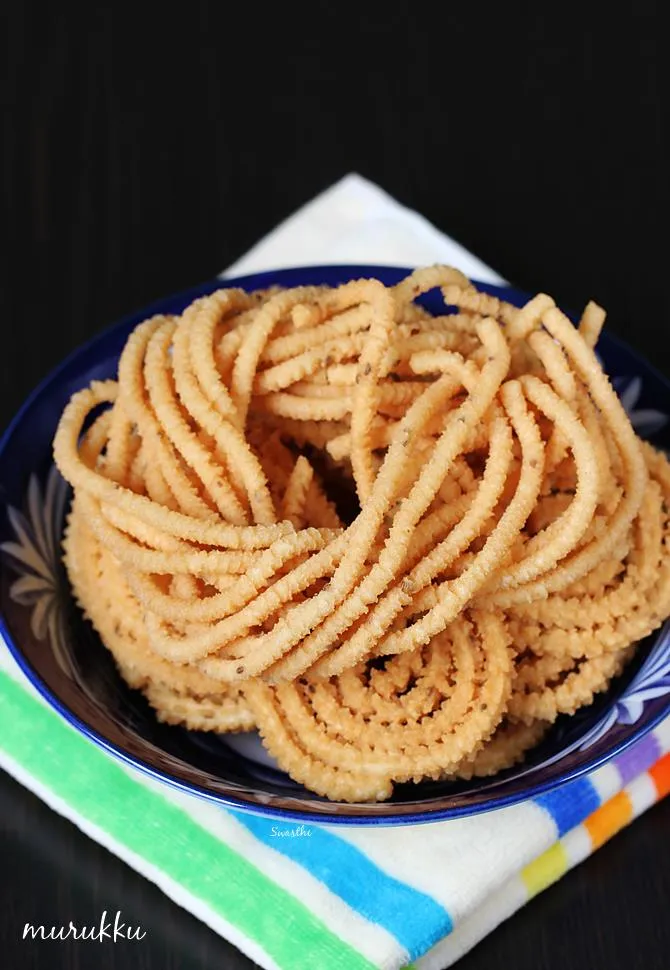
Rice Flour for Murukku
The main ingredient of murukku or jantikalu. Is rice flour. This makes or breaks the dish. And effects the final texture of your spiral snacks. Use good quality raw rice flour. It should smell good and be fine not grainy or coarse.
Traditional murukku making involves soaking of raw, short-grain rice for 1 to 2 hours, drying it for a while and then milling it to a fine flour. This method helps you get lighter and crispier murukku.
On the other hand, you may get a different result from using store bought rice flour. If you can find it in grocery stores, buy idiyappam rice flour (special raw rice flour).
Pro Tips
- Knead a firm dough that is not crumbly, hard or sticky. Too much moisture in the dough will make murukku absorb a lot of oil.
- Use butter paper, parchment paper, aluminum foil, slotted spatula or muslin cloth to make the spirals for easy removal.
- Use the dough immediately and fry the murukku. Resting the dough will make murukku oily.
- If the strands break while shaping, it is because dough is dry. Add 1 to 3 teaspoons of water to the dough and knead again.
- If you plan to make murukku with more than 2 cups of flour, then mix the dough in batches.
- Always fry them on a medium high heat otherwise murukku will turn soft after 1 to 2 days.
- If the oil is not hot enough then they absorb more oil and they turn soft the next day.
- Do not fry on high heat as it will brown fast, remain undercooked and even get burnt.
Troubleshooting Tips
- If dough is sticky, add 1 to 2 tablespoons of rice flour at a time and knead well.
- If the dough looks floury, dry or crumbly, sprinkle 1 to 2 teaspoons of water at a time. Mix the dough to the correct consistency.
- If the murukku is oily or breaks while frying, you have added more than 1 tablespoon of oil. Add 1 to 2 tablespoons of rice flour, at a time, to the remaining dough, and knead again.
- If murukku tastes hard after frying, there is less fat in the dough. Add 1 to 2 teaspoons hot oil to the dough and knead again.
- If the jantikalu tastes soft and break very easily, you have fried it on low heat. Increase heat to medium and fry the remaining batches.
Related Recipes
Recipe Card
Murukku Recipe
For best results follow the step-by-step photos above the recipe card
Ingredients (US cup = 240ml )
- 1 cup rice flour (good quality fine flour
- 4 tbsp urad dal (or 3 tbsp roasted gram flour or pottukadalai)
- 1 tbsp hot oil
- ¾ tsp sesame seeds
- ¾ tsp carom seeds or ajwain or omam or vaamu
- ½ tsp salt or as needed
- ½ tsp red chili powder or as needed (optional)
- 1/8 tsp asafoetida or hing (optional)
- 2.5 to 3 cups oil for deep frying
Instructions
Preparation
- You can use urad dal or roasted gram for this recipe. If using roasted gram, just blend 3 tbsps and use only 3 tbsps powder in the recipe.
- If using urad dal, dry roast 4 tbsps urad dal on a medium heat until lightly golden.
- Cool and make a fine powder. If the powder is not fine then sieve it.
- Use only 4 tbsp flour from this. You will be left with little more.
- Grease the murukku mould with little oil. Also grease the star shaped plate.
Making murukku dough
- Add 1 cup rice flour, 4 tbsps urad dal flour (or 3 tbsps roasted gram flour), ¾ tsp ajwain, salt, ¾ tsp sesame seeds to a bowl and mix well.
- Next heat 1 tbsp oil in a small pan and pour it to the flour. Mix well.
- Pour water little by little, just enough to make a smooth dough.
- Do not add too much water at one time. Too much water in the dough will make the murukku absorb lot of oil.
- Mix the flour to dough and do not knead. The dough has to be non sticky & without crumbs.
- After mixing the dough it has to be used immediately do not rest it otherwise murukku will absorb lot of oil.
How to make murukku
- Heat oil in a kadai on a medium heat. (Pls refer to tips in the post intro)
- Fill the mould with dough.
- Press the mould to make spirals either on a cloth, butter paper, foil or flat holed ladle.
- Set the flame to medium high.
- Check if the oil is hot enough by dropping a small portion of the dough to the hot oil.
- The dough must not sink but has to rise steadily without browning. This is the right heat.
- If the oil is not hot enough murukku will turn soft after a day or two.
- Place the murukku laddle in the oil or remove the murukku and slide it gently to the hot oil.
- Fry until golden and crisp on a medium high flame.
- Drain them on a kitchen tissue to remove excess oil.
- Cool the murukku completely. Store murukku in a airtight jar.
Notes
NUTRITION INFO (estimation only)
© Swasthi’s Recipes
Murukku Recipe first published in October 2015. Updated and republished in November 2021.
Sweet Murukku Recipe
I have also shared a sweet murukku recipe in this post. If you are a beginner please watch video before trying so you don’t go wrong.

Sweet Murukku Recipe | Manoharam Sweet Recipe | Bellam Kommulu
For best results follow the step-by-step photos above the recipe card
Ingredients (US cup = 240ml )
- 1 cup besan / chickpea flour / senaga pindi
- ½ cup rice flour
- 1 tbsp butter softened or hot oil
- pinch salt
- Water as needed to make dough
For jaggery syrup
- 1 ½ cups Jaggery powdered or grated (I used organic jaggery)
- Water as needed (I Used about ½ cup to make syrup)
- ½ tsp cardamom powder / elaichi powder
- Oil as needed for deep frying
optional spice powders (use any one)
- 1/4 tsp dried ginger powder
- pinch nutmeg or mace powder
Instructions
- Heat oil in a kadai on a medium heat for deep frying. While the oil heats prepare the dough to make murukku.
- Mix together flours, salt and butter in a bowl. Add water little by little as needed and make a smooth non sticky dough.
- Grease the murukku maker and fix the round wholes plate. Fill the mould with the dough.
- Check if the oil is hot enough. Drop a small flat piece of dough to check if the oil is hot enough. If the dough rises steadily then the oil is hot enough. If the oil is not hot enough the dough will not rise instead sinks in the oil.
- Press the mould directly over the hot oil and fry on a medium heat. Do take care as the oil is very hot.
- Allow to fry until golden and crisp. When the murukku is done, you will see the bubbles will reduce.
- Drain them to a large plate and continue to make the next batch. With this recipe you can make about 2 to 3 very large murukku discs.
- Cool these completely. Break them to 2 inch pieces. Transfer them to a air tight jar and keep covered.
Making jaggery syrup for manoharam sweet
- Add jaggery and water to a large pot or bowl and heat it until all the jaggery dissolves.
- Filter it to a wide pan for boiling the syrup. Get a small bowl ready with some water in it to check the consistency.
- Boil the syrup on a medium heat until the syrup reaches a soft ball consistency.
- When the syrup turns dark and thick, you will need to keep checking for the right consistency.
- Drop about 1 tsp full of syrup in the cold water. Wait for 30 seconds. Try to make a ball with it. If you get a soft ball then the syrup is ready.
- Switch off the stove and take it away from the hot burner.
- Add cardamom powder and other flavoring ingredients you desire.
- Stir well. Add half of the cooled murukku to the pan. Coat the syrup well to the murukku. Be gentle while you do this as the murukku may tend to break.
- Drain off excess syrup and transfer them to a wide tray. If you prefer to make balls, then wait until the sweet murukku cools down a bit yet warm.
- Moisten your palms with little water, take small portions and roll them to balls. Allow these to cool down completely. It may take several hours to dry completely. It took about 3 hours for me to dry completely.
- Sweet murukku if prepared correctly will be dry and not sticky after drying.
- Store them in a air tight jar and finish within 10 days.
Video
NUTRITION INFO (estimation only)
© Swasthi’s Recipes
About Swasthi
I’m Swasthi Shreekanth, the recipe developer, food photographer & food writer behind Swasthi’s Recipes. My aim is to help you cook great Indian food with my time-tested recipes. After 2 decades of experience in practical Indian cooking I started this blog to help people cook better & more often at home. Whether you are a novice or an experienced cook I am sure Swasthi’s Recipes will assist you to enhance your cooking skills. More about me
Follow Swasthi’s Recipes


Comments
I tried it first time, it came out so good 😊 thanks for the tips love from 🇺🇸
Very good recipe.
Awesome recipe!! Love the recipe and you for posting it and explaining so well!! Thankyou dear Swasthi!
Whenever I want to try something new, I always look out for your recipes cause I find it easy to follow.Images and step by step method really help. Plan to make murukku when time permits. Thx
Thank you so much! Hope you enjoy the murukku
Today i tried making it…it came out well and crispy….i followed ur recipe step by step… thank you ☺️
Wow… today i tried making it… followed ur recipe step by step….it came out really well…so crispy nd tasty…. thank you
Thank you for this recipe. Tried it today- it turned out good. Your step wise pictures and tips were helpful. Used store bought rice flour this time. Maybe next time i will use homemade rice flour.
I tried the murukku today. I followed your recipe. Murukku turned out beautiful. Tq . For besan flour murukku, should the besan flour be roasted too?
Glad to know! No we don’t roast besan. I have a recipe for besan sev here.
Hi…. thanks for this amazing recipe..I could make them like a pro…? My daughter just can’t stop eating it.. everyone loved it.,
Hi Swasthi,
I tried your recipe.. It was great! Loved it. May I ask about the nutrition facts? What is the intended serving size for 137 calories? Will appreciate the detail on that.. Thank you!
Hi Valar
Glad to know! Total number of murukkus divided by 12 will give you the serving size. The nutrition is for each serving size. Hope this helps
Hi Swasthi,
I was frying stripes instead of making them in circles and there was hot oil splashing all over the place. Luckily it did not fell on me.what could be the reason for that? I have never experienced this ever.
Regards,
Renuka Devi
Hi Renuka,
Too much butter in the dough can cause that but there is no butter used in this recipe. The other reason can be the homemade rice flour. Usually rice is rinsed, dried and then milled. If there is moisture in the flour, the murukku can burst. So many people roast the flour to completely dry it. Then use it. Not sure what would have caused this It has never happened to me.
Hi Swasthi,
I have been trying most of your recipes and never ever failed or turn Other way so far.
In this fast phrase live styles, everything has been placed in readymade or store bought easily due to save time to rest. Usually I use readymade Murukku Flour pack from grocery store. For a change this year I planned to make it traditional way with no ready made ingredients. So first strike me is your page for the recipe. And I made it on the same day I read out your recipe. Very Well I have to sincerely thank you for making my first homemade Murukku which tastes awesome and the Best ever Murukku I made all the while. Appreciate your great shares here.
Hi Renuka Devi,
Based on my 15 years (approximately 30 to 40 times or rounds) of experience in making Murukku I can say this might happen for 2 reasons,
1st it’s maybe due to more sesame seed added and the oil is too much heat.
2nd reason is a bit out of logic (I don’t know why this happens; weird). I tried this to analyze but still not sure. But it splash with pop bursting sound in all my trials. Whenever I try to fry the Murukku dough in single piece of stripes or just one pinch of the Murukku dough the dough tent to burst as what you experienced. I did this when my mom asks me to check if the oil is heated and ready to fry.. haha and I made a big mess (when I was15 years old).
I’m pretty sure it’s due to the 2nd reason. But I’m sorry because I’m not sure what is the cause.
@swasthi, maybe you can give try if the 2nd reason happens and if you could find out the cause.
Anyways my heartiest gratitude for you Swasthi.
Thank you 😊
Hi Swathi,
I tried this today it’s easy n simple n taste is also good but my murukku became soft. What is the solution?
I used store rice flour and roasted gram as per ur recipe card…
Plz reply so that I can rectify my mistake
Stay blessed ❤️
Thanks & regards
Hi Neha,
I too use store bought flour and don’t roast it. They can turn soft, if they are not fried well. They should be fried on a medium heat. Just refry them. Start with medium hot oil and refry on medium to medium low heat. Please note doing on high flame will brown them immediately. Hope this helps.
Hi swasthi my murukku came out harder..what is the solution to make soft murukku
Hi Neha,
They will come out hard if fried on low flame. What kind of flour did you use?
I used rice flour only didn’t mix Urad dal
Without urad dal they will come out hard. Pls stick to the recipe for best results
Like all your recipes this one is also simple and best . Your recipes are not only limited to us , our children will also learn your recipes. God bless you. Happy Ganesha Chaturthi.
Happy Ganesh Chaturthi to you all as well.
Thank you so much for the wishes.
Glad to know the recipes are useful
🙂
Very easy to prepare.. Tastes good.. Can prepare in no minute..Thank you Swasthi for Sharing your recipe:-)
How much oil or how many ml oil can we have to for murky frying. You will mention oil of deep frying items. Pour please mention
I like all recipes.
Hi Manjula
It depends on the size of your kadai. You can use about 2.5 to 3 cups.
Excellent. My first time making Murukku and it was just delicious. 5 stars
Thank you!
Nice recipe ,it is very easy to make chakli,all ingredients r available at home need to my outside .Quick and very easy recipes thank you
Welcome Sushma
U r amazing ,sister
Really appreciate for guiding us with perfect tips
Thank u for giving us such confidence
Wishing u and ur family a very happy DIWALI
Hi Krithika,
You are most welcome. Thank you so much for the wishes. Wishing you all too a very happy Diwali.
🙂
Great help?…i followed ur recipe and it was perfect in the first go!
Glad your murukku turned out good. Thank you!
Thankyou…
I tried it today nd it came out well…
Am a regular follower of your blog. Keep going. All the best.
Hi Gayathri,
You are welcome. Glad your murukku turned out well. Thank you so much for the wishes.
🙂