Paneer Paratha Recipe
Updated: December 25, 2024, By Swasthi
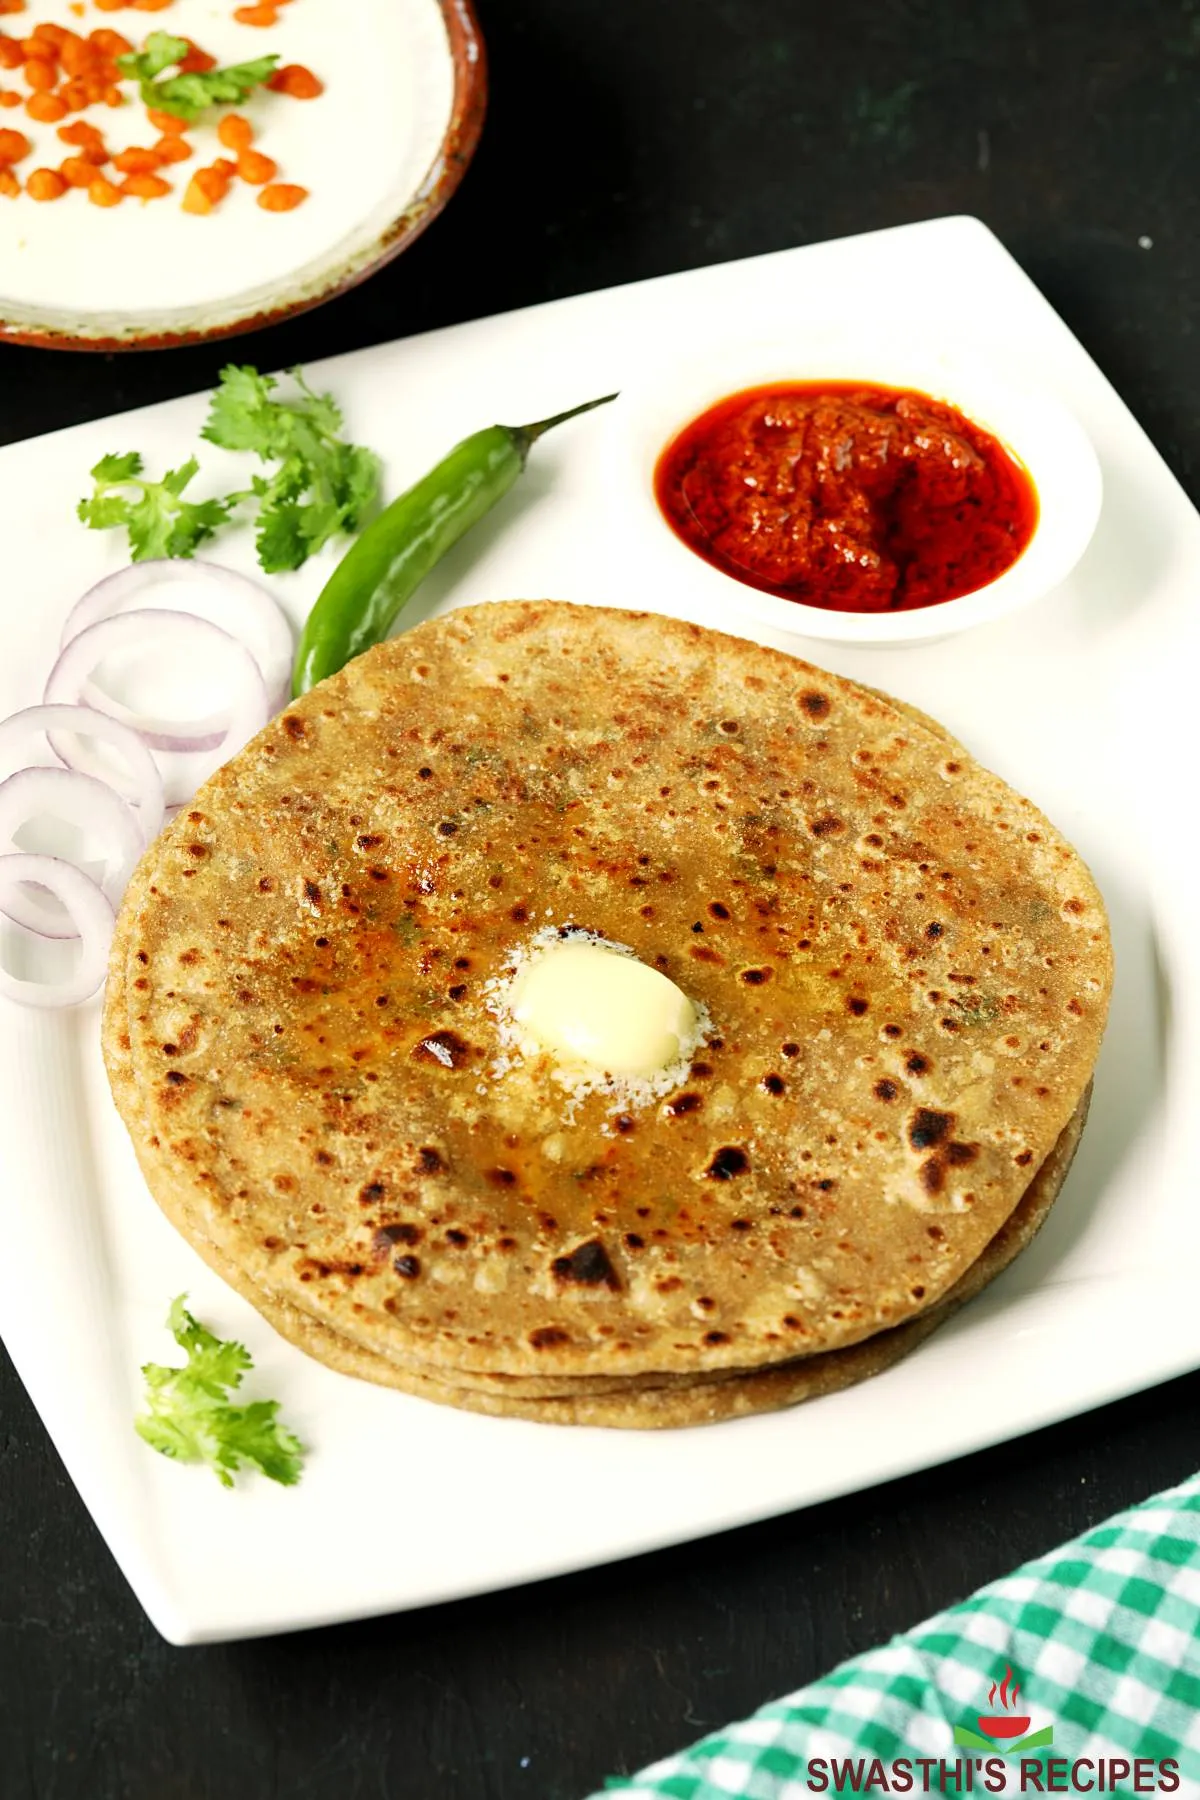
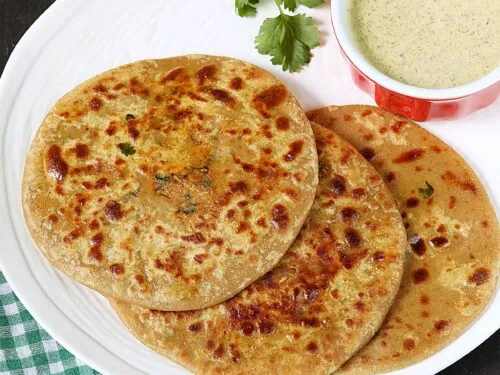
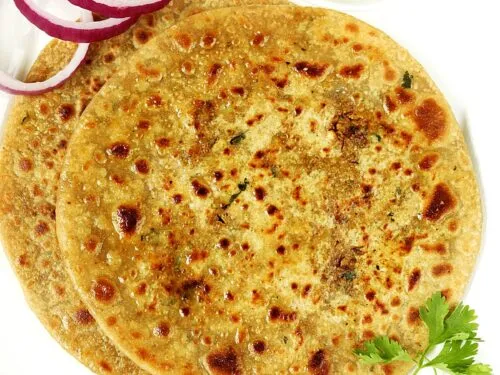
Make Paneer Paratha in 2 ways – with and without stuffing (plain but layered). I show how to stuff and roll the stuffed version in 3 ways. Paneer Paratha are popular whole wheat flatbreads with a flavorsome spiced Paneer stuffing.
If you want the best-tasting Paneer Parathas, you need to make them from scratch, exactly the way they are made in the Indian homes. Once you taste these fresh and delicious homemade Paneer Paranthas, you will wonder why you ever used the store bought.
About Paneer Paratha
Paneer Paratha is an unleavened wheat flatbread stuffed with paneer aka Indian cottage cheese, spices and herbs. These are crisp on the outside with a soft mouth-melting cheesy filling that takes you to food heaven.
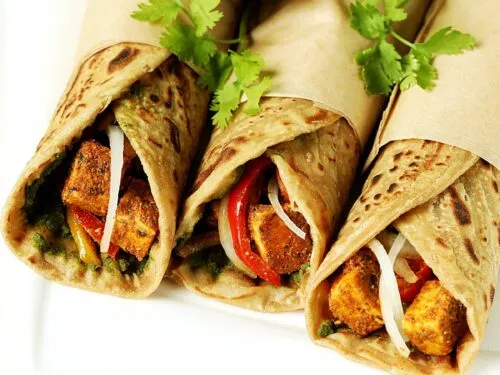
These are eaten for a breakfast but they are just great to enjoy any time of the day – lunch, dinner or even for a snack. Like Paneer Kathi Rolls, Paneer Parathas also go well in school and office boxes.
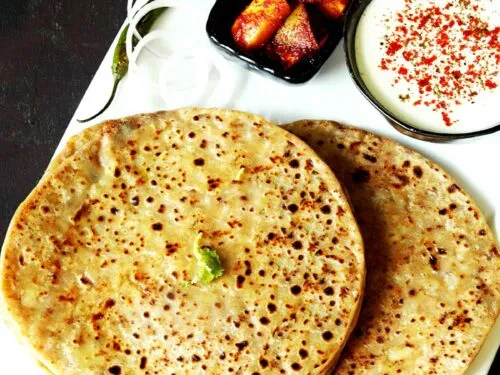
These are usually eaten with a topping of white butter, pickle, yogurt, raita or a chutney. Mango pickle, lemon pickle, homemade yogurt, Coriander Chutney, Pudina Chutney & Garlic Chutney are other great options.
Table of contents
Stuffed Vs Plain Layered
Paratha is a flatbread from the Indian sub-continent and comes in numerous forms – plain, stuffed & layered. In this post I share 2 recipes to make paneer parathas – stuffed & plain but layered.
Making the stuffed kind is a 3 step process –
- Form the dough like you do for any other parathas ex: Aloo paratha, Mooli Paratha and Gobi Paratha.
- Prepare the stuffing by simply mixing all the ingredients (no cooking involved)
- Stuff the filling into the dough balls, roll and lastly toast them with ghee or oil.
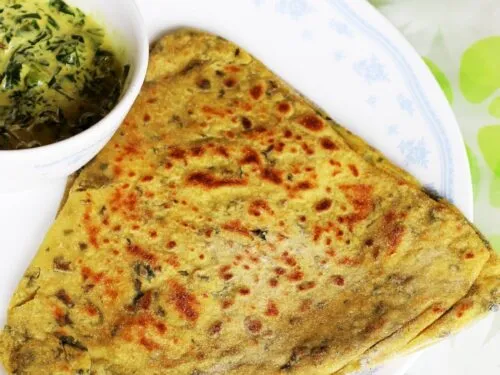
The layered paneer parathas are simpler & made with a different dough that is formed by mixing all the ingredients – paneer, flour, spices, and herbs together with water. The dough is rolled like Plain Parathas and toasted until golden & puffed.
If you have picky eating kids or toddlers just learning to eat parathas, the second recipe is great as they are less messy and easier to make. These don’t require any stuffing skills like the first recipe.
In this post I also share 3 ways to stuff the Paneer parathas below. The first method is great and your parathas won’t tear and the stuffing is evenly spread. If you are a beginner you may try out the third method. My most preferred method is the first one and I show that in the video.
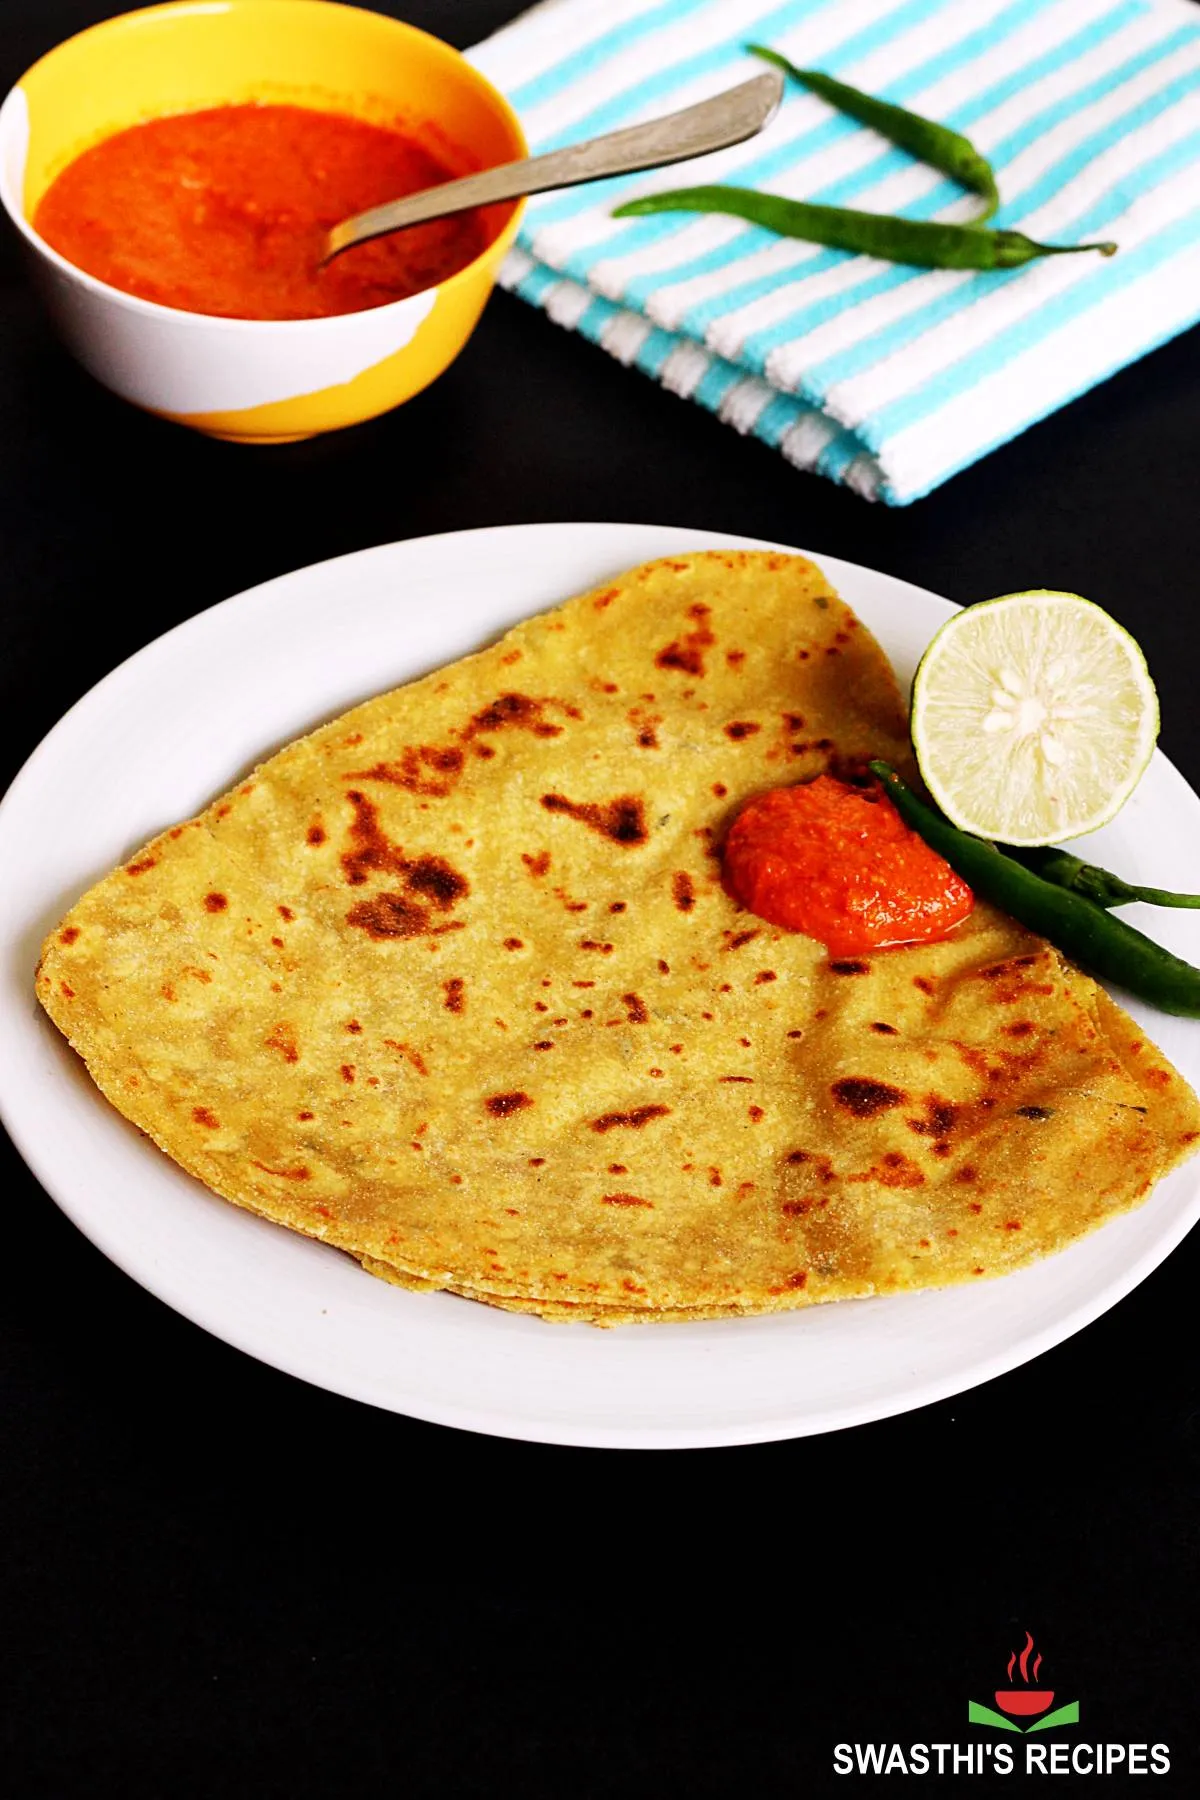
Photo Guide
How to make Stuffed Paneer Paratha (Stepwise Photos)
Make the dough
1. To a mixing bowl, add 2 cups whole wheat flour, ¼ teaspoon salt, 1 tablespoon oil and half cup water. Begin to mix & form a soft and non-sticky dough, adding more water as required.
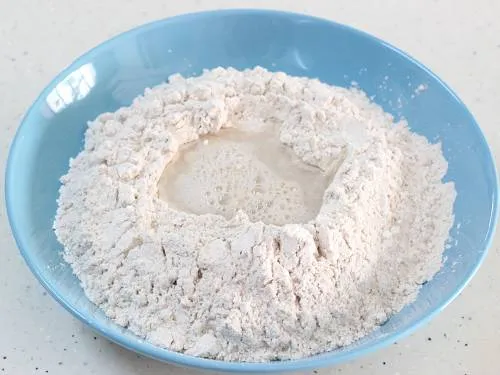
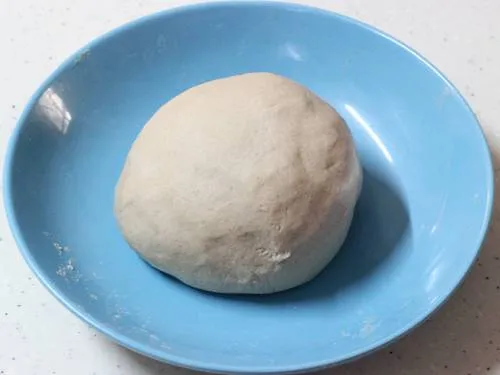
2. Knead well until really soft and pliable. When you press down the dough, it should dent easily and must be soft but not sticky. Cover and keep it aside until the stuffing is ready. I always rest my dough for a minimum of 30 minutes. If you prefer to skip the resting time, then knead it a little longer and use it right away.
Prepare the Stuffing
3. Make sure your paneer is fresh tasting & has no excess whey in it. Place your grater in or over a medium sized mixing bowl & fine grate 250 grams paneer. If you are an experienced cook you will able to use up to 250 grams without tearing the parathas. Beginners start with 200 grams, try with more in the next attempts.
4. Add the following ingredients:
- 1 to 2 green chilies very fine chopped (optional, skip for kids)
- 3 tbsps coriander leaves fine chopped
- ½ to ¾ tsp Kashmiri red chilli powder (adjust to taste)
- ¾ to 1 tsp garam masala (adjust to taste)
- ½ tsp salt (more if needed)
- ¾ tsp roasted cumin powder
- ¾ to 1 tsp ginger grated or paste (or ⅓ tsp ginger powder)
- ½ to ¾ tsp amchur, dried mango powder or chaat masala
- ¼ to ½ tsp ajwain (carom seeds, skip if you don’t have)
- 1 tbsp Kasuri methi (dried fenugreek leaves, optional)
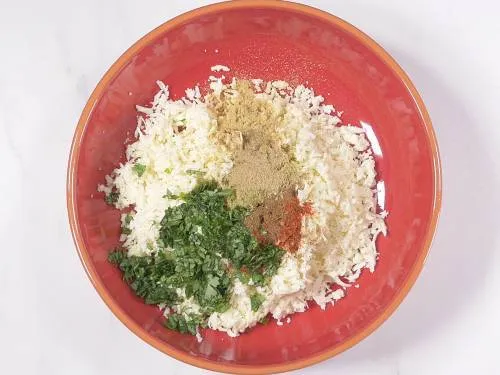
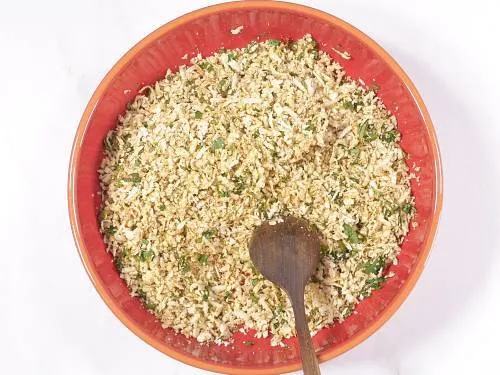
5. Mix together and taste test. Adjust salt, chilli and garam masala as needed. Roughly divide the paneer stuffing to 8 portions. Do not make balls.
Roll the Parathas
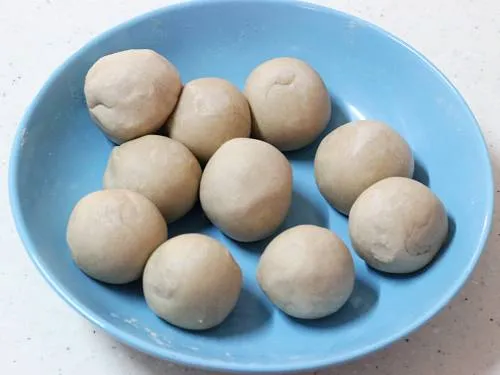
6. There are 2 ways you can stuff and roll the parathas. You will divide the dough into parts depending on the method you want to use. Divide the dough to 8 equal portions (for methods 1 & 2) or 12 portions (for method 3). Roll them to smooth balls in between your palms. Cover until you use up.
Method 1
Note that you will use as little flour as possible to roll, only to prevent your paratha from sticking to the rolling area. Too much flour will make the parathas hard. However you will see me using more here because my flour was a little sticky since I used food processor to knead.
7. Sprinkle little flour on the rolling area. Smoothen a dough ball and dip it in flour. Shake off the excess. Flatten it by pressing down with fingers.
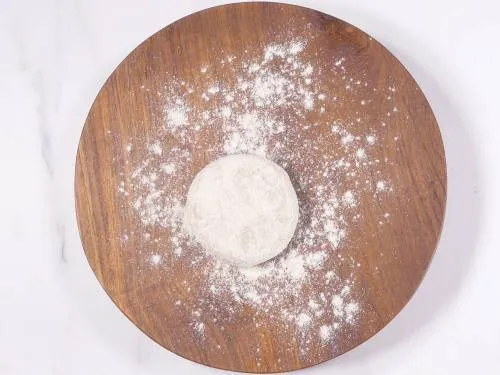
8. Either roll it with a rolling pin to a 4 inch round roti/disc or shape the disc to a cup with your fingers, starting from the center as shown in the picture below.
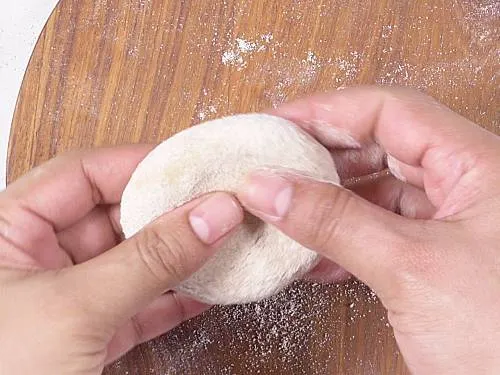
9. I make mine approximately 4 inches. Take it to your palm.
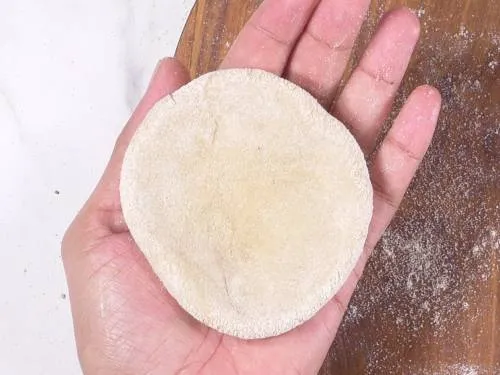
10. Place one portion of the paneer stuffing in the center and bring the sides up.
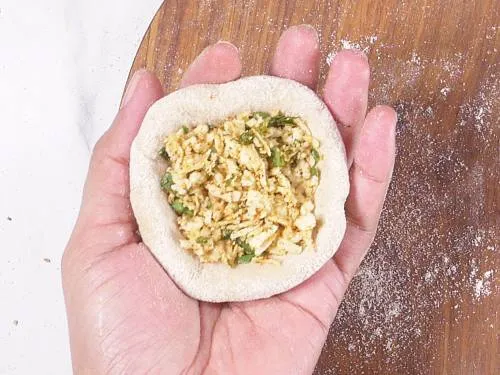
11. Press down the stuffing in the center and bring the sides higher giving it a cup shape.
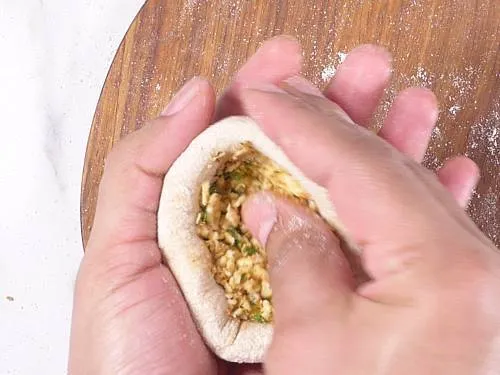
12. Bring the sides higher by simply rotating the whole thing on your hand in clock-wise direction, a few times. The dough gets stretched by itself and comes over the stuffing. (check video). Repeat this step of pushing the stuffing inside and bringing the sides higher by rotating until the edges come over to the top.
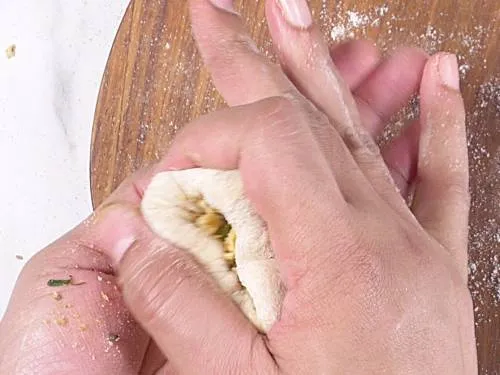
13. Join all the edges well to make sure no filling is visible. I do not remove any excess dough, instead press it down back to the ball & flatten it.
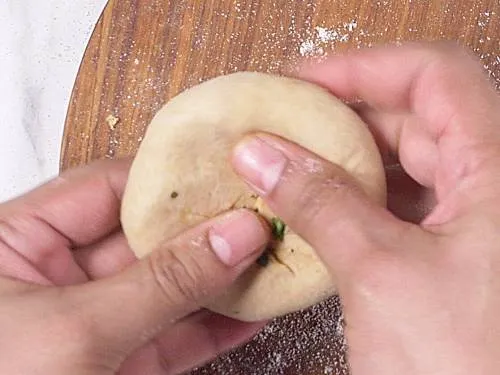
14. Dip this in atta/flour on both the sides, shake off the excess and gently flatten it with your fingers to spread the filling. This is very important so the filling is evenly spread all over.
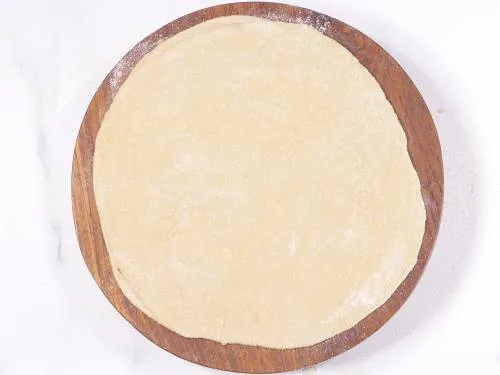
15. Place the sealed side down on the rolling area and gently roll it evenly with light hands (avoid putting pressure). Do not roll the paneer paratha continuously, instead rotate in clock-wise direction a little after every 4 to 6 rolls to ensure it does not tear or get stuck.
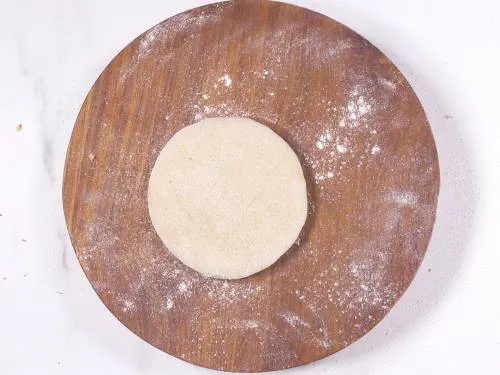
16. You can make as thin or thick to your preference. As you roll you may see a bit of filling coming out, simply apply some flour there. Sprinkle flour only as needed and avoid using excess as it makes the paneer parathas hard.
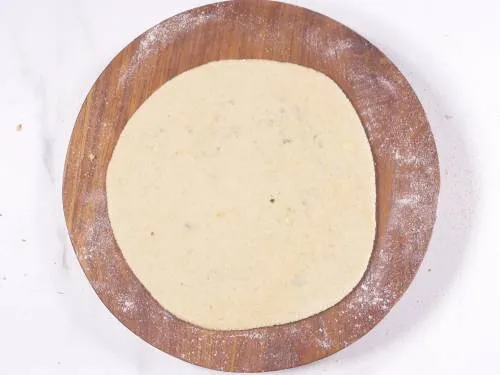
Method 2
17. Sprinkle little flour on the rolling area. Smoothen a dough ball and dip it in flour. Flatten it and roll to a 5 inch round roti/disc. Place one portion of the paneer stuffing in the center.
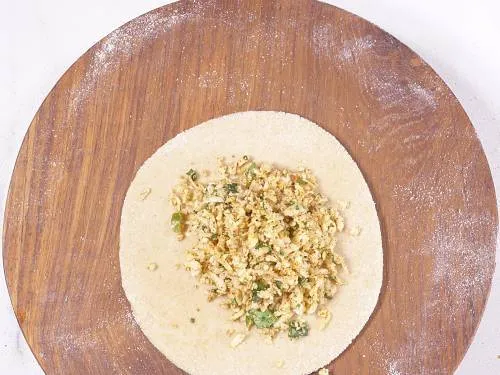
18. Hold the edges and make pleats.
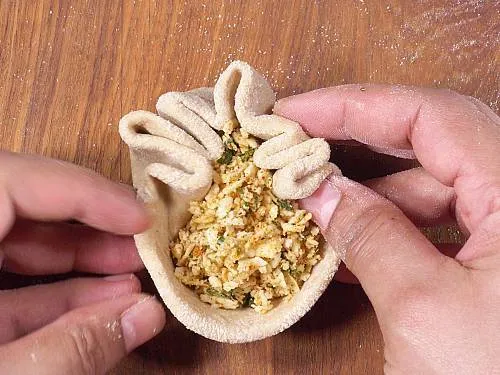
19. Bring all the edges on top.
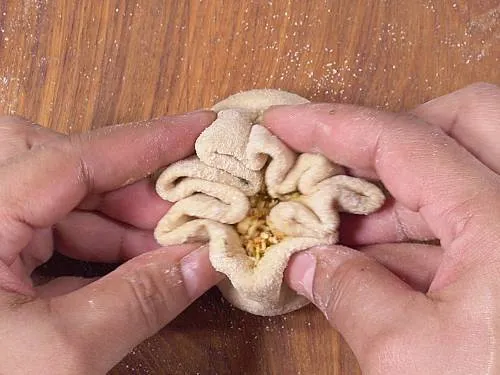
20. Gently join them and pinch off the excess dough. Save it for making more parathas.
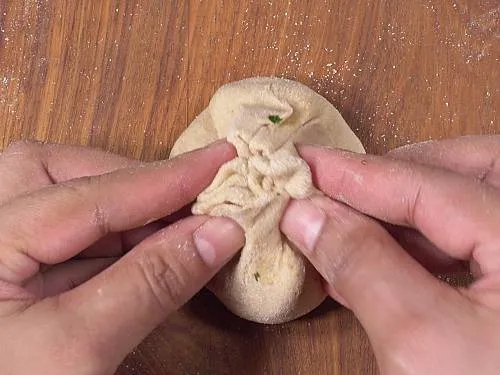
21. Flatten slightly and dip in flour.
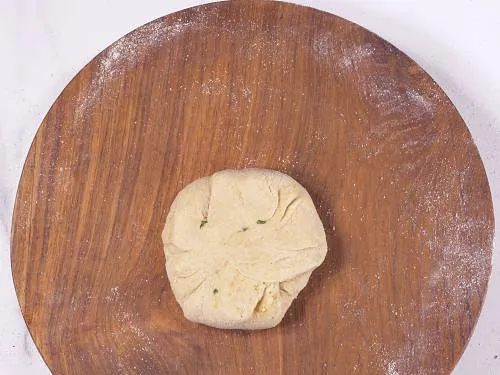
22. Flatten it again to a 4 inch disc with your fingers to spread the filling evenly. Also lightly shape the whole thing round with your palms so you get a round paratha.
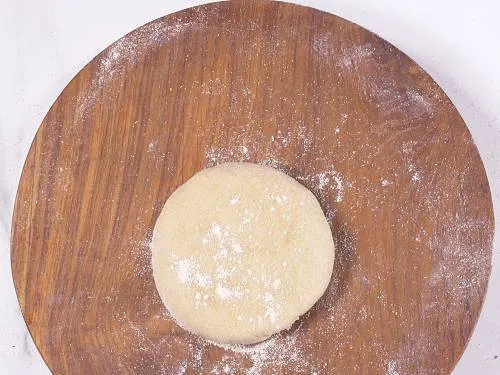
23. Then roll it to as big as you can.
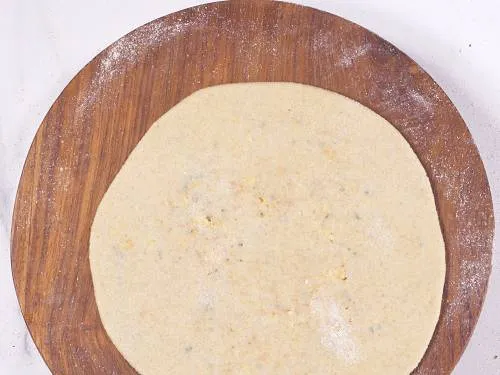
Method 3
24. Sprinkle little flour evenly all over the rolling surface. Dip 2 dough balls in flour. Dust off the excess. Flatten & roll to 2 rotis of 6 to 7 inches each. Spread the paneer stuffing over one of the rotis. Smear some water all over the edges.
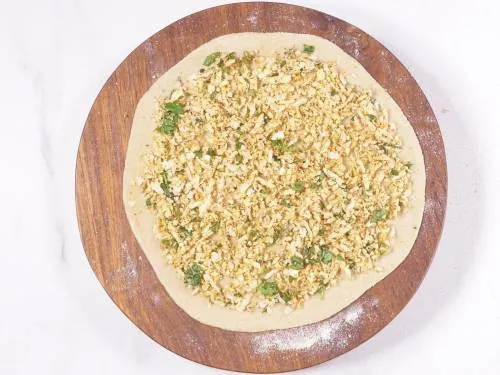
25. Cover with another roti and press down on the edges to join them.
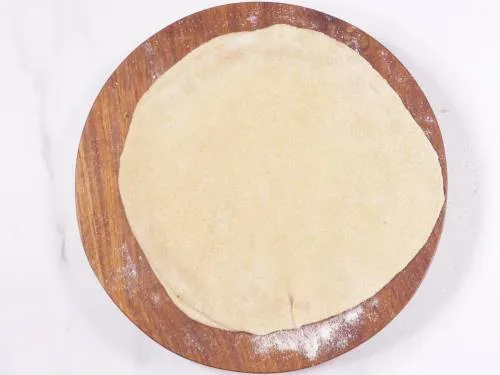
26. Sprinkle flour as required. Slightly roll the paratha with light hands.
Fry Paneer Paratha
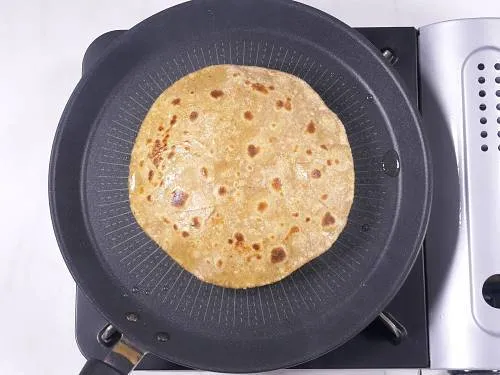
27. After you are done rolling 3 to 4 parathas, heat a tawa or griddle on a medium high flame. When the pan is hot enough, dust off excess flour from the paratha & gently transfer it to the griddle. Cook for 2 to 3 mins.
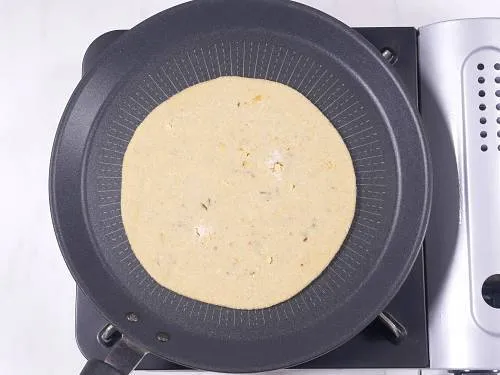
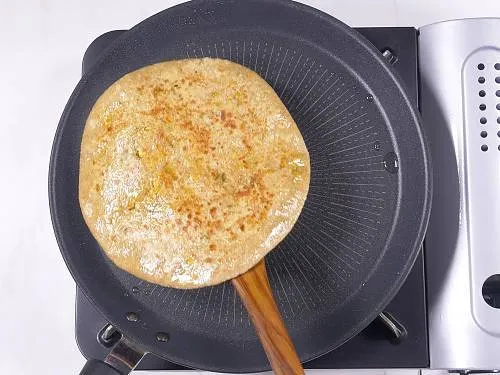
28. Turn it to the other side. Press down gently with a spatula. Spread some ghee or oil, about half a teaspoon.
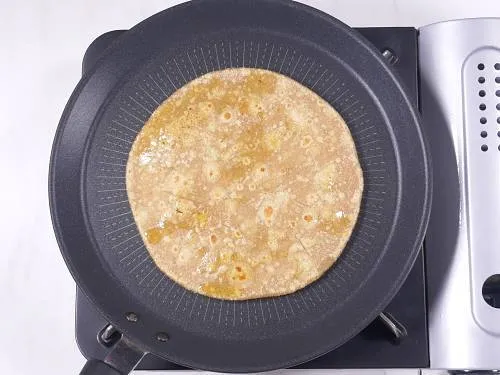
29. Turn it again and cook for a minute or 2.
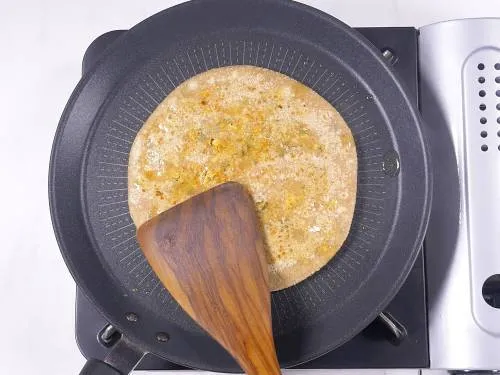
30. Turn back and press down gently with a spatula. Your paneer paratha will puff. Add more ghee (another half to 1 tsp or as needed).
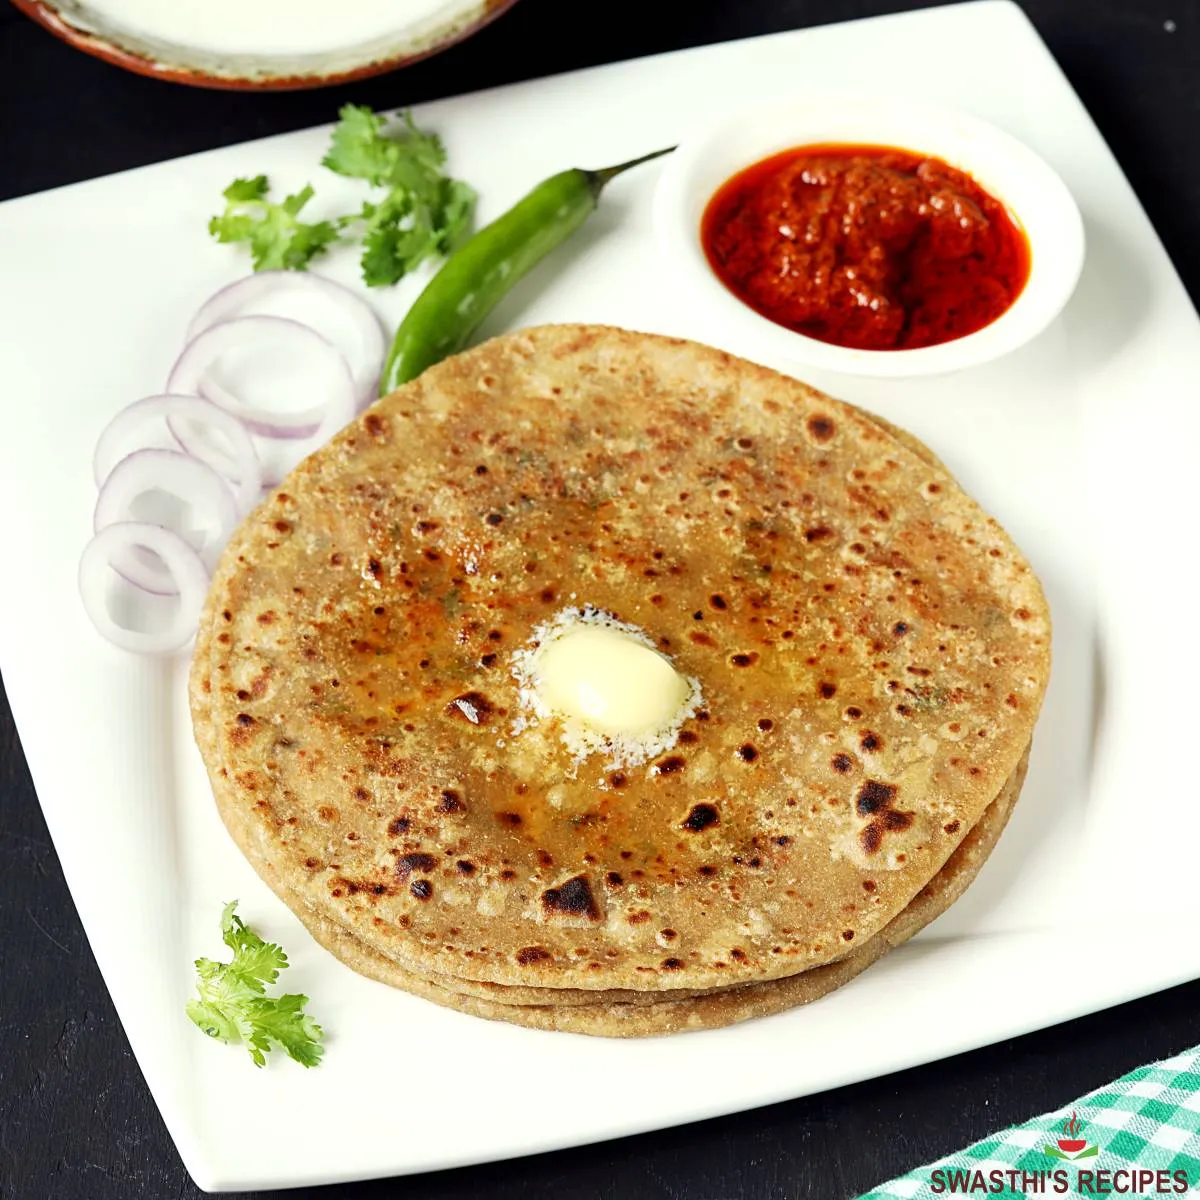
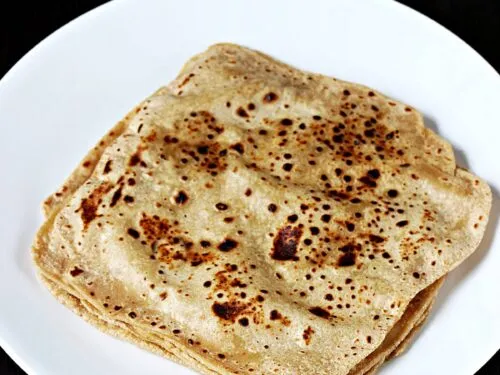
31. Remove the Paneer paratha to a serving plate. Stack the parathas.
Serve them hot with Coriander chutney, Mint chutney or any pickle. If you want you may top them with some butter. Raita and yogurt also goes well.
Plain layered Paneer Paratha (No stuffing)
This is a toddlers’ recipe so the spice level is too low. If you want you can increase the spices and herbs. You can also add more ingredients like grated carrots, chopped spinach etc.

1. To a mixing bowl, add the following ingredients
- 1 cup whole wheat flour / atta
- ½ cup paneer, crumbled soft
- 2 to 3 tbsp yogurt (optional)
- ¼ tsp garam masala powder or ajwain / carom seeds
- 1 Pinch turmeric
- 2 tbsps coriander leaves or mint leaves (chopped finely)
- 1 green chilies minced or ¼ to ½ tsp chilli powder or black pepper
- Salt as needed
2. Pour water as needed and knead the dough to a soft texture. Make sure it is not sticky.
3. Divide the dough to 6 to 8 balls. Keep them covered. Sprinkle little flour over the rolling area, roll each of these balls like a roti.
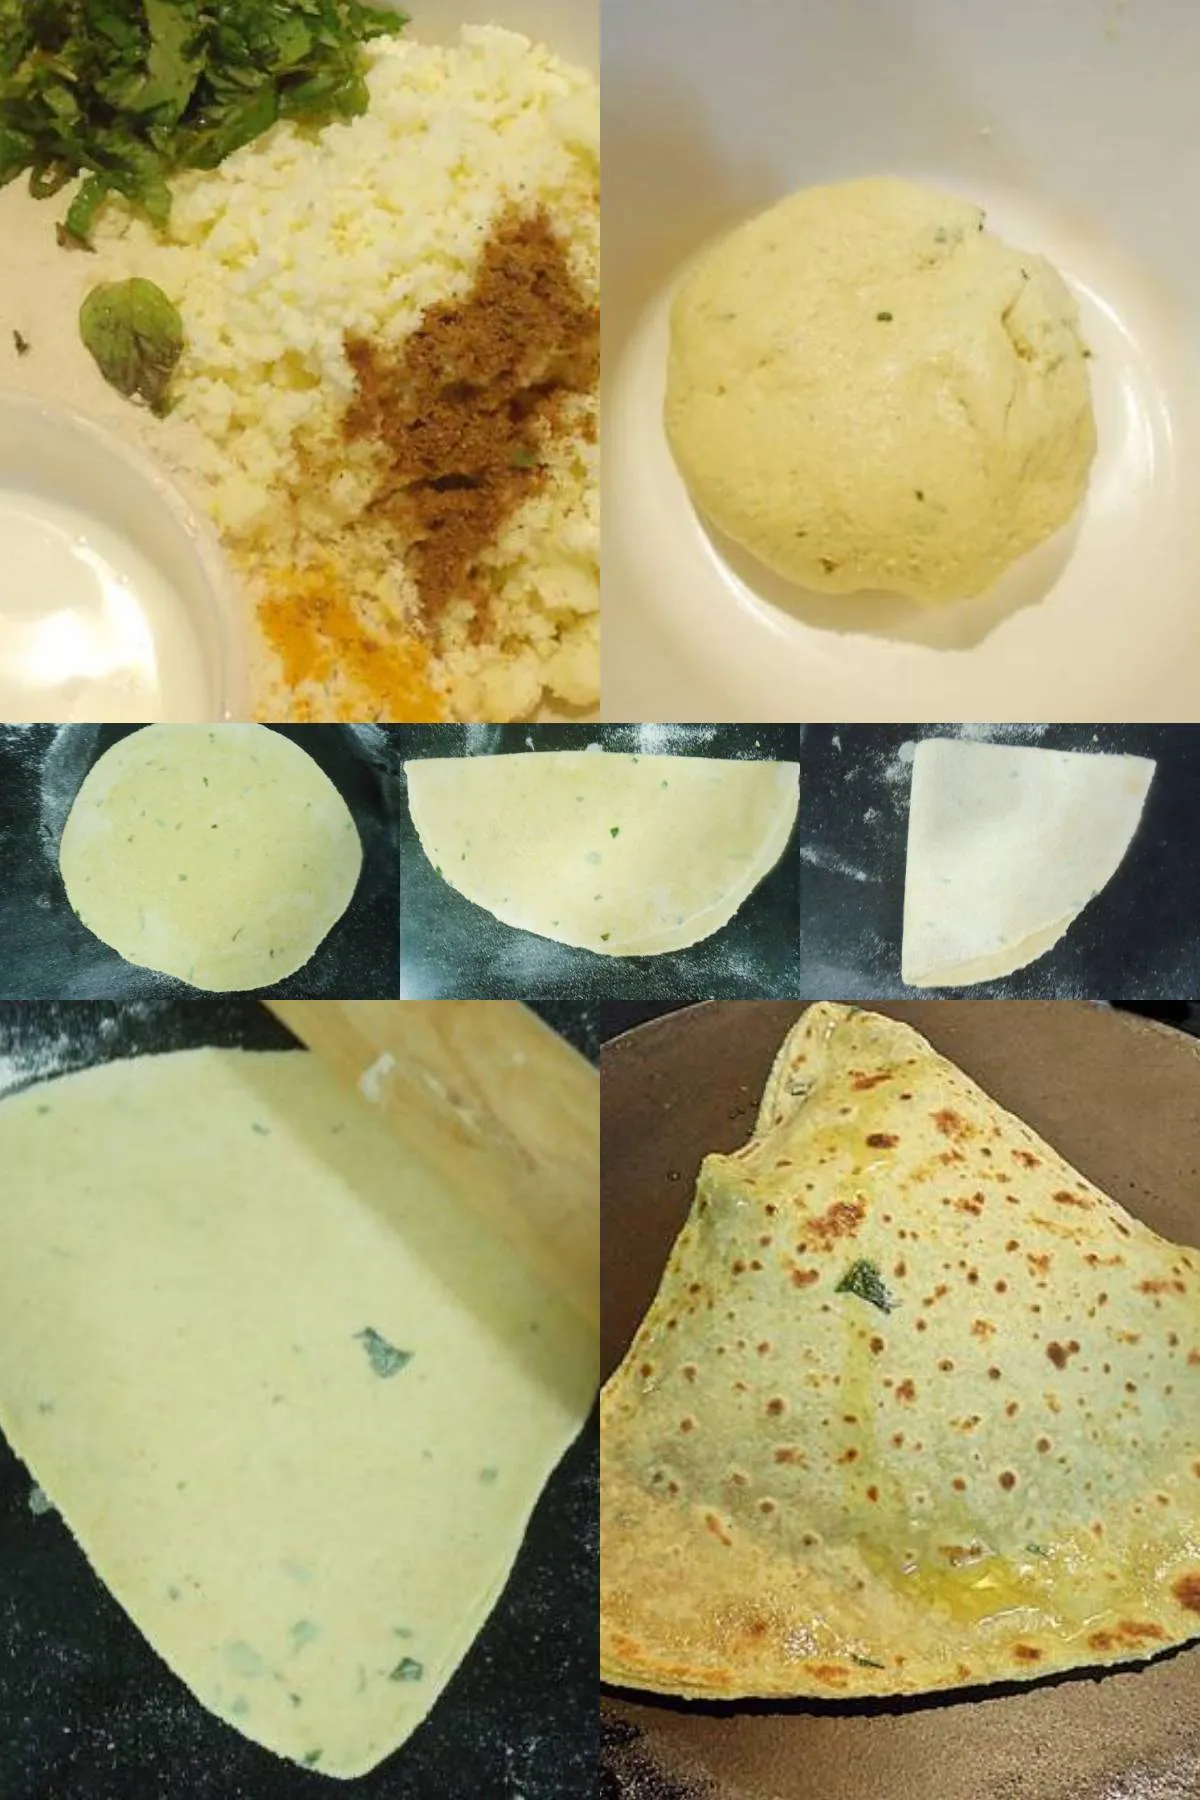
4. Smear little oil, and fold it to half and then to a quarter. Sprinkle flour lightly and roll gently to make a triangle. Finish rolling all the balls and set aside separately.
5. Heat a tawa on a high flame, when it is hot transfer the paratha. Very soon you will see bubbles on the paneer paratha. Turn it to the other side and then press down with a spatula to puff the paratha.
6. Cook on both the sides until you see golden to light brown spots on both the sides. Drizzle ghee or oil and smear it all over.
7. Clean up the tawa with a paper towel to remove the burnt flour if any. Then proceed to fry the next paratha. Stack up the parathas to keep them soft. Serve paneer paratha with your favorite chutney.
Related Recipes
Recipe Card
Paneer Paratha Recipe (Plain Layered and Stuffed)
For best results follow the step-by-step photos above the recipe card
Ingredients (US cup = 240ml )
- 2 cups (250 grams) wheat flour (atta, + 3 tablespoons more to roll)
- ¼ teaspoon sea salt
- 1 tablespoon oil (to make the dough)
- ½ to ¾ cup (120 to 180 ml) water (+ more as required, I use 210 ml)
- 2 to 3 tablespoons ghee or butter to cook
To stuff
- 250 grams (9 oz) Paneer block (fine grated, read notes)
- 3 tablespoons coriander leaves (fine chopped)
- 1 to 2 green chilies (very fine chopped, leave out for kids)
- ½ teaspoon sea salt (adjust to taste)
- ½ to ¾ teaspoon Kashmiri red chilli powder (adjust to taste)
- ¾ to 1 teaspoon garam masala (adjust to taste)
- ¾ teaspoon roasted cumin powder (adjust to taste)
- ½ to ¾ teaspoon amchur powder (dried mango powder or chaat masala)
- ⅓ teaspoon dry ginger powder (or ¾ teaspoon ginger paste or grated)
- ¼ to ½ teaspoon ajwain (crushed carom seeds, optional)
- 1 tablespoon Kasuri methi (dried fenugreek leaves, optional)
Instructions
Preparation
- Make Dough: Add flour, salt, oil and ½ cup water to a large mixing bowl. Begin to mix, adding more water as required to form a soft dough, (not sticky). Cover and rest the dough until you prepare the filling or for 20 mins.
- Take ¼ cup flour in a bowl and set aside to help you roll the parathas.
- Make the filling: Mix together grated paneer, salt, herbs and all the spices in another bowl. Taste test to adjust salt and spices. Divide the filling roughly to 8 portions.
How to make Paneer Paratha
- Roll the paratha: Divide the dough to 8 portions. Roll the dough in your palms to form balls. Keep them covered until used. Sprinkle little flour over the rolling area & take a ball and dip it in the flour.
- Method 1 – Dust off the excess in the bowl & roll to a 5 inch disc or roti. Or shape the dough to a small cup with your fingers, starting from the center. (Refer stepwise pics in the post)
- Place a portion of paneer stuffing in the center. Push down the stuffing & gently bring the sides of the roti up, shaping like a cup. Repeat the steps of pushing the stuffing inside with your finger and bring the dough up until the edges come over the stuffing. (Refer video).
- Bring the edges together over the stuffing and join them to seal carefully.
- Method 2 – Roll a 5 inch roti and place the paneer stuffing in the center, hold the edges and make small pleats, across the roti. Bring all of them on top and join them together to seal the stuffing. Remove the excess dough if any on top.
- Dip the dough ball in flour, shake off the excess and flatten it gently to spread the stuffing evenly. This ensures the stuffing does not come out.
- Sprinkle some flour on the rolling area. Place the paneer paratha disc on the rolling area with the sealed side down. Begin to roll evenly all over without putting pressure.
- Do not roll the paneer paratha continuously. Instead rotate in clock-wise direction a little after every 4 to 6 rolls to ensure it does not tear or get stuck at the bottom. Sprinkle flour as needed and avoid using excess. If you see the stuffing coming out, gently smear some flour to seal it.
- Roll the paneer paratha as thin or thick as per your preference without tearing.
- Transfer the rolled ones to a dry counter space. Once you are done with 3 to 4 begin to fry them.
- Method 3 – With this method, you will be able to make only 6 large parathas. So divide the dough to 12 and stuffing to 6 parts. Roll 2 rotis of 6 inches each. Spread the paneer mixture on one of the roti, leaving a quarter inch on the edges. Wet the edges with little water.
- Place the other roti on top of it. Press down gently on the sides to seal both the rotis. Then sprinkle flour and roll it evenly as thin as you want.
Toast Paneer Paratha
- Heat a pan/tawa or griddle to cook the paneer parathas. The griddle should be hot enough else the parathas will turn hard.
- When the pan is hot, gently transfer a rolled paneer paratha over it. (Make sure you dust off the excess flour before frying)
- Let cook for 2 to 3 mins, turn it to the other side and cook for another 2 mins. Turn it again.
- You will see the paneer paratha begins to puff and cook well. Drizzle ghee or oil all over and turn it to the other side and cook.
- Smear some ghee on this side as well and press down the edges to cook thoroughly, until you see golden to light brown spots.
- Remove the paneer paratha to a plate and stack them.
- Top paneer paratha with some butter and serve with coriander chutney, mint chutney, pickle or yogurt if preferred.
Video
Watch Paneer Paratha Video
NUTRITION INFO (estimation only)
© Swasthi’s Recipes
This post was first published in Feb 2013. Updated (with a video & new methods to stuff) in Dec 2024.
About Swasthi
I’m Swasthi Shreekanth, the recipe developer, food photographer & food writer behind Swasthi’s Recipes. My aim is to help you cook great Indian food with my time-tested recipes. After 2 decades of experience in practical Indian cooking I started this blog to help people cook better & more often at home. Whether you are a novice or an experienced cook I am sure Swasthi’s Recipes will assist you to enhance your cooking skills. More about me
Follow Swasthi’s Recipes

Comments
Hi Swasthi,
I have never even made a plain Roti but this recipe makes me want to make it.
I love Paneer but have always wondered if it is the only cheese produced in India. Do you know if this is true?
Paul:-)
Hi Paul,
It’s similar to ricotta but drained completely and pressed down to blocks. In the past paneer was only produced only in India. But these days many countries have their own production. Sach, Tesco, gopi and many more are produced outside India. But I got to know from readers that homemade works better and cheaper if you are outside India. I have a detailed post here on how to make paneer at home and making it for this recipe is easier because you don’t need to set. Drain the paneer and tie it in a cheese/muslin cloth. Squeeze of as much as possible, let drain off the excess for a few hours by hanging it on a hook or on your kitchen faucet. You don’t need to grate it, just crumble and use. Hope you get to try. Feel free to post your queries.
Excellent taste… I feel all the recipes.. God bless Swasti… I wish I could see you to thank you… 🥰
You are welcome Annie. Thank you so much for the kind words!
I am learning to make parathas and this is the first time. I am following the method 3 as it looks easy. I want to know if the roti needs water on the edges to seal with another on top. Mine does not stick easily. Please help
Hi Udaya,
You don’t need water. If the paratha is too floury or dry it may not stick. Don’t use too much flour while rolling and don’t let them dry out. If required you may spread water but that’s not required if you use less flour and don’t let them dry out. Hope this helps and would love to hear how that worked for you
These paneer paratha are a huge hit with my family. But we love more paneer in them. Do you think I can use more?
That’s nice to know Lily. Yes you can use as much as you want. I use up to 400 grams for the same recipe. It depends on how well you can manage with the filling. Hope this helps
Really amezing Indian Paratha!
Thank You Somuch!
You are welcome Shaheen
Tried this recipe and this is my first try to make paneer parathas. They taste delicious and the pictures are an amazing guide.
Glad they came out good!
Thank you for teaching us. I made the paneer parathas for my twin toddlers without stuffing. They loved it with coriander chutney. Love your recipes.
Wow! So good to hear that. Thanks for letting me know!
My Paneer parathas turned out beautiful. Though a few broke and the filling came out. They were tasty. I need more practice. Thank you for the photos. It is so easy to follow them.
Glad to know Radhika. Thanks for sharing.
I made paneer paratha and they came out beautifully. Followed the first method and toasted them in butter. They tasted lovely with the mint yogurt chutney. Thank you Swasthi.
Glad to know Jeena. Thanks for trying.
Thank you for sending the recipes. This looks amazing. Going to try it soon
Hope you like them Jeena.
Thank you Swasthi. These paneer parathas turned out delicious. However mine were not very perfect but very tasty.
Glad to know Pushpa. They will turn out perfect when you keep making them often.
I have a toddler who loves eating chapati and parathas. He loves these paneer parathas. I have been making these for a few months now & for a change add some grated carrots too. Thank you for the help .
Glad to know Nalini. Thank you so much!
Swasthi, would love to try a stuffed paneer paratha recipe from your blog. Please share
Hi Jeena,
Sure will try to post
My boy loved it. I follow so many of your recipes on regular basis. Thank you! for sharing your work.
Hi Sarika
Glad to know! Thank you
Thank you so much for your super fast recipe,I tried today came awesome.
Welcome Pavani
Glad to know!
Amazing! First attempt and it was amazing. My toddler ate it right up. Appreciate your website so much – it’s my go to! Can we freeze these?
Hi Sho
Thank you
Glad your kid liked it. Yes they freeze well. Cover them when you reheat on stovetop. You can also reheat in microwave.
Hope this helps.
How many days can we store the dough
I haven’t stored it beyond a day. It may keep good for 2 to 3 days
Excellent recipe. It is easier and quicker to make this way rather than stuffing them.
Thanks Neha
Yes your are right
Loved this recipe. So tasty and easy to make. Plan on making double quality tomorrow, that’s how delicious they were
Made the Carrot Coconut Chutney (raw method) to eat with them. A combination made in heaven
Hi Karen,
Thank you! Glad you liked them! Yes raw carrot coconut chutney is yum!
🙂
Dear Swasthi,
Thanks a lot for your efforts and time. Your recipies are very much helpful. Keep going!!!!! 🙂
Hi Maha,
You are welcome. Thank you! Glad the recipes are helpful.
🙂
Very nice
Thank you