Kitchenaid Ice Cream Recipe
Updated: May 12, 2024, By Swasthi
Kitchenaid Ice Cream Recipe! Learn to Make Vanilla Ice Cream in your Kitchenaid with or without an ice cream attachment. When the days are hot and long, and sometimes even when they’re cold and short, there’s nothing better than a scoop or two of ice cream. Thanks to long-loved kitchen appliance brand KitchenAid, you can now easily make ice cream from the comfort of your own home. Best of all, both ice cream recipes shared here are in the eggless Philadelphia style.
There’s no need to worry about tempering eggs or making sure they’re cooked to a safe temperature. Simply mix your ice cream base, churn or whisk and freeze! The first way to make homemade vanilla ice cream with a KitchenAid is by using an ice cream attachment.
Kitchenaid Ice Cream
While this method requires investing in more specialized equipment, the results are much closer to your favorite kinds of store-bought ice cream. It takes a little bit of planning but the ice cream you get is perfect for dressing up with all kinds of mix-ins and flavors. The second way to make ice cream is by using a KitchenAid bowl and whisk.
This recipe takes the least amount of effort and ingredients, so it’s a perfect start if you’ve never made homemade ice cream before. Once you make this easy eggless ice cream, you’ll be hooked to your kitchen aid! So go ahead! Try and make both versions of these ice creams and see which one you prefer. Your KitchenAid is waiting!
You may also like these
Basic Ice Cream Recipe
Butterscotch Ice cream
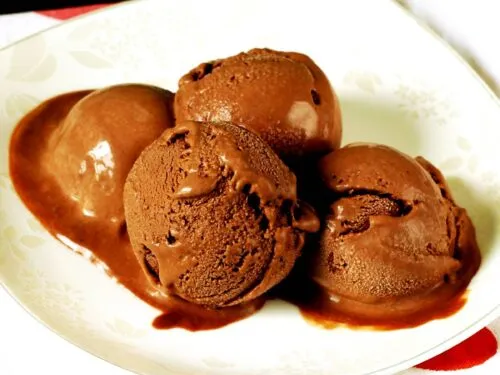
Chocolate Ice cream
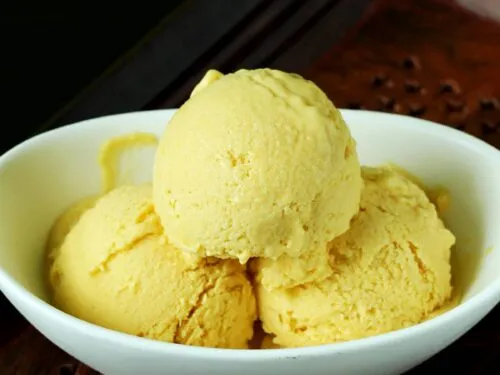
Mango Ice cream
Pistachio Ice cream
Photo Guide
How to make Ice Cream with a KitchenAid Attachment (Stepwise Photos)
For this recipe I have not used condensed milk instead used sugar, milk and heavy cream. However you are free to use condensed milk and heavy cream and leave out sugar and milk. I have always felt there is no need for the condensed milk if you are going to churn the ice cream because anyhow your ice cream is going to be airy and light.
1. To make ice cream with a KitchenAid ice cream attachment, you first need to freeze the ice cream maker bowl for at least 24 hours or according to your instructions manual. The longer the better so 24 hours is ideal.

2. For the second preparation step, gather all your ingredients – milk, sugar, cream and vanilla extract.
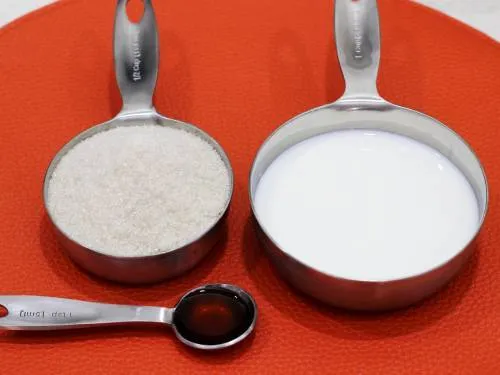
3. Whisk together the milk, sugar, and vanilla extract in a large mixing bowl until the sugar dissolves.
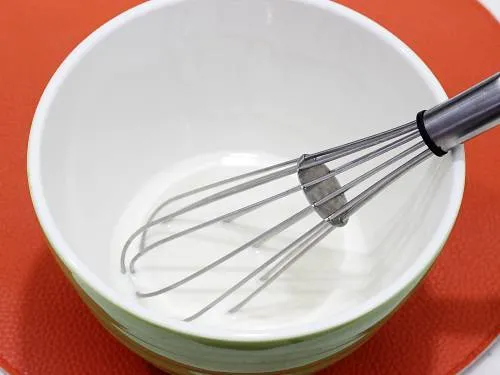
4. Mix in the whipping cream and chill the mixture for at least 24 hours. If you live in a hot region a longer chill works better.
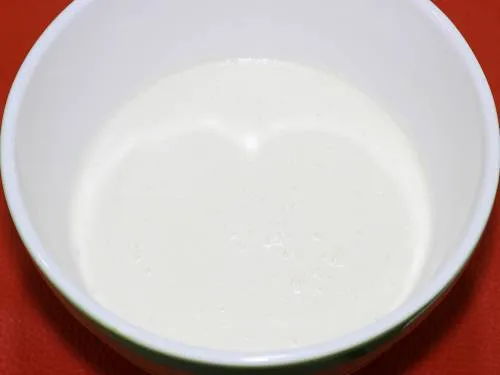
5. Once your tools and base are properly chilled, you can make the ice cream! Fit your ice cream attachment bowl & the hook to the kitchen aid stand. (Please follow the instruction manual for hook attachment as it is different for every model.)
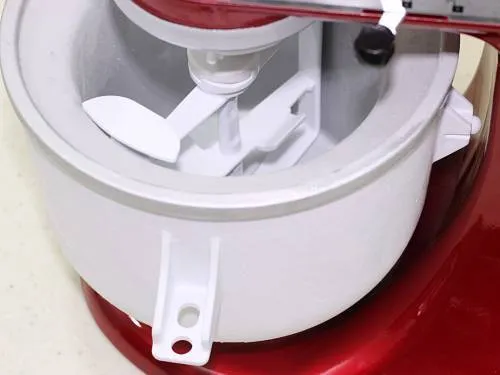
6. Turn your kitchen aid on to the lowest speed and pour your ice cream base slowly.
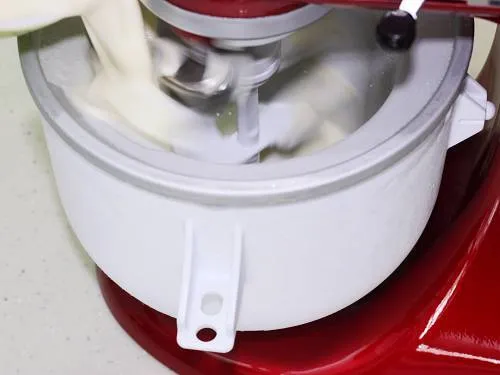
7. Churn the ice cream for about 15 to 20 minutes, until you hear a click noise. Depending on the indoor temperature in your house, it may take up to 30 minutes. But also remember not to over churn. If you live in a hot region, it is ideal to turn on your air conditioner so your ice cream churns faster.
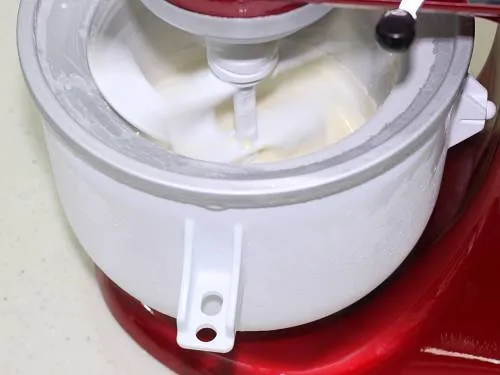
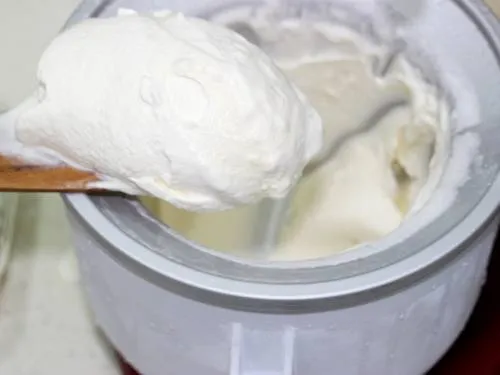
8. A click noise is a right indicator of the ice cream being ready. At this stage you will also see your bowl is almost full due to the incorporation of air. If your ice cream does not turn thick by 20 to 30 mins mark, it means something has gone wrong. May be your bowl wasn’t chilled enough or the cream you used wasn’t right with the required amount of fats.
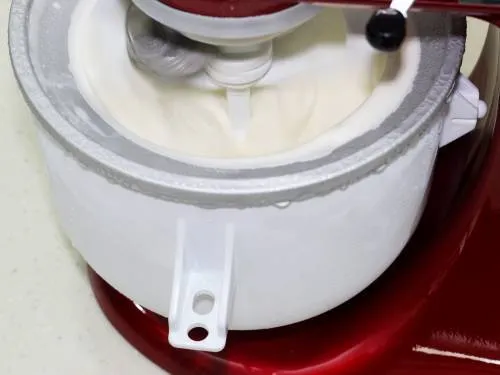
9. It should look like shown in the picture.
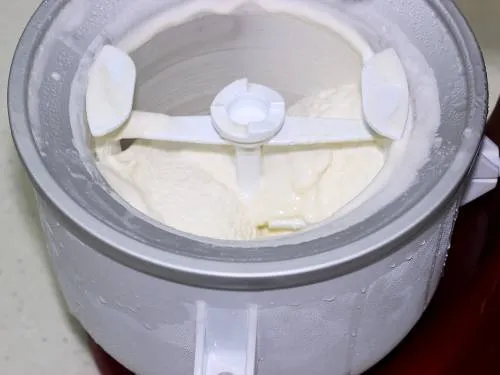
10. At this stage you can actually serve it too. But it’s soft set. You can also use this right away to make some Milkshake, either in a mason jar or in a blender.
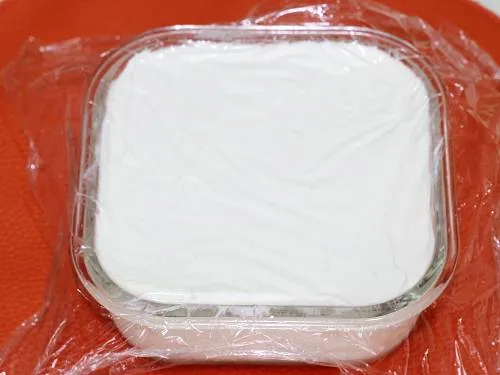
11. Transfer it to a chilled freezer-safe container and place a cling wrap such that it touches the ice cream all over. This prevents any ice crystals. Cover and Freeze it for anywhere from 2 hours to overnight, until set.
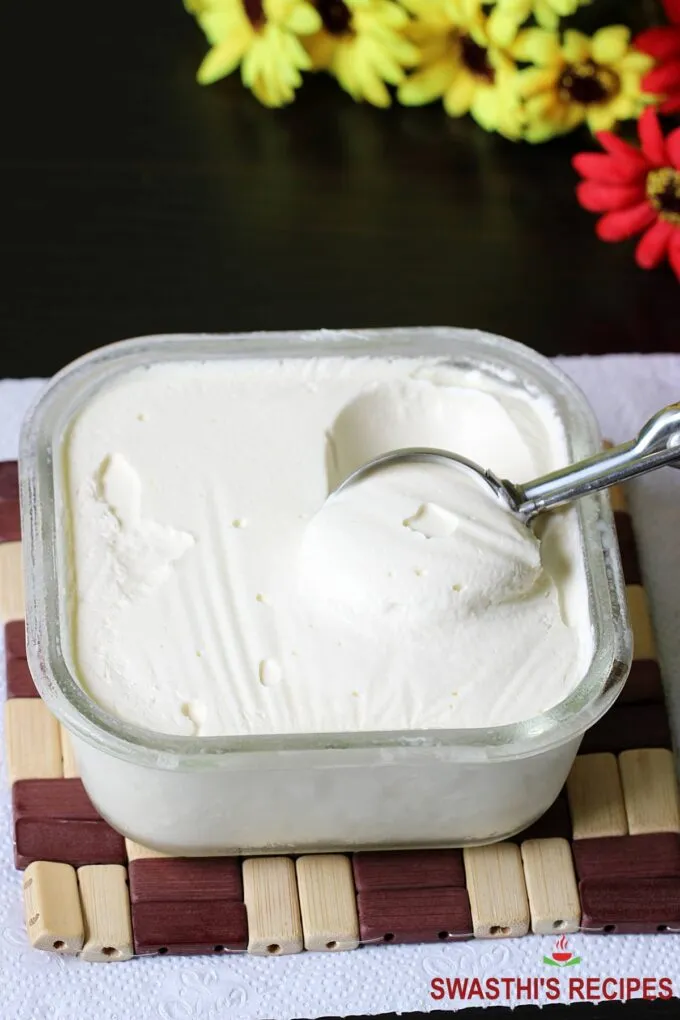
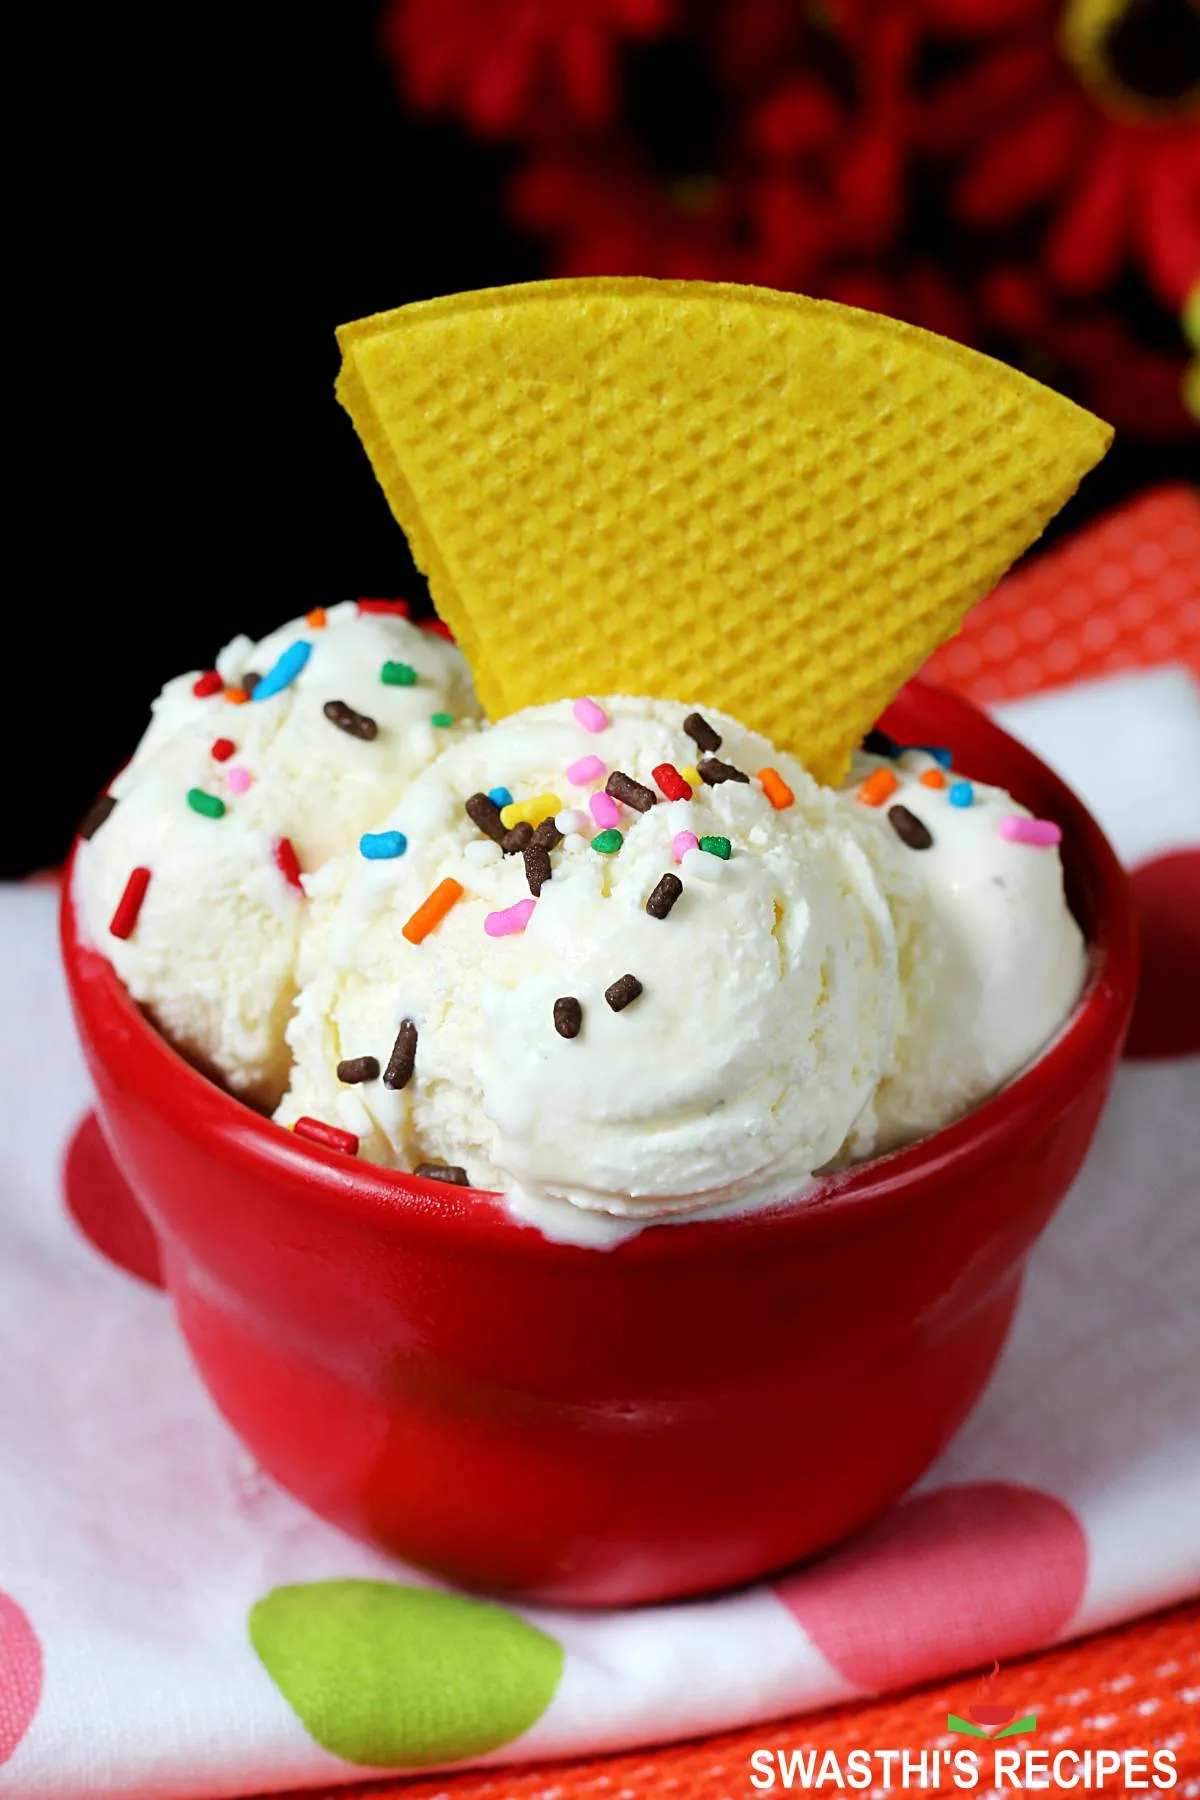
When the vanilla ice cream is set, scoop it and serve it however you like.
How to make ice cream with a KitchenAid whisk
To make ice cream without an ice cream attachment, you’ll first need to pour heavy whipping cream into the mixer bowl. Whip the heavy cream with your whisk attachment on low speed. Slowly increase to medium speed until you reach stiff peaks; if you lift the whisk, the cream should be thick and hold a straight, mountain-like shape.
Getting stiff peaks at medium speed should take about 7 or 8 minutes. Be careful not to overbeat, or else the cream will become grainy and start turning into butter!
Next, add the condensed milk and vanilla extract to your whipped cream. Fold the mixture until everything is well combined. Remember to be gentle: folding too vigorously or aggressively will remove all that precious air we whipped into the heavy cream.
Once your mixture is ready, transfer it to your freezer-safe storage container and top it with some parchment paper or cling wrap. Press down on your parchment paper or cling wrap to remove air and reduce the chance of ice crystal formation.
Freeze your ice cream until it sets, anywhere from 8 to 15 hours. When ready to serve, remove the ice cream and scoop out however much you desire. You can leave it out to soften for 5 or 6 minutes if it’s too hard to eat.
Pro Tips
To make sure your ice cream is the best you can get (no matter what recipe you choose), here are some tips and tricks to keep in mind when you make it.
- If you plan on making the vanilla ice cream with a KitchenAid bowl and whisk, chill your heavy whipping cream and mixing bowl in the refrigerator for a minimum of 24 hours, before making it. Using cold heavy whipping cream and cold tools helps the cream whip up much faster.
- The heavy whipping cream in the no-attachment recipe adds a creamy mouthfeel and traps air that mimics the overrun (air content) and fluffiness of regular ice cream. The condensed milk not only adds sweetness, but the sugar in it also prevents the formation of ice crystals and gives the ice cream that scoopable texture.
- No matter what kind of ice cream you make, chill your freezer-safe containers in the freezer before adding your churned ice cream to them. This not only helps your ice cream cool down and set up faster, it also prevents the formation of ice crystals that would degrade the texture and flavor of your ice cream.
Variations
For a Fruity Ice Cream, try pulverizing freeze-dried fruits like strawberries, blueberries, pineapples or mangoes in a food processor and either fold them into your whipped KitchenAid whisk ice cream or mix them into your ice cream attachment base. You may want to strain chunky bits from the base before you churn.
For Chocolate Ice Cream, melt some dark or milk chocolate and fold it into your condensed milk ice cream base. With the more traditional churned ice cream, combine some unsweetened cocoa powder with the heavy cream and sugar in a sauce pot and heat to a bare simmer.
Stir in some dark or milk chocolate and whisk until smooth, then remove from the heat and add vanilla extract and the milk. Chill and follow the rest of the recipe as instructed.
Want some texture in your ice cream? If you want to add chunks such as nuts or pieces of cookie, only add those until after the ice cream is whipped or churned. Either fold them into the base or sprinkle in layers as you add the ice cream to your freezer safe container.
Consider swirling jams, caramel sauce, Butterscotch sauce or fudge sauces into your ice creams or just serving them on top. The possibilities are endless!
Related Recipes
Recipe Card

Kitchenaid Ice Cream Recipe
For best results follow the step-by-step photos above the recipe card
Ingredients (US cup = 240ml )
- 2 cups heavy whipping cream (480 ML)
- 1 cup full fat milk
- 1 teaspoon pure vanilla extract
- ¾ cup organic sugar
Instructions
Preparation
- Freeze the ice cream maker bowl for at least 24 hours or as per the instructions on your user guide. Also freeze a freezer safe container to fast freeze your ice cream.
- Whisk sugar, milk and vanilla in a mixing bowl until sugar melts completely. Add the cream and whisk well to combine.
- Chill this ice cream base well for a minimum of 24 hours.
How to make Ice Cream in Kitchenaid
- Fix your ice cream attachment bowl to the kitchenaid. Run the kitchenaid on the lowest speed and slowly pour the prepared vanilla ice cream base.
- Churn it for 20 to 30 mins, until your ice cream mixture turns thick, airy and fluffy. Ideally when it is done, you hear a click noise indicating the ice cream is ready.
- At this stage it is thick, scoopable and can be served, though it is soft set.
- Transfer this to the frozen freezer safe box and freeze for 2 hours to overnight, until set.
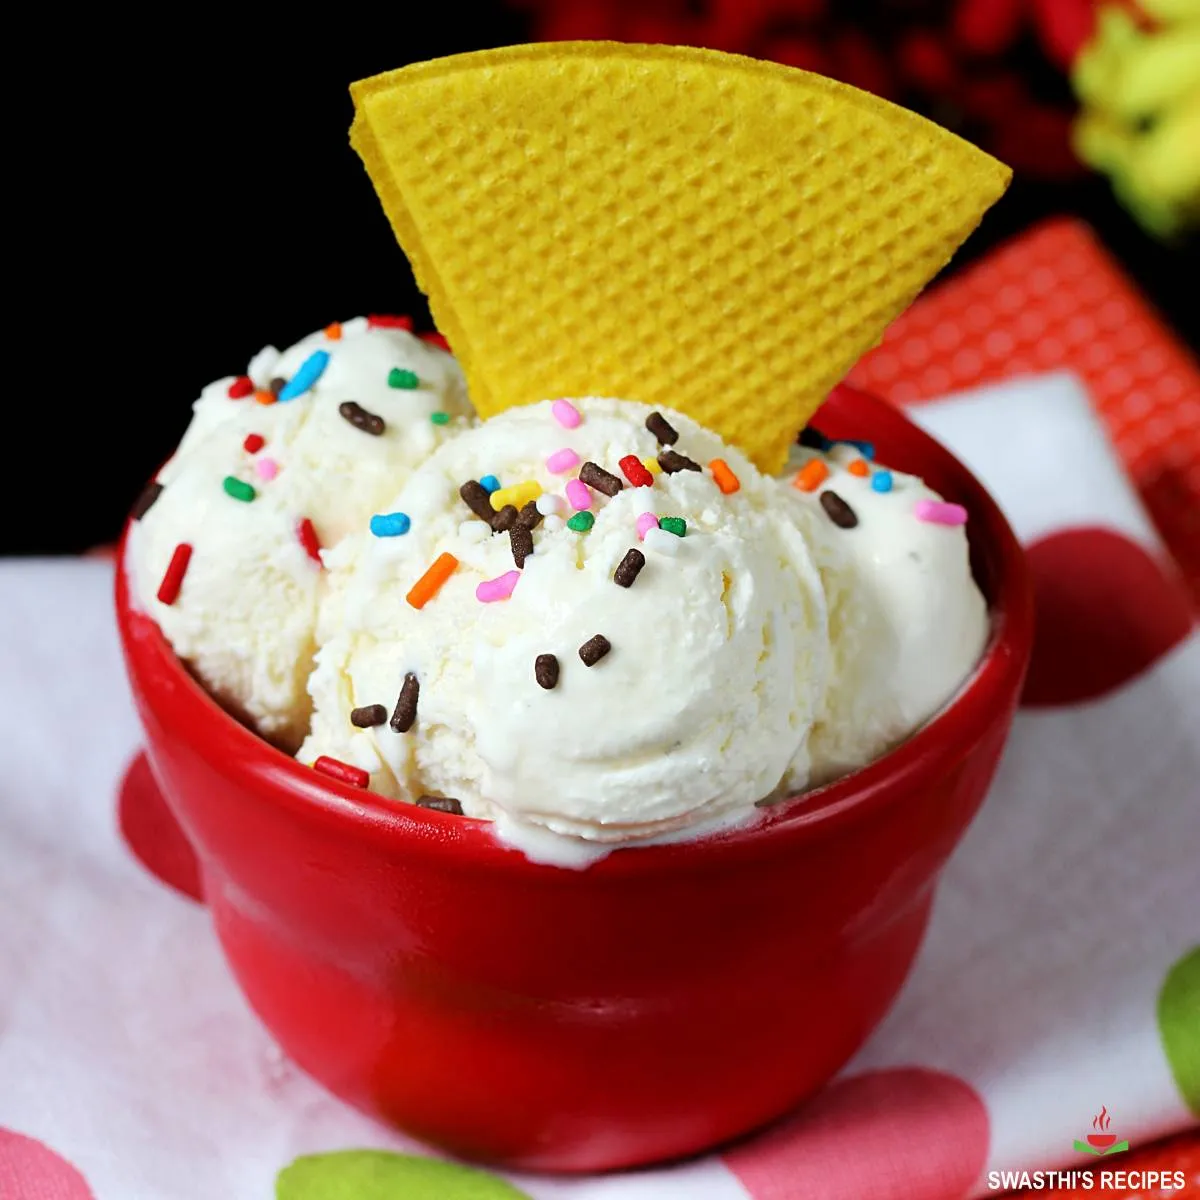
- Scoop kitchenaid vanilla ice cream and garnish with sprinkles or your favorite toppings.
NUTRITION INFO (estimation only)
© Swasthi’s Recipes
Recipe first published in May 2016. Updated and Republished in September 2022.
About Swasthi
I’m Swasthi Shreekanth, the recipe developer, food photographer & food writer behind Swasthi’s Recipes. My aim is to help you cook great Indian food with my time-tested recipes. After 2 decades of experience in practical Indian cooking I started this blog to help people cook better & more often at home. Whether you are a novice or an experienced cook I am sure Swasthi’s Recipes will assist you to enhance your cooking skills. More about me
Follow Swasthi’s Recipes





Comments
Awesome recipes yummy mouth watering,,???
Thank you
Looks great.will definitely give a try..i already tried ur milk pesa recipe ..it was mmmm semma taste..now gonna try icecream
Love from india
Hi Sindhuja
Thanks for trying. Yes do try the ice cream as well.
🙂
Which brand ice cream machine u have used?
Hi Aswathy,
I have used my kitchenaid icream attachment
Hi looks so yummy will definitely give a try…. I don’t have a machine but I have a Philips electric beater….. Can I use that
Thanks swathi will definitely try…. Waiting for ur other versions