Kadhi Pakora Recipe
Updated: May 5, 2024, By Swasthi
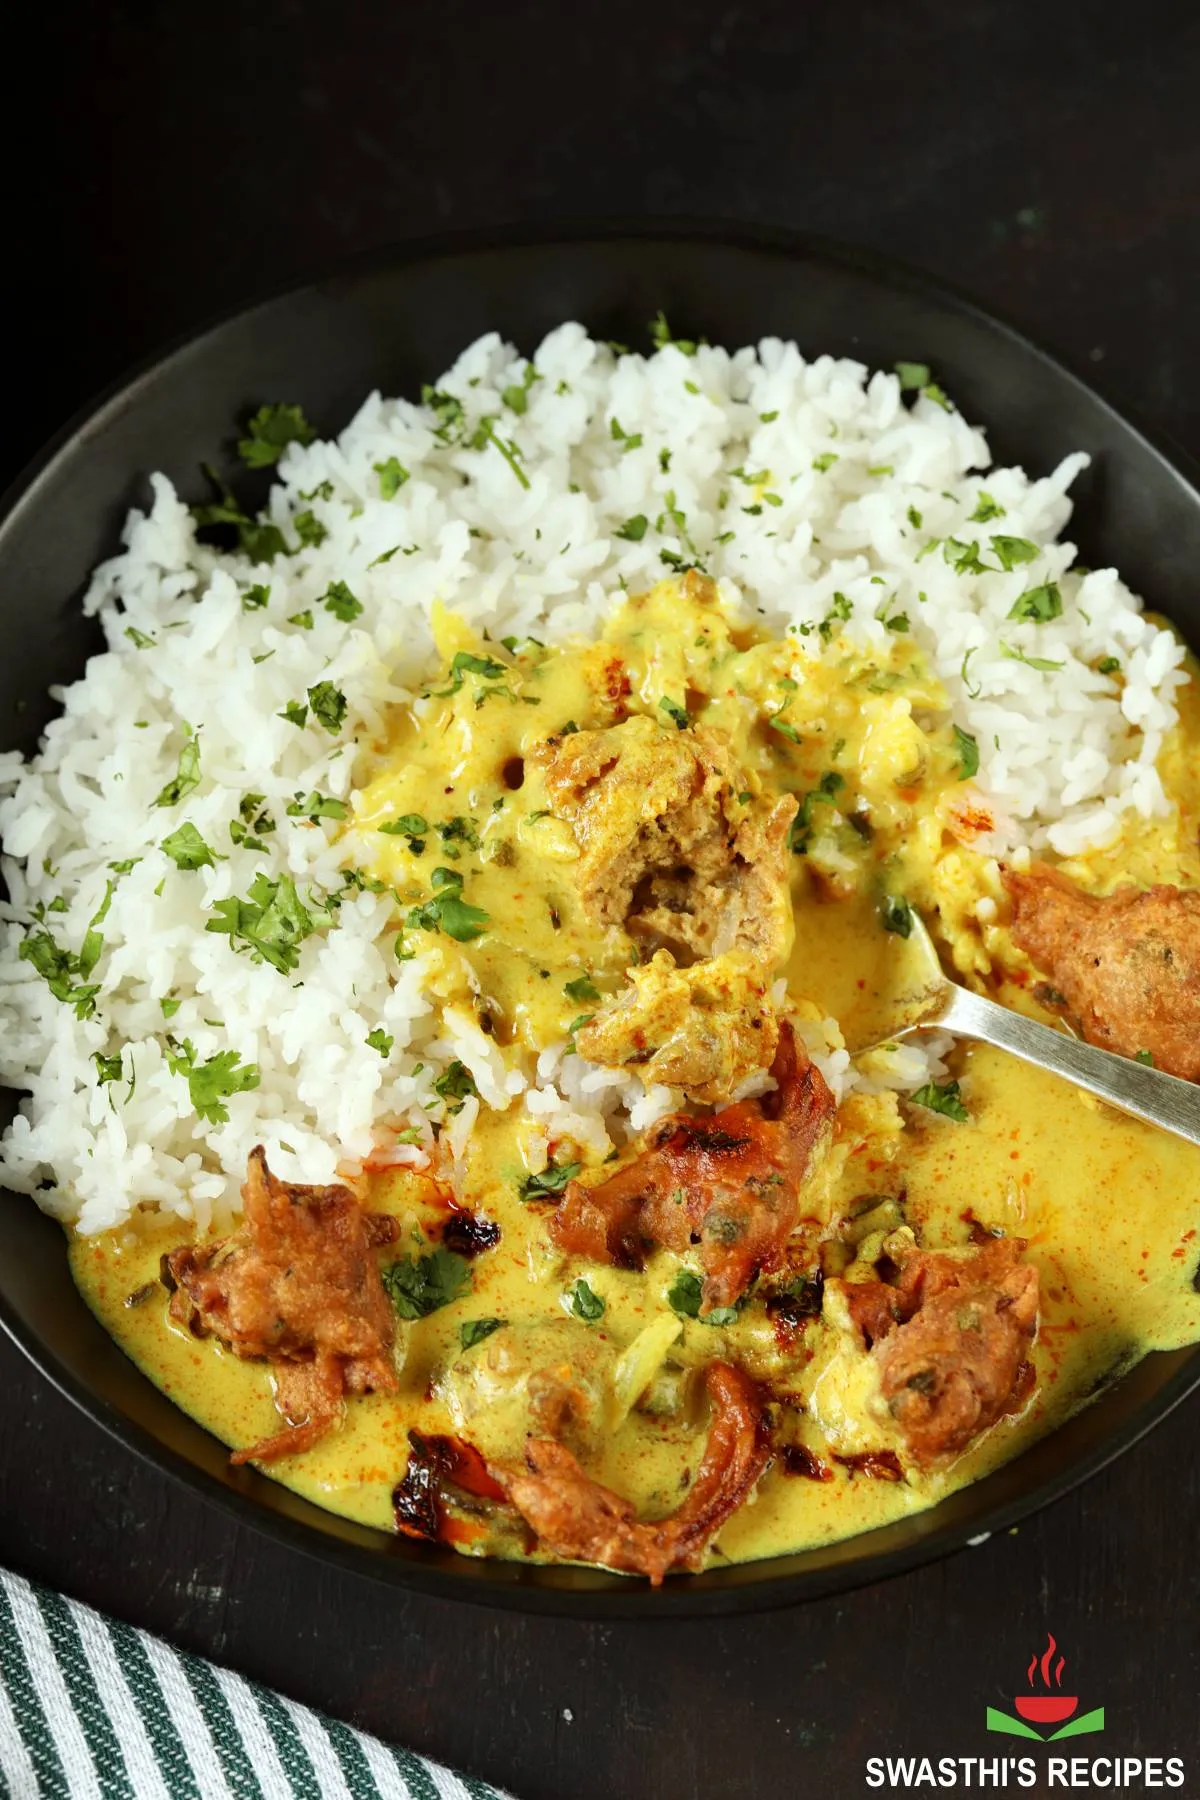
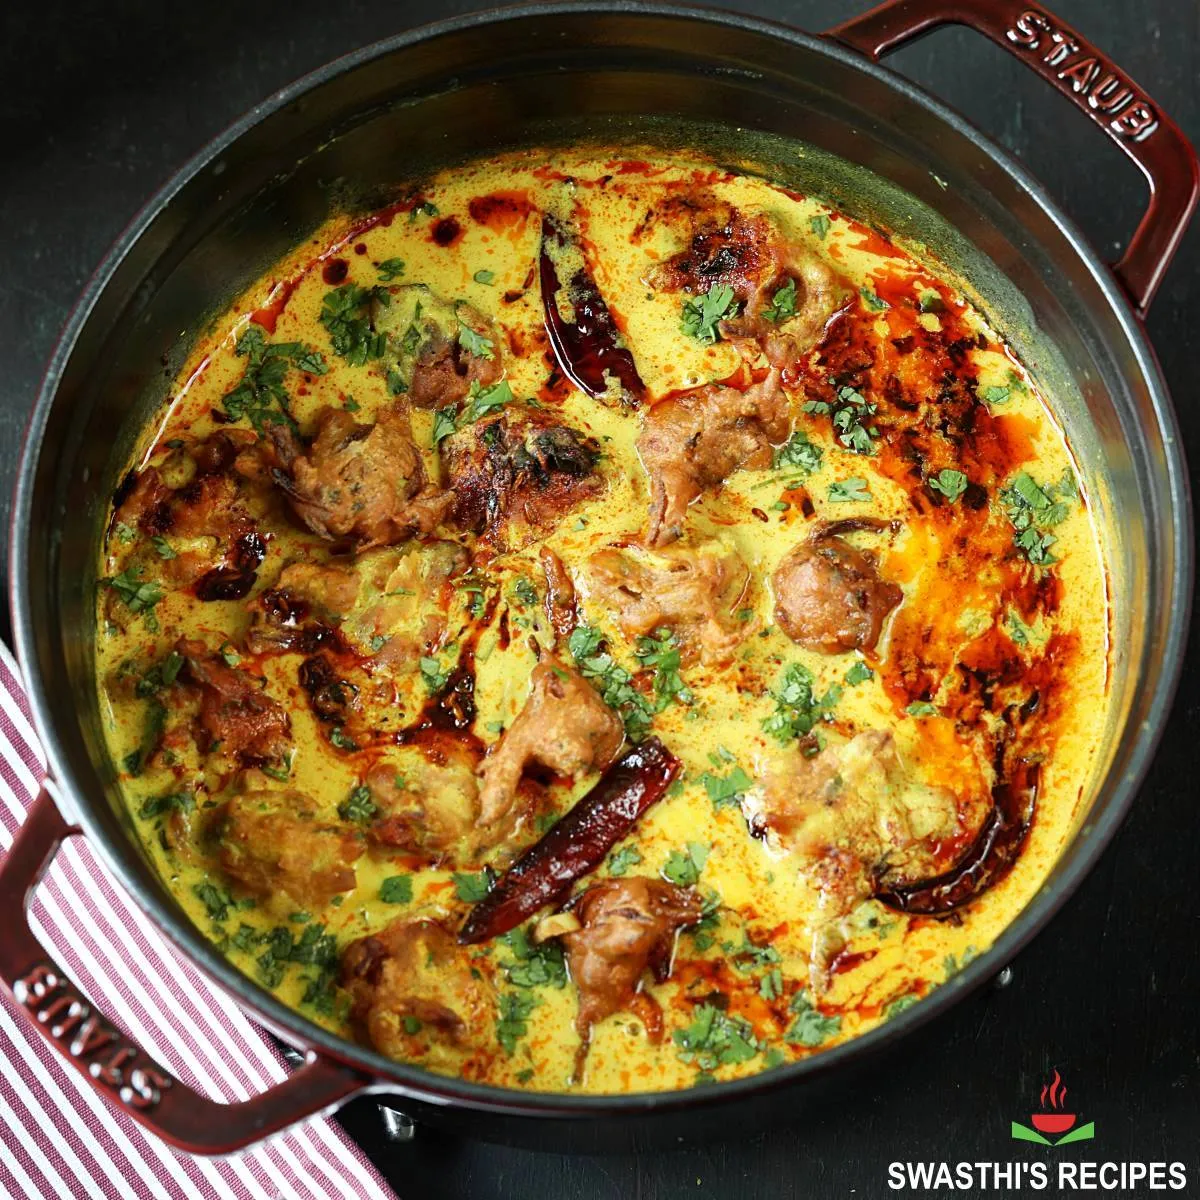
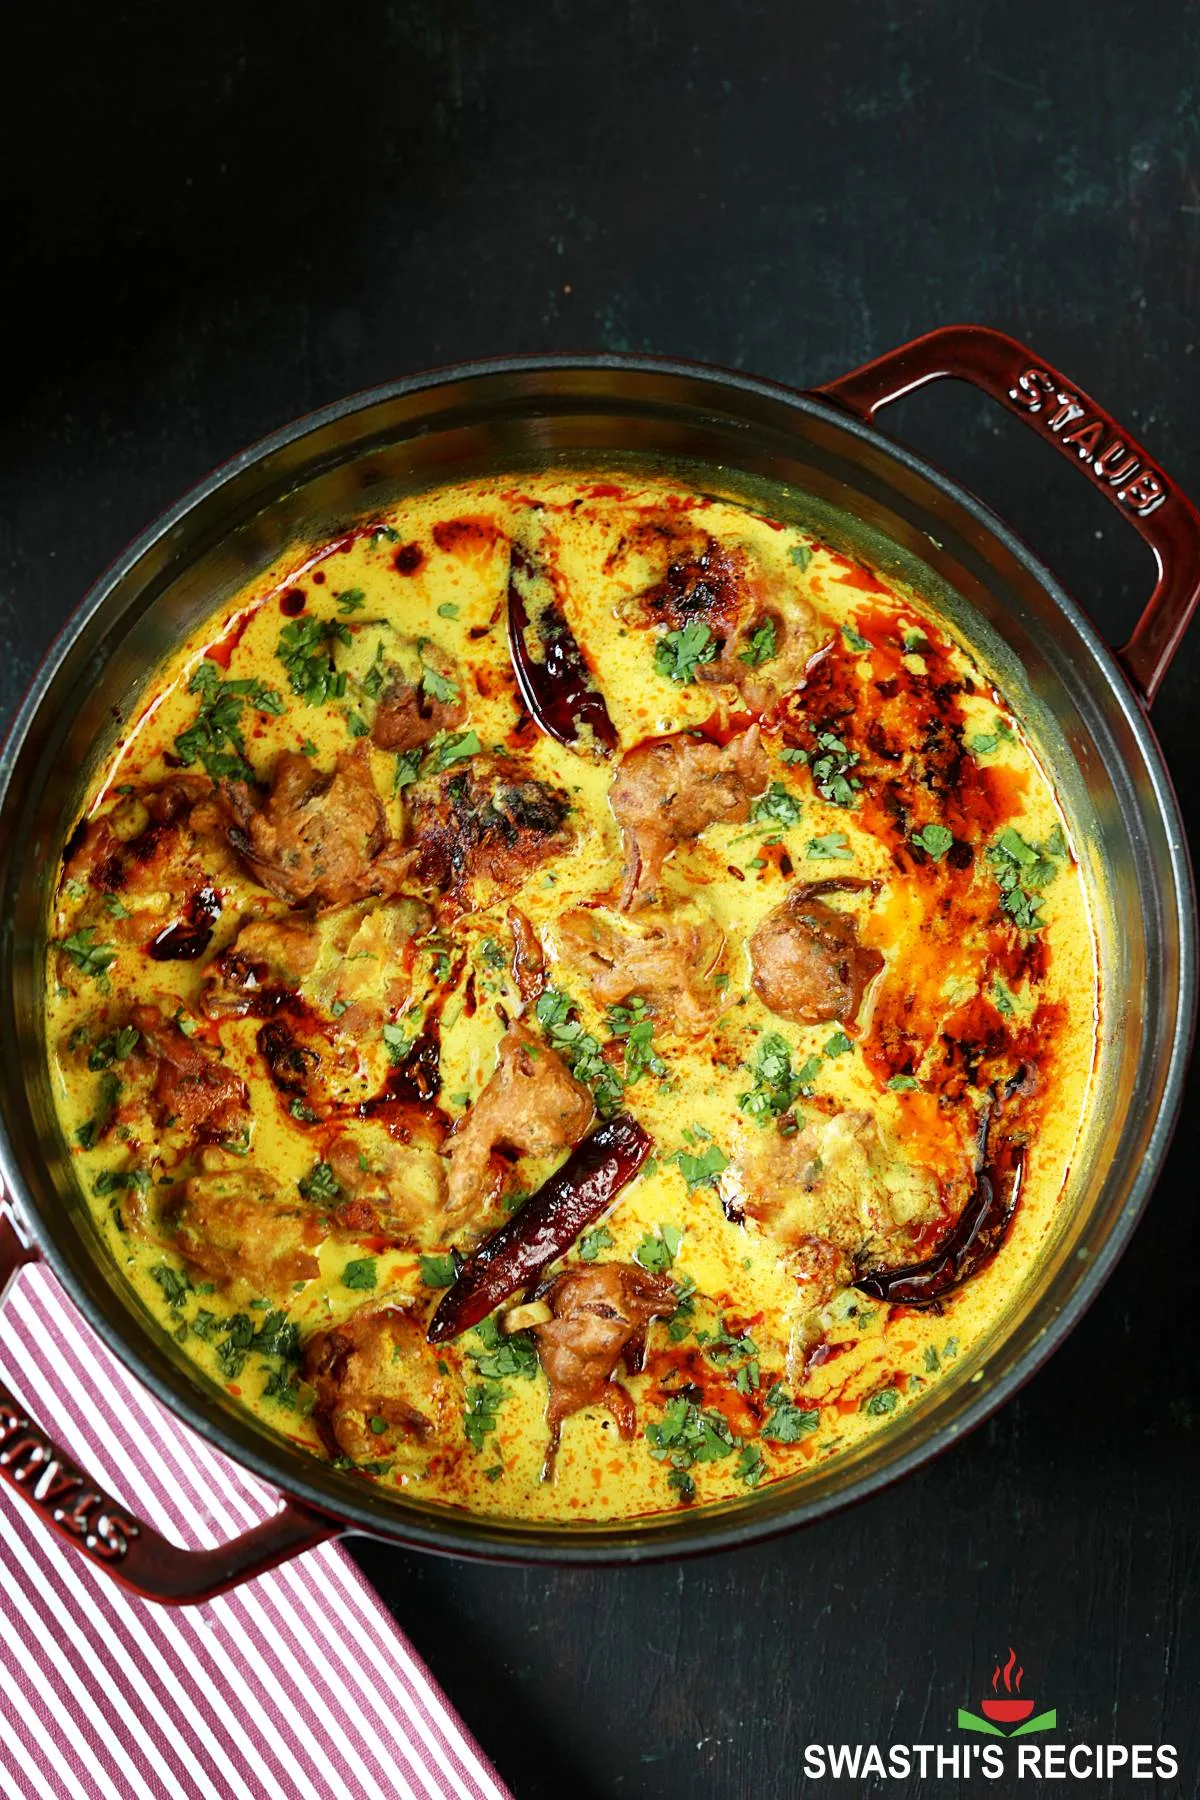
Kadhi Pakora is a popular Punjabi dish consisting of pakoras (fritters) served in a creamy and delicious yogurt sauce known as ‘Kadhi’. It is usually eaten with chawal (rice) but also goes well with naan or Tandoori Roti. In this post I share how to make a super delicious and flavorsome Punjabi Kadhi Pakora. Make your pakoras the way you want – crispy or soft & fluffy, with the help of my tips & tricks.
Kadhi is a generic term that refers to a yogurt sauce made with gram flour, Indian curd, spices and herbs. It is made in many regions of India. Punjabi, Gujarati, Rajasthani, Sindhi & Maharashtrian cuisines have their own unique way of making this dish. Traditionally Kadhi was made with Indian sour buttermilk as a way to use up the excess. You will find numerous versions to make this dish and in fact every family has their own recipe.
About Kadhi Pakora
Kadhi Pakora is the Punjabi version of this dish where the fried gram flour fritters are served together with the simmered sauce. The sauce can be served on its own without the pakoras. But honestly who doesn’t love pakore? Also adding fried fritters maximize the flavor of the kadhi. Alternately boondi, sautéed vegetables or even leafy greens like spinach can be added to it.
The making of this dish consists of 2 parts. The first one is to make the Kadhi where a gram flour & yogurt or buttermilk mixture is simmered with spices and herbs until a luscious and creamy texture is achieved. This can be made ahead and in fact kadhi tastes best when it rests for at least a few hours or even better the next day as it develops tons of flavors.
The second part involves making pakoras. A batter is made by mixing onions, herbs, spices and gram flour. Some versions also use spinach, methi leaves and potatoes too. Portions of this batter is deep fried to make fritters.
These Pakora are not the same as the South Indian snack Pakoda. The pakore made for kadhi have higher amount of gram flour and this is what makes them the best to add into a kadhi. Lastly these 2 components are assembled to make Kadhi Pakora & is finished off with a flavorful tempering / tadka. Sounds so delicious!!! Right?
This Recipe
This Kadhi Pakora recipe is roughly adapted from the popular Punjabi Chef Sanjeev Kapoor. His very old recipe from a cookbook has been enjoyed by us for years and overtime it got a makeover to yield a really delicious dish.
We all have different expectations from a Kadhi Pakora. Some like more flour in their kadhi and some prefer lesser flour and more yogurt. This recipe is about balancing both and you may experiment further based on my pro tips section below.
We all know many people love crisp pakoras with kadhi. It’s no surprise there are a lot more who love super soft and mouth melting pakore soaked up in kadhi. This recipe helps to make pakore the way you want – crisp or soft & fluffy.
What is not traditional in this?
Well, It is the addition of curry leaves to the tadka and a small quantity of corn starch to the pakoras. You may leave out both but they make a huge difference to your Kadhi Pakora. Curry leaves add flavor & crisp texture to your tadka. However you will enjoy them only if you serve immediately while they are still crisp.
Corn starch helps in 2 ways without altering the taste of the pakoras. Your pakoras will remain crisp for longer and it also prevents them from breaking when left in the kadhi for too long. They remain in shape as long as 2 to 3 days in the refrigerator and can withstand reheating & even pressure cooking too (for reheating).
Also my recipe uses a small amount of garam masala & it aids digestion. This is one of the tips I found in a Ayurvedic cookbook for kadhi. If you are serving the dish the next day, you will see there is a huge difference with garam masala. The flavors are magical!!
If you are a beginner, I highly recommend reading the pro tips section below.
More similar recipes
Chana Masala
Punjabi Chole
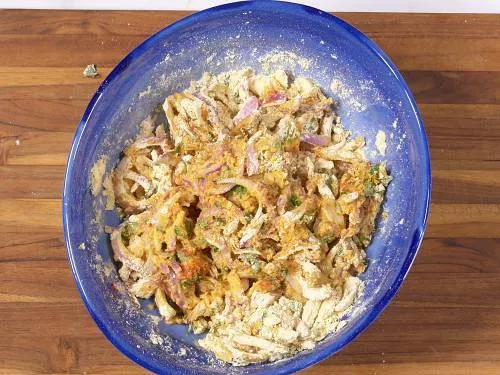
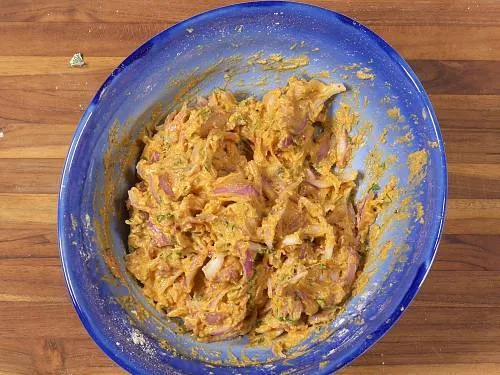
Dal Makhani
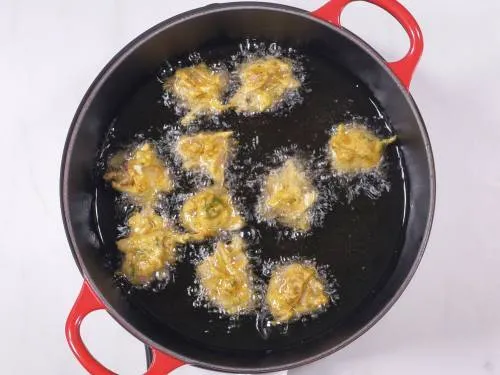
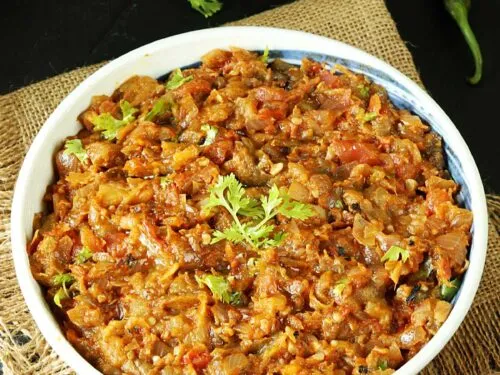
Baingan Bharta
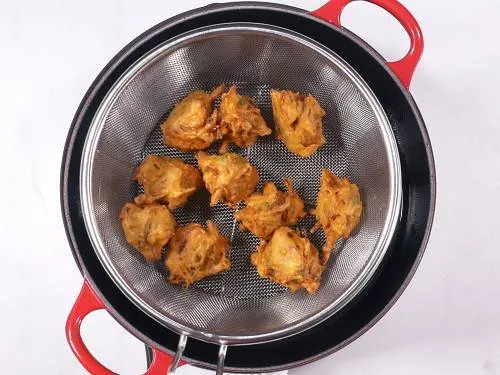
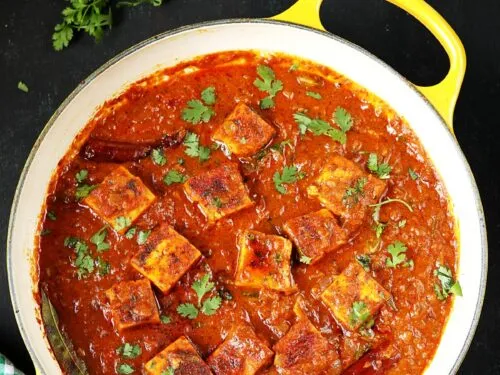
Dhaba Style Paneer
Photo Guide
How to make Kadhi Pakora (Stepwise Photos)
I made 2x recipe so you will find double the quantities in the pictures below. Please ignore that.
Preparation
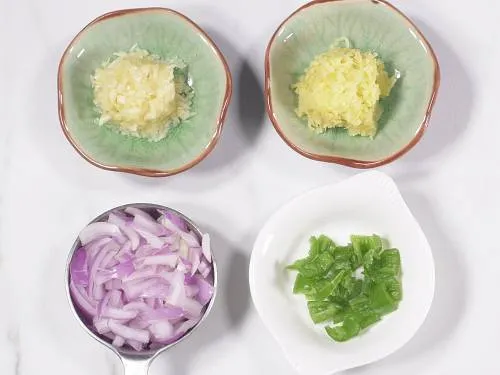
1. To begin with you only need to prepare 4 ingredients.
- ½ tablespoon ginger grated or paste
- ½ tablespoon garlic grated or paste
- 2 to 3 tablespoons onions sliced or chopped
- 1 to 2 green chilies deseeded, chopped or crushed (adjust to heat)
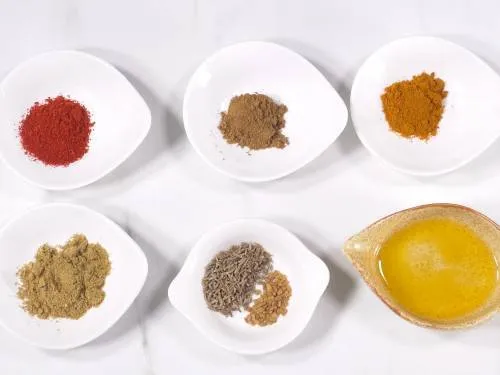
2. Here are the ground and whole spices you need:
- ¼ teaspoon Kashmiri red chili powder
- ½ teaspoon coriander powder (or ½ tablespoon coarsely crushed seeds)
- ¼ to ⅓ teaspoon turmeric (adjust for color)
- ¼ to ⅓ teaspoon garam masala
- ¼ teaspoon methi seeds (Fenugreek seeds)
- ½ teaspoon cumin seeds (Jeera)
- 1 dried red chili broken
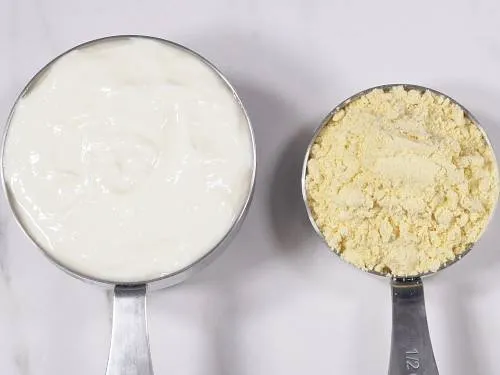
3. For this recipe you will need 1 cup homemade sour Curd or ¾ cup store bought yogurt. Usually homemade curd has some amount of whey which is missing in the store bought so the difference. You will also need ¼ cup besan/ gram flour which weighs about 25 to 27 grams. Please sift/ sieve the flour for easier mixing.
4. Add the flour to a mixing bowl. Pour yogurt in batches & mix with a whisk or a fork to a smooth mixture.
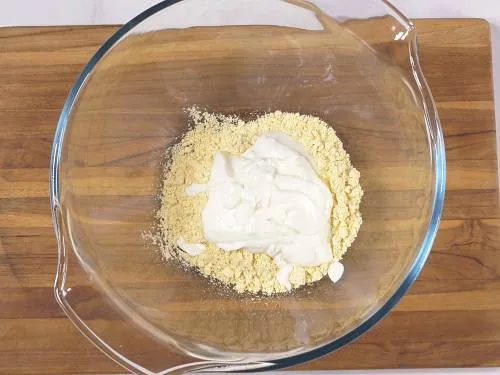
5. This is how it should look and not have any lumps.
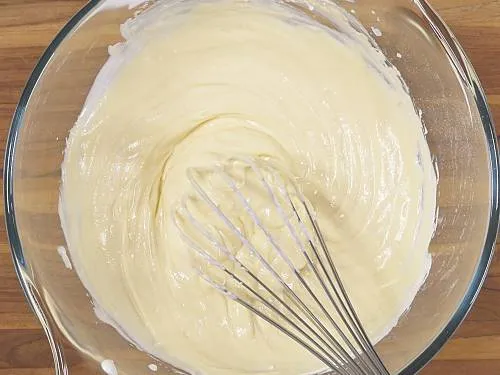
6. Pour 3 cups water for homemade yogurt (or 3¼ cups if using store bought plain yogurt) and stir well.
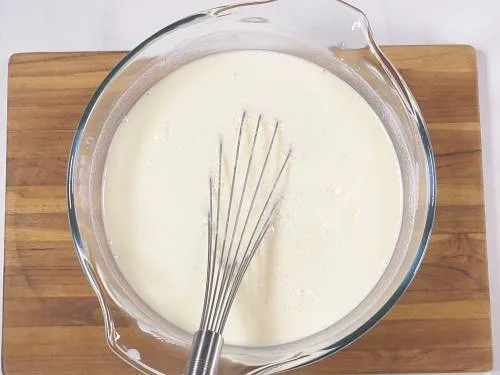
Make Kadi
7. In a large pot heat 1½ tablespoons oil or ghee. Add dried red chilies, methi seeds and cumin seeds. When they begin to splutter add onions and green chilies.
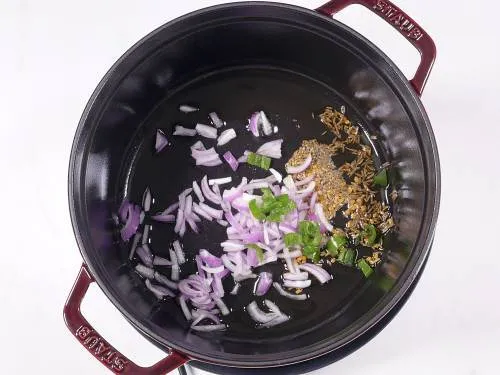
8. Saute until they turn golden. Reduce the heat. Stir in the ginger garlic and saute until aromatic for a minute.
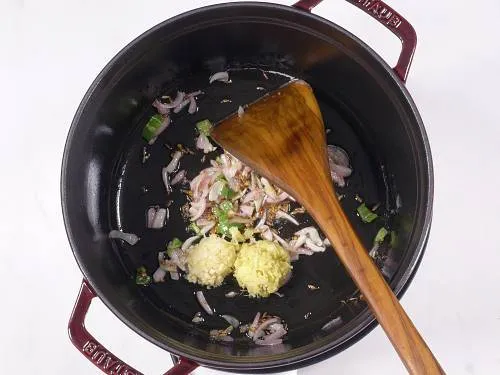
9. Add all the ground spices – turmeric, red chilli powder, garam masala & coriander powder.
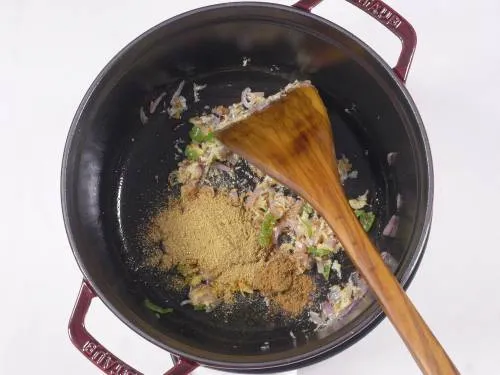
10. Stir well.
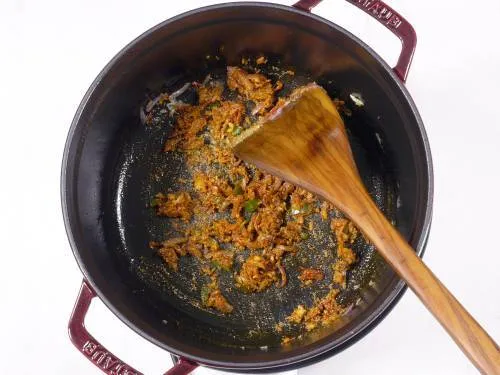
11. Stir the besan mixture with the whisk and pour it here. Mix well. On a low heat bring it to a gentle boil, stirring constantly. Once the mixture is slightly hot, increase the heat slightly and bring to a boil. Do not heat on high heat.
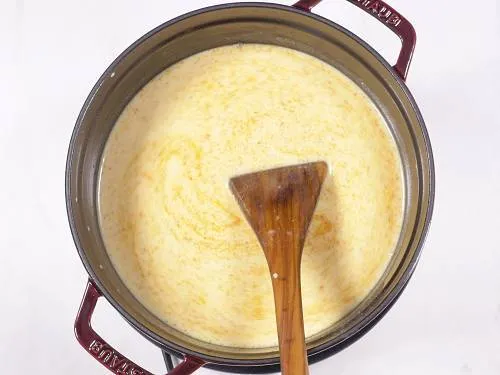
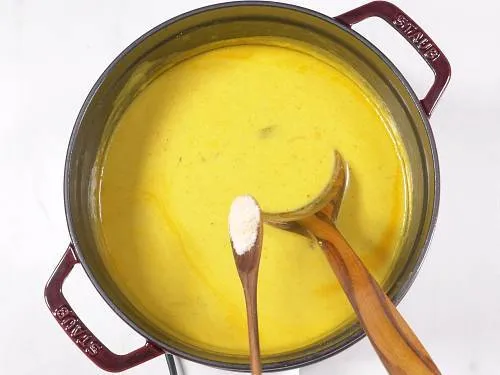
12. At this stage the mixture needs your attention as the besan can settle down at the bottom. So keep stirring often until it comes to a boil & begins to thicken. Here is a picture of the consistency.
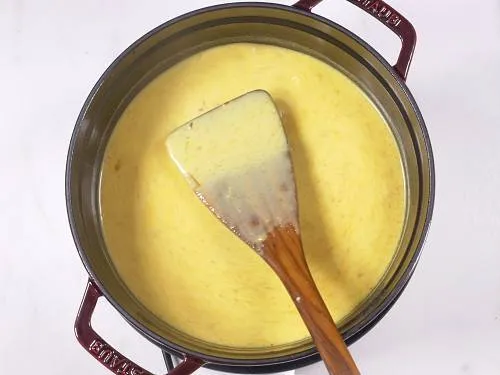
13. Partially cover the pot and leave a spoon in the pot so it won’t overflow. Regulate the heat to medium to medium-low and let this simmer until it turns thick. Keep stirring the kadhi in intervals of 5 to 8 mins throughout the process. It takes about 30 mins. While this cooks, if you want you can prepare for the pakoras.
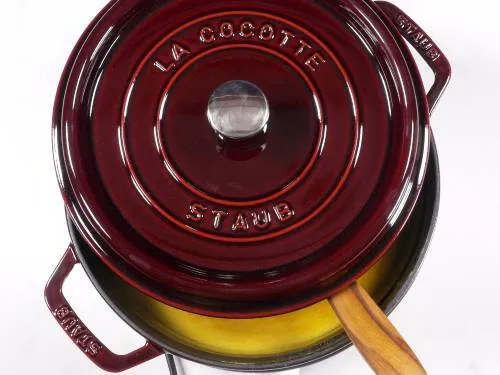
14. You will see traces of spiced oil/fats over the kadhi when it is done.
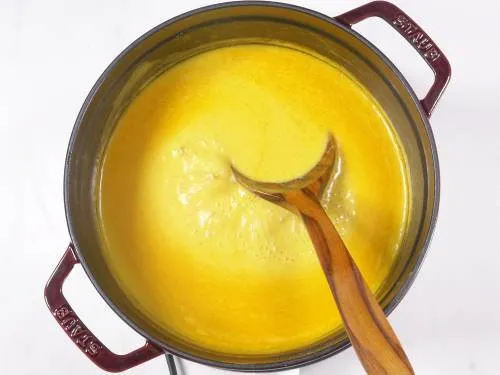
15. This is the consistency you will look for.
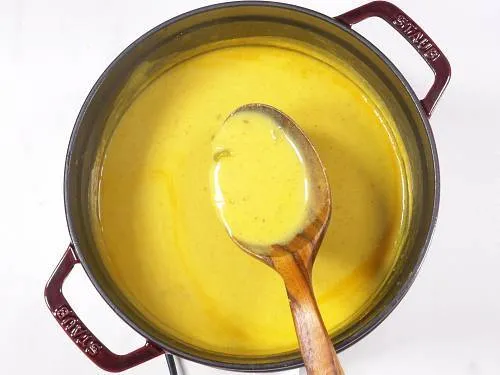
16. Add ½ to ¾ teaspoon salt. Stir well and taste test to adjust. Your Kadhi is ready. You can either make the pakoras right away or let it rest to serve later or the next day.
Make Pakora
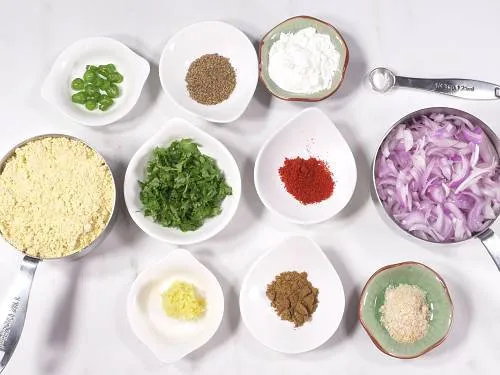
17. Here are the ingredients for the pakora:
- 1 to 2 green chilies chopped (optional, adjust to taste)
- ¾ cup onions (thinly sliced, 85 grams)
- 2 tablespoons coriander leaves ( or ½ cup palak – spinach)
- ½ tablespoon ginger grated or paste
- ¾ cup besan (gram flour, 80 grams)
- ¾ tablespoon corn starch (optional. 7 grams)
- ½ teaspoon ajwain (crushed carom seeds)
- ¼ teaspoon salt (more to adjust)
- ¼ teaspoon red chilli powder (optional)
- ¼ to ⅓ teaspoon garam masala
- ⅛ teaspoon baking soda
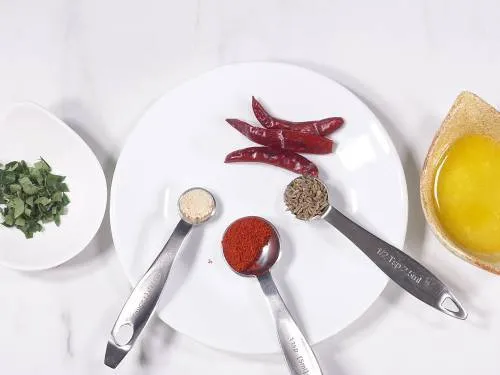
18. These are the ingredients for the tadka/ tempering. You will need
- ¼ to ⅓ teaspoon cumin seeds
- 1 to 2 dried red chilies (broken if needed)
- ¼ teaspoon Kashmiri red chili powder (adjust to taste)
- ¼ teaspoon Hing (asafetida)
- 1 sprig curry leaves
- 1½ tablespoon ghee
19. If you want to serve crispy pakora with kadhi, make sure you make them only when you are ready to serve or reheat them. Pour oil to a kadai and heat it for deep frying your pakoras. To a large mixing bowl, add all the ingredients to make pakoras. Mix well.
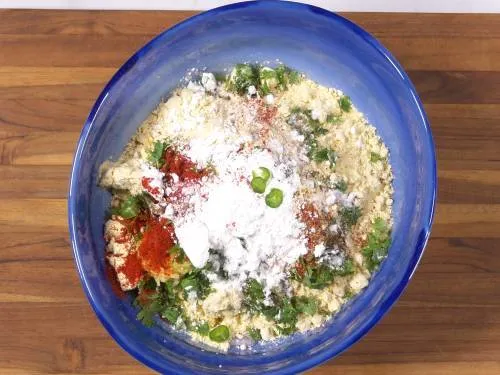
20. Add a splash of water and begin to mix well, squeezing the onions a bit so they release the moisture.
21. You will make a sticky and thick batter. Do not add a lot of water. Too much water makes your pakoras softer quickly. You will need only 3 to 4 tablespoons water. Add them in batches as required. Do not let your batter sit for long as the onions will let out more moisture and loosen the batter further.
22. Test if the oil is hot by dropping a small portion of batter to the hot oil. It should sizzle and come up to the surface. Regulate the heat to medium, take small portions of the batter and drop to the oil. You can either use a tablespoon or your fingers for this. I make slightly larger pakoras (about ¾ tbsp) for the kadhi and small ones to serve crisp. Avoid disturbing them for 1 to 2 mins, later stir and fry until crisp. The last 2 mins, I fry them on a low heat to crisp up better.
23. Remove to a cooling rack or steel colander.
24. Once you are done frying all the pakoras, refry them on a medium heat to make them extra crisp.
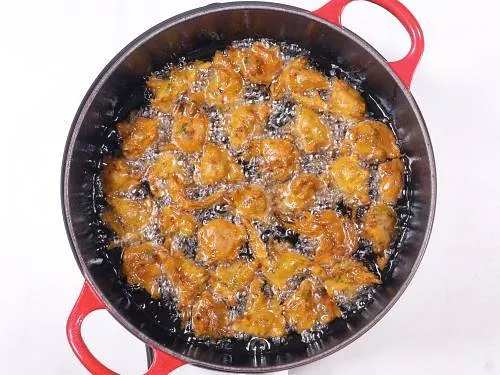
25. Remove them to the colander.
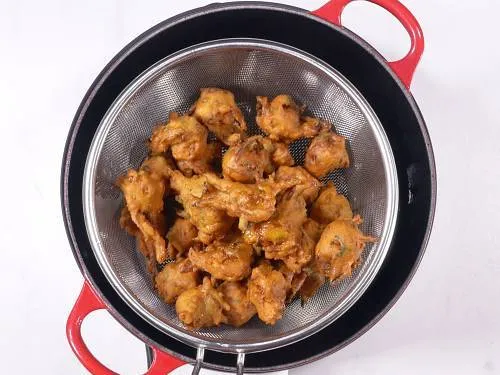
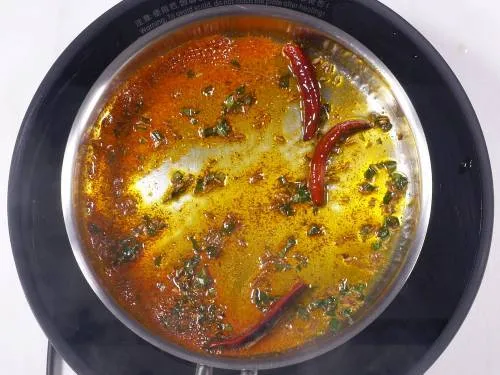
Make Tadka
26. Pour 1½ tablespoon ghee to a small tadka pan and heat it on a medium flame. Add the ¼ to ⅓ cumin seeds, 1 to 2 dried red chilies. When the cumin begins to sizzle, add the 1 sprig chopped curry leaves and fry until crisp. Turn off the heat & be careful not to burn. Add ¼ teaspoon hing and ¼ teaspoon red chilli powder.
27. Add the coriander leaves to the hot kadhi and add the pakoras if you want them softer. Pour the hot tadka straight from the pan over the Kadhi Pakora. I add the larger pakoras to the kadhi and reserve the smaller crisp ones to serve along.
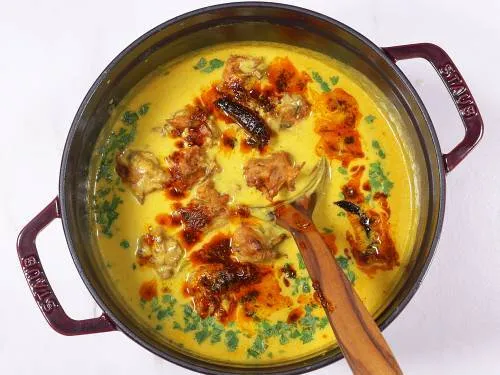
Serve Kadhi Pakora over rice/ chawal or with naan. You can also serve with jeera rice or with roti.
Pro Tips
Liquid or water: Like the Punjabi Dal Makhani, a good Kadhi gets its unique taste, creaminess and flavors by simmering it for a long time. To achieve this you need plenty of liquid/water or buttermilk as mentioned in the recipe. Using lesser liquid can easily undercook your kadhi and make it taste raw or even worse can make you bloated.
Kadhi without pakora: If you prefer to serve the kadhi without pakoras, double or triple the onions for kadhi and let them fry until deep golden or light brown. This kind of onions impart some simple yet great flavors to your kadhi. Use more ghee or oil for that.
Besan:Yogurt ratio: I have loved this ratio of 1 cup homemade yogurt (or ¾ cup store bought plain yogurt) with ¼ cup besan always. But if you prefer lesser yogurt and more besan in your kadhi, you may reduce yogurt to half cup. Make sure it is really tangy/sour else you won’t get the tangy flavors in your kadhi.
For 2x and 3x you need to simmer longer. For 2x I use 7 cups water & simmer for 50 mins.
Related Recipes
Recipe Card

Kadhi Pakora Recipe
For best results follow the step-by-step photos above the recipe card
Ingredients (US cup = 240ml )
- 1 cup curd (homemade & sour or ¾ cup store bought plain yogurt)
- ¼ cup (25 to 27 grams) besan (sifted gram flour)
- 3 to 3¼ cups water (read notes)
To make Kadhi
- 1½ tablespoon oil (or ghee)
- ¼ teaspoon methi seeds (Fenugreek seeds)
- ½ teaspoon cumin seeds (Jeera)
- 1 dried red chili broken
- 2 to 3 tablespoons onions sliced or chopped
- 1 to 2 green chilies chopped or crushed (adjust to heat)
- ½ tablespoon ginger grated or paste
- ½ tablespoon garlic grated or paste
- ¼ to ⅓ teaspoon turmeric (adjust for color)
- ¼ teaspoon Kashmiri red chili powder
- ½ teaspoon coriander powder (or ½ tablespoon coarsely crushed seeds)
- ¼ to ⅓ teaspoon garam masala
- ¾ to 1 teaspoons salt (adjust to taste)
- 1½ tablespoons coriander leaves (fine chopped)
To make Pakora
- ¾ cup (80 grams) besan (gram flour)
- ¾ tablespoon (8 grams) corn starch (optional, for crisp pakoras, read notes)
- ¾ cup (85 grams) onions (thinly sliced)
- ½ teaspoon ajwain (crushed carom seeds)
- 1 to 2 green chilies chopped (optional, adjust to taste)
- ½ tablespoon ginger grated or paste
- ¼ teaspoon salt (more to adjust)
- ¼ teaspoon red chilli powder (optional)
- ¼ to ⅓ teaspoon garam masala
- ⅛ teaspoon baking soda
- 2 tablespoons coriander leaves ( or ½ cup palak – spinach)
- 3 to 4 tablespoons water (adjust as needed, I use ¼ cup)
- oil for deep frying
To Temper
- 1½ tablespoon ghee
- ¼ to ⅓ teaspoon cumin seeds
- 2 dried red chilies (broken if needed)
- 1 sprig curry leaves (I prefer fine chopped)
- ¼ teaspoon Kashmiri red chili powder (adjust to taste)
- ¼ teaspoon Hing (asafetida)
Instructions
How to make Kadhi
- To a large mixing bowl, add gram flour and half of the yogurt. Mix well with a whisk until smooth and lump-free. Add rest of the yogurt & mix. Pour water and mix well.
- Pour ghee/oil to a large deep pot and heat it. Add cumin, methi seeds & dried red chilli.
- When they begin to sizzle add onions and green chilies. Saute on a medium heat until the onions turns transparent & lose the raw flavor.
- Reduce the heat to low and add ginger garlic. Saute until aromatic for a minute. Stir in red chilli powder, coriander powder, turmeric and garam masala.
- Mix the gram flour and yogurt mixture with a spoon and pour that into the pot.
- Mix well and bring to a gentle boil on a low heat. As the mixture begins to heat, keep stirring so the besan does not settle at the bottom.
- Once the mixture is hot and turns slightly thicker, increase the heat slightly and bring to a boil.
- Regulate the heat to medium and simmer until the kadhi becomes thick and you see spiced oil floating over it. It takes about 30 mins. Keep stirring the kadhi in intervals of 5 to 8 mins throughout the process.
- When the kadhi is done, stir in the salt and taste test. At this stage kadhi should be thick but not too thick. It becomes more thick as it cools down and also note that pakoras need some moisture to soak up. If it is too thick you may add some boiling hot water. (Check Video for consistency)
How to make Pakora
- While the kadhi cooks, you can begin to make the pakoras. Heat oil for frying in a deep pan/pot.
- To a mixing bowl, add onions, green chilies, salt, besan, corn starch (optional), crushed ajwain, red chili powder, garam masala, ginger, baking soda & coriander leaves.
- Mix well to a thick pakora batter, adding water as required. Start with 3 tablespoons water and add more as required.
- Taste test and adjust salt and spice to taste.
- To test if the oil is hot enough, drop a small portion of pakora batter to the oil. If should sizzle and rise to the surface without turning too brown.
- Regulate the heat to medium, Drop portions of pakora batter to the hot oil and do not disturb them for a minute or 2.
- Later stir and fry them on a medium heat until crisp and golden. When they are done, the bubbles will reduce. At this stage, reduce the heat and fry them for a minute or 2 to make them crisp.
- Remove the pakoras to a cooling rack or a steel colander. Meanwhile make the pakoras with the rest of the batter.
- Optional – To keep the pakoras extra crisp for longer, after frying all the pakoras, fry them again for a minute on a medium heat. Be careful not to burn them.
Temper Kadhi Pakora
- It is advised to add the pakoras and temper the dish only before serving. Add the coriander leaves to the kadhi.
- Add the pakoras to the hot kadhi if you want softer pakoras. If you prefer them crisp, add them while serving.
- Pour ghee/oil in a small tadka pan. When it becomes hot, add cumin seeds and dried red chilies. When the seeds begin to sizzle, stir in the fine chopped curry leaves until crisp.
- Turn off the heat and add red chili powder and hing.
- Pour this over the kadhi pakora and serve with rice/chawal or with naan.
Notes
- Water: You need minimum 3 cups of water for this recipe. I find the kadhi reaches the best stage when it is simmered with at least 3 cups. I prefer 3½ cups and I feel there is a difference. You may experiment to see what works well for you.
- If using store bought yogurt, use ¾ cup plain yogurt with 3¼ cups water. Homemade yogurt usually has more whey so use 1 cup with 3 cups water.
- Corn Starch not only keeps your pakoras crisp for longer but also prevent them from breaking when left for too long in the kadhi. You won’t taste the corn starch in the pakoras.
- Garam masala and curry leaves are not used in the traditional Punjabi Kadhi pakora. But both these ingredients make a huge difference to the dish. Garam masala helps to develop unique flavors especially when you rest the kadhi & your pakoras are more flavorsome.
- For 2x and 3x you need to simmer longer. For 2x I use 7 cups water & simmer for 50 mins.
Video
Watch Kadhi Pakora Video
NUTRITION INFO (estimation only)
© Swasthi’s Recipes
About Swasthi
I’m Swasthi Shreekanth, the recipe developer, food photographer & food writer behind Swasthi’s Recipes. My aim is to help you cook great Indian food with my time-tested recipes. After 2 decades of experience in practical Indian cooking I started this blog to help people cook better & more often at home. Whether you are a novice or an experienced cook I am sure Swasthi’s Recipes will assist you to enhance your cooking skills. More about me
Follow Swasthi’s Recipes

Comments
Swathiji, have been trying out many of your recipes for many years in India. Now, staying as a bachelor in Dubai, I am able to cook for myself following your recipes. The Kadhi has come out very well. You are simply the best!! God bless!!
Thank you so much for the wishes. Happy to know the recipes are helpful
Loving your recipes! I made this kadi pakora last evening for our dinner and everyone was so pleased with it. It turned out tasty and beautiful like shown in your pictures. Thank you and please post a murgh musallam recipe
Thanks Noor. So glad you all like it. I will try to post the recipe but I am going to take a few months.
I am extremely thankful for your recipes being simple and well illustrated, I lost my wife in November 24, she was a passionate cook and prepared the best cuisines for me,opposite to her I am least passionate for cooking, but now since I am all alone and need to survive I.
managed some goodies through your recipes, thank you
Glad to know the recipes are helping. Sorry for your loss Mr. Sylven. Happy cooking!
I am extremely grateful for your recipes, being simple and well illustrated, I lost my wife in November 2024 she had a passion for cooking, giving me the best cuisine, now I am not at all passionate for cooking but have to survive since I am all alone, I was able to do some good cooking through your recipes, thank you
Yes good effort by great cook even a new beginner learn it quickly and Ina simple way ok..
Thanks Tamkeen
Thank you for this wonderful recipe! Can I use buttermilk instead of yogurt? How much?
Hi Neha,
You are welcome. Yes you can use about 3 1/2 cups buttermilk
Loved the recipe. Made it and came out fab !! Always found kadhi hard to make until I found this recipe.
Glad to know Yashita. Thank you!
Came out delicious. We made this kadhi pakora for my mother birthday and she loved it
I made this kadhi pakora last evening. It was super awesome! I added parboiled potatoes to the pakora batter and it was a perfect meal. 10/10 for the texture, consistency and flavors of the kadhi. Thank you
It’s one of my favorite food. I also like aalo ki bhujiya and baingan ka Bharta with daal and chawal, All of them goes well with Bhagary Chawal
Thanks for reading
Thank you. I made kadhi today and it turned out great. Will be making the pakoras tomorrow for our dinner.
You are welcome Bhavana. Glad you like the Kadhi
We intend to make 3x kadi pakora for a family dinner. Do I need to follow the same cook time as mentioned in the recipe? TIA
No, you need to cook longer. I have mentioned that in the pro tips section. For 2x I simmer for 50 mins. May be add another 10 to 15 mins. You will know it is done looking at the consistency. Hope you all enjoy
It was a cold day here and I made this kadhi pakora. It was hearty and warming. Had to omit curry leaves and hing because we didn’t have it. Turned out delicious and my guests loved it. My husband reserved the leftovers for another meal. Thank you for the amazing recipe
Hi Jade,
That’s lovely to read! Yes they can be omitted. Thank you for sharing back
I think I am in love with your recipes. Made this kadhi pakora and chole during Diwali. Got such rave reviews from my friends and family. I am making this again today. Do you think I can add fresh methi leaves to the kadhi? Will it taste good? TIA
Hi Devyani,
That’s a great compliment. Thank you! Yes add them. Though not authentic, yes it tastes good. Saute chopped methi leaves in 1 tsp ghee until completely wilted and aromatic. Add that at the last stage to the kadhi, just before the tempering. Would love to hear how you like that version. 🙂
Swasthi, thank you so very much for your blog…. Your recipes are fool proof and so well articulated… I made the kadhi pakoras today and it turned out so amazing. Thank you so much. Your recipes are my go to for daily and party cooking.
So glad you like it Mridhu. Thank you for writing! This makes me so happy!
Recipes on video are cut off too quickly. Frustrating!
Frances, I have the complete video in the recipe card, down the page.
You are a genius. I meant it. Your recipes have a scientific workability to them. You have taken the time to figure out every possible error of every thing possible. Thank you! Loved the Kadhi!
Hi Amita,
That’s a huge appreciation! Thank you so much for your kind words. I’m happy you like the Kadhi.
Very nice
Thank you, my Kadhi Pakora is delicious! But all the pakoras are gone! Have nothing left to serve with the Kadhi? What can I add to it?
So glad to know Sabeena. Boondi or grilled potatoes would go well. You can actually serve without the pakoras.
I’m making this kadi pakora ahead because my in-laws are visiting us. How ahead can I make the kadhi and pakora. I only want to refrigerate and not freeze. Pls share how to reheat it. Thank you for the beautiful recipe.
Hi Anisha,
You can keep the kadhi and pakoras both (separately) for 3 days in the refrigerator. I reheat kadhi in the IP for 0 mins and let the pressure drop naturally. You can also do it on the stovetop on a low heat. Pakoras can be reheated in a preheated oven for 3 to 4 mins or in the air fryer for 2 to 3 mins. Adjust the timings depending on the size of your oven. Hope this helps
Hi Thank you for the recipe and all the tips.
I have related question.
Reheating pakoras in oven at what temperature?
Can we mix kadhi pakora an hour before serving or it will effect taste ?
Hi Sana,
You can reheat them at 375 F for 5 to 8 mins until crispy, depending on how cold they are.
If you want crispy pakora add them at the time of serving. Some people like very soft pakoras in the kadhi. If you want that kind, add them an hour before. I add large pakoras to the kadhi early and reserve small ones to add at the time of serving. These will remain crisp and both taste good in their own way. Hope you all enjoy!
Thanks