Bhindi Ki Sabji | Ladies Finger Recipe
Updated: July 30, 2023, By Swasthi
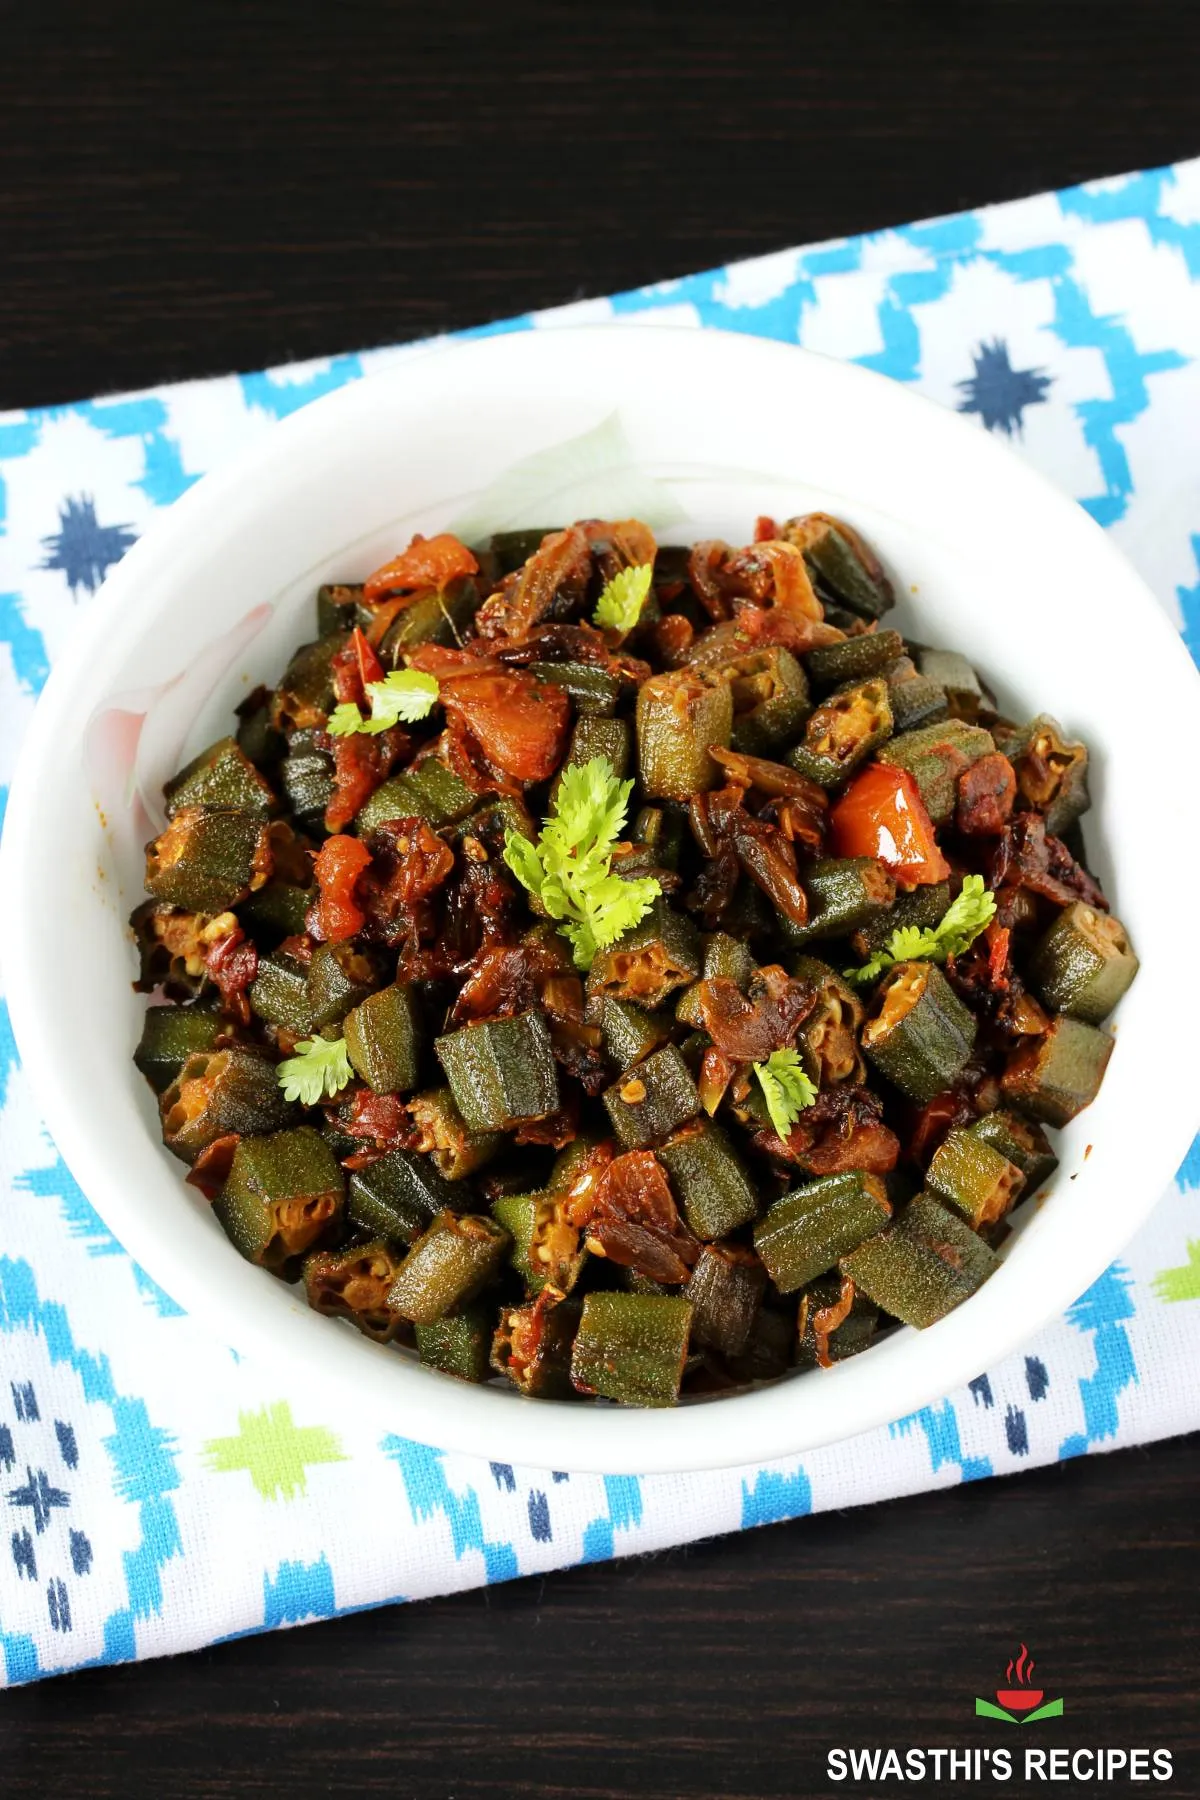
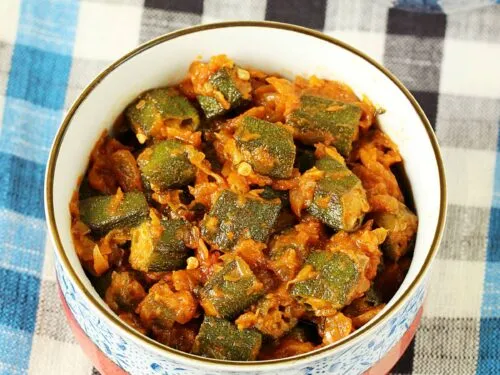
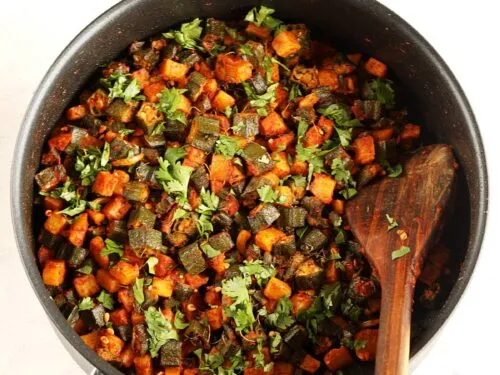
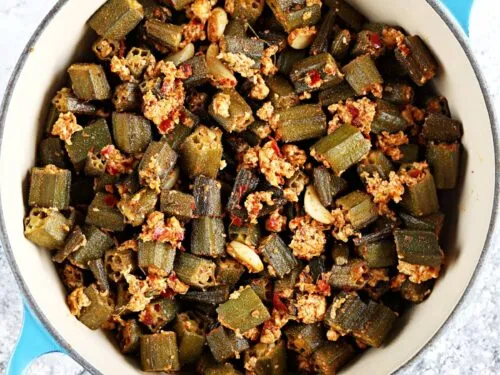
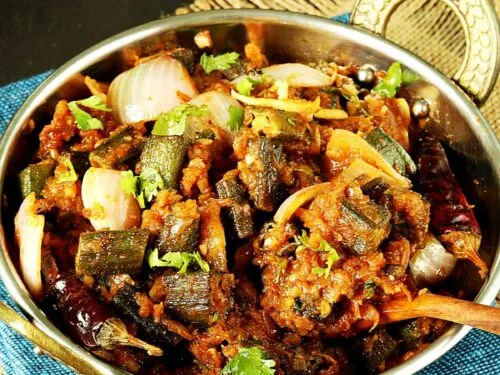
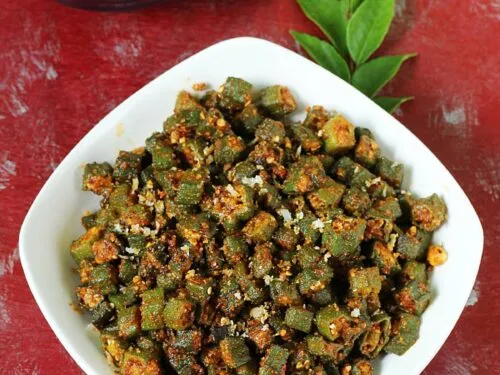
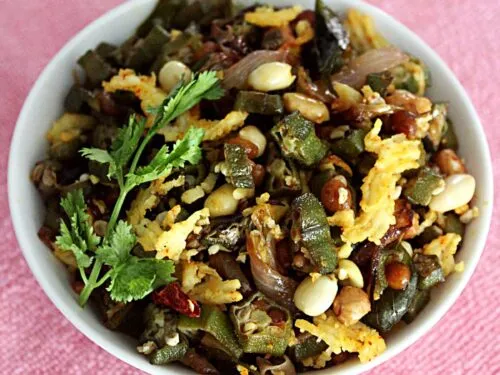
Bhindi ki sabji recipe – Simple ladies finger dry curry made with okra, spices, onion and tomatoes. This is an easy to prepare sabji and is healthy as well. The dish is mildly spiced yet it tastes very delicious. It goes well with plain rice, roti or even as a side with plain rice and dal. It also goes well in the lunch box. Since it is a dry curry it can also be used as a filling to make chapati or roti rolls.
Tips to make a good bhindi ki sabji
- Always choose young bhindi as they are less slimy. So they cook faster and taste good.
- Prepare them within a day or two after buying them from the market. They continue to age even though refrigerated.
- Avoid buying bhindi with dark spots on them as they indicate they are aged. These take longer to cook and don’t taste good.
- Avoid over stirring them in the pan. If they are too slimy, add in a tbsp of lemon juice to get rid of it.
For health benefits, do not overcook ladies finger or until they turn too soft. Just cook until they are no more slimy.
For more Bhindi recipes, you can check
Aloo Bhindi
Sauteed Okra
Bhindi masala
Bhindi fry
Ladies finger fry
Bendakaya pulusu
Vendakaya poriyal
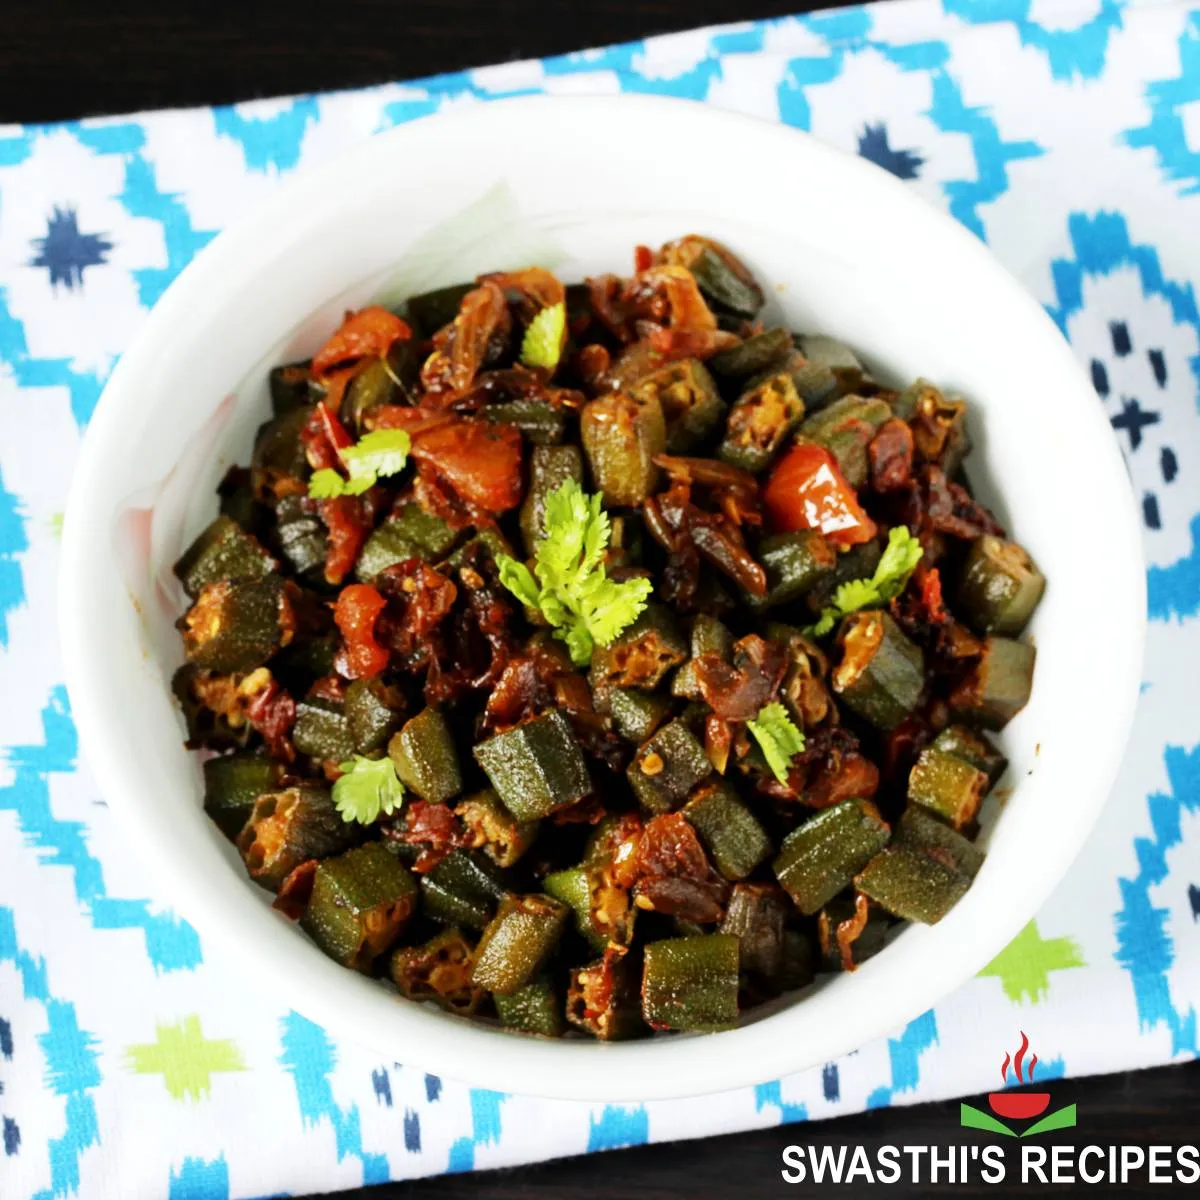
Photo Guide
How to Make Bhindi Ki Sabji (Stepwise photos)
Prepare Ladies Finger
1. Rinse 250 to 300 grams ladies finger under runny water. I spray vinegar and sprinkle some salt. Leave them for about 10 to 20 mins. Rinse them well under running water.
2. Drain them to a colander and let dry them for a while. Wipe off with kitchen tissues or clean napkin. They must not be moist or wet otherwise they will become slimy when you chop.
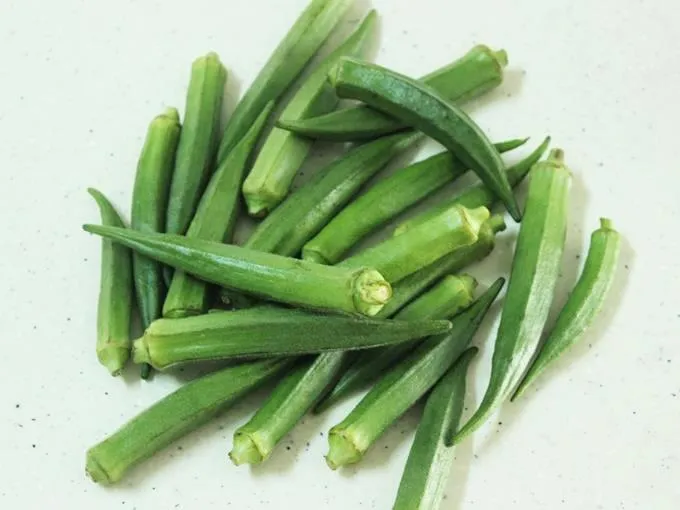
3. Chop them to half inch pieces and set aside. While you chop, if the knife becomes slimy, wipe off with a kitchen tissue. Then slice 1 large onions (¾ cup sliced). Chop 1 large tomatoes (about half cup chopped) and chop 1 green chili. You can deseed the tomatoes if you don’t like them.
Make the Sabji
4. Heat a pan with oil. Add half teaspoon cumin seeds. When the seeds begin to splutter add 1 tbsp chopped garlic. Saute just for 30 seconds without browning the garlic.
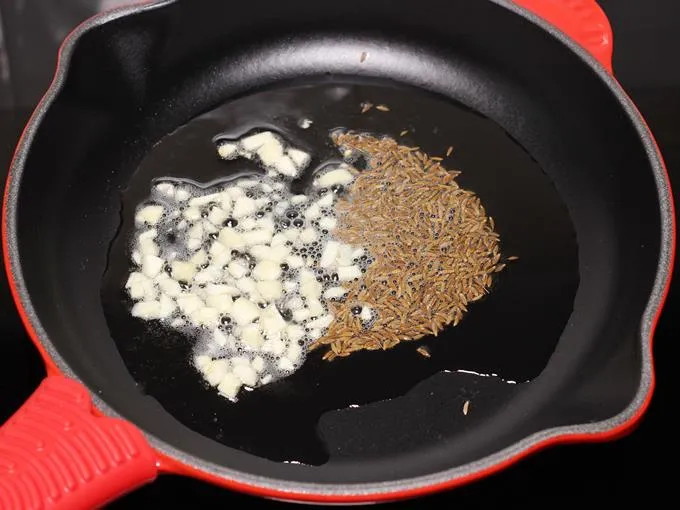
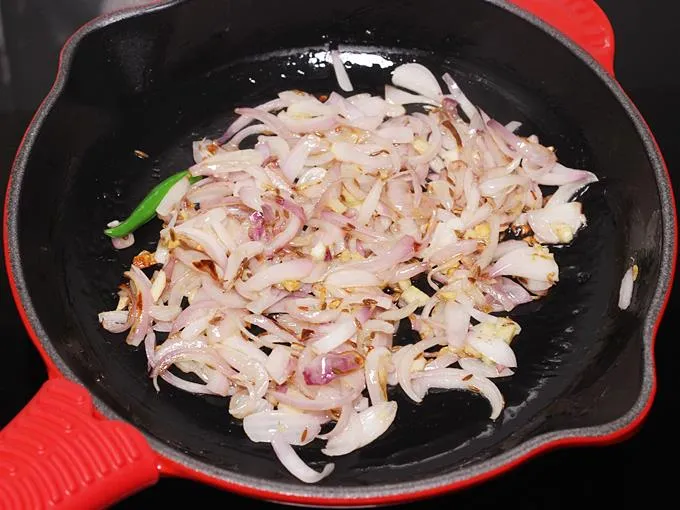
5. Next add in the sliced onions and green chilies.
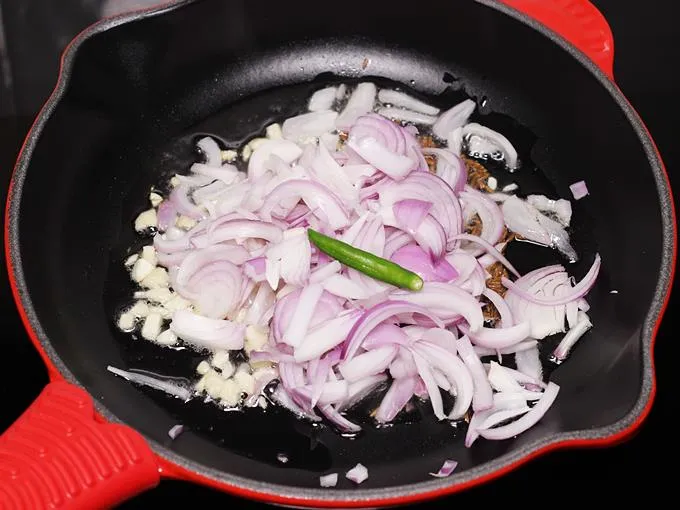
6. Keep strirring and fry them until lightly golden.
7. Add in chopped bhindi.
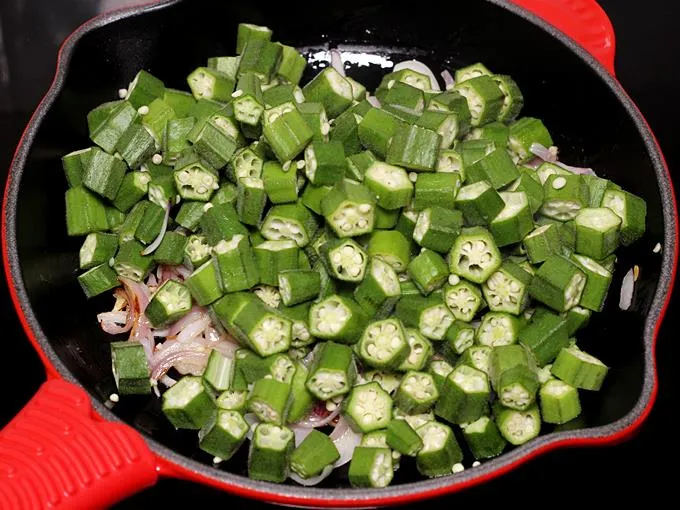
8. Fry them until they are half cooked yet crunchy. But they should not be sticky anymore.
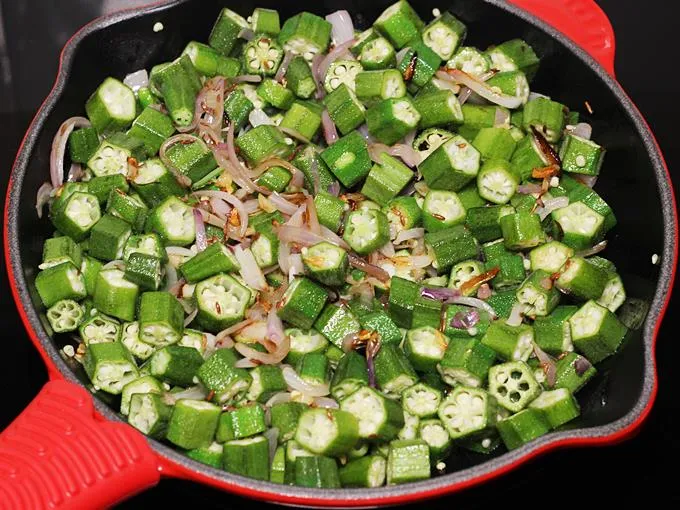
9. While frying stir often but don’t overdo as they become more slimy. Scrape off the bottom gently if it begins to burn. You can also add a tsp of oil to prevent burning.
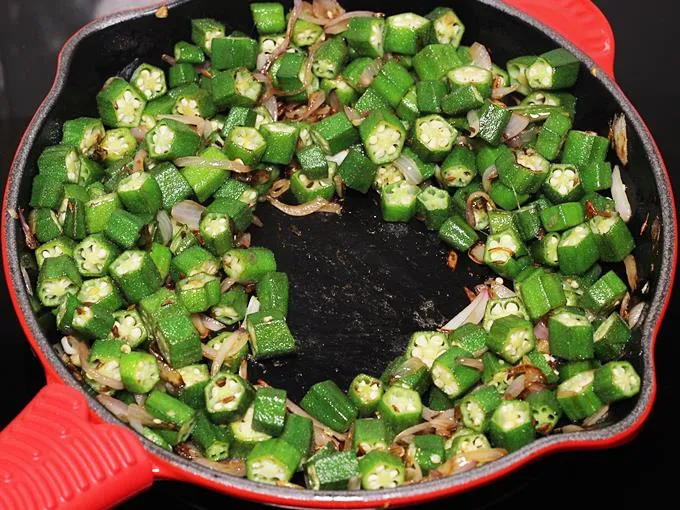
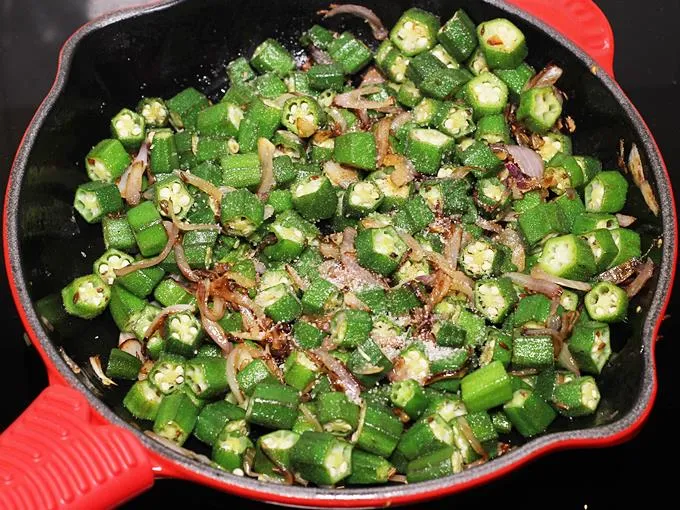
10. Sprinkle salt. I used half teaspoon Himalayan salt.
11. Next sprinkle 1/8 teaspoon turmeric, half teaspoon red chili powder and half teaspoon garam masala. If you do not like garam masala in this, just add good pav bhaji masala or sambar powder.
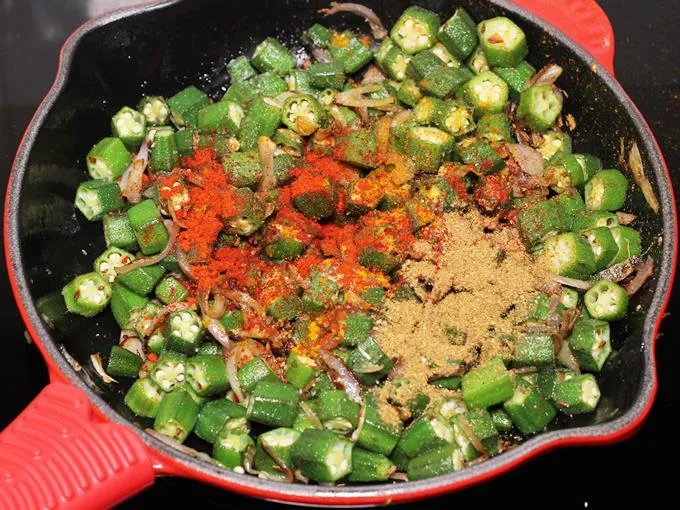
12. Saute for 2 mins.
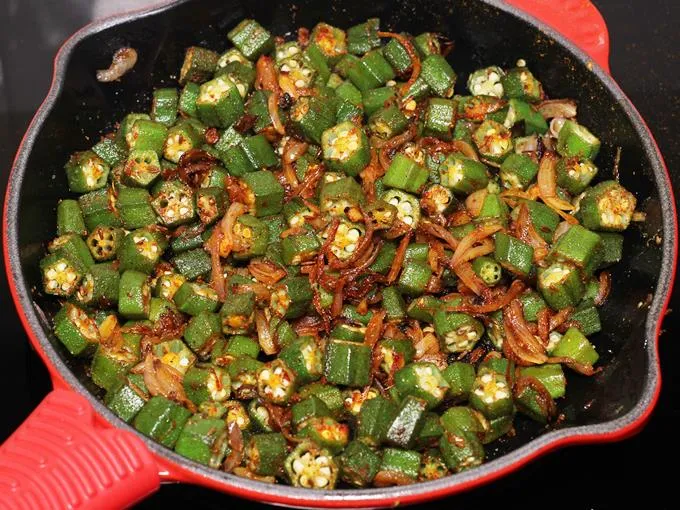
13. Add chopped tomatoes.

14. Again fry the ladies finger for 2 mins.

15. Cover and cook till the tomatoes turn mushy & soft.

16. Check the salt and spice. If needed add more salt. Then add 1 teaspoon kasuri methi or curry leaves. Fry for another 2 to 3 mins till the raw smell of tomatoes goes away.
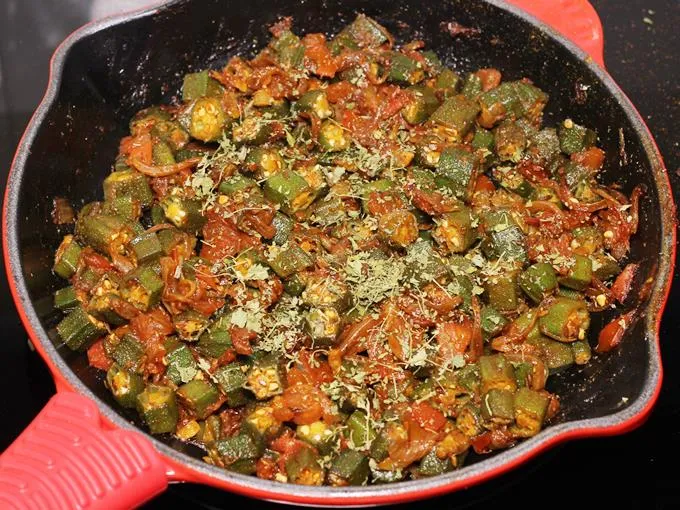
17. If you prefer fully cooked bhindi, then keep mixing and cook until soft. We eat semi cooked bhindi so I turn off early. .
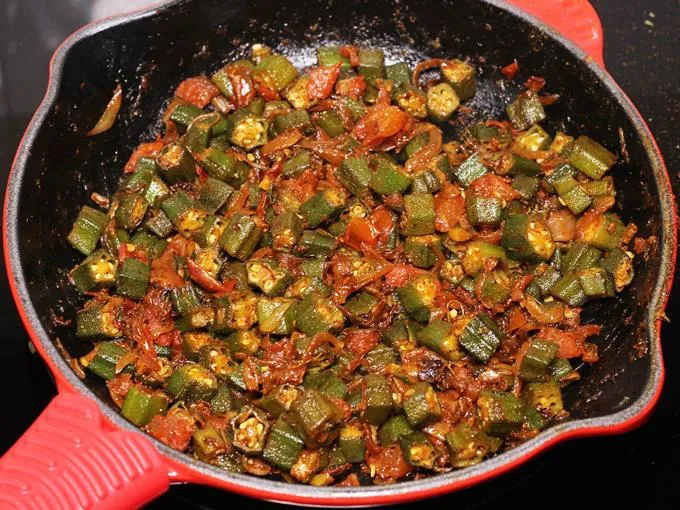
Serve bhindi ki sabji with rice or chapati.

Related Recipes
Recipe Card
Bhindi Ki Sabji (Ladies Finger Recipe)
For best results follow the step-by-step photos above the recipe card
Ingredients (US cup = 240ml )
- 300 grams okra (bhindi – ladies finger)
- 2 tablespoons oil
- ½ teaspoon cumin seeds (jeera)
- 1 tablespoon garlic (1 cloved chopped, optional)
- 1 large onion (sliced, about ¾ cup sliced)
- 1 green chili (slit or chopped)
- salt as needed
- ½ teaspoon red chili powder
- ½ teaspoon garam masala (or 1 tbsp pav bhaji masala or sambar powder)
- ⅛ teaspoon turmeric
- 1 large tomato (chopped, about ½ cup)
- 1 tsp kasuri methi (or curry leaves)
- 2 tablespoons coriander leaves (chopped, optional)
Instructions
Preparation
- Rinse bhindi under running water, Drain them completely.
- Wipe them dry with a clean cloth or kitchen tissues. Trim off the ends. Cut them to half inch pieces.
- Then slice onions. Chop garlic, tomatoes and green chili.
How to Make Bhindi ki Sabji
- Pour oil to a pan and heat it. Add in cumin. When the seeds begin to sizzle add garlic.
- Saute garlic just for 30 seconds. Do not brown them.
- Next add in onions and green chilli. Fry until the onions turn slightly golden. Do not brown them.
- Add chopped bhindi. Mix and fry on a medium flame until it is no more slimy.
- Keep stirring and fry. By the end of this step bhindi is half cooked.
- Next sprinkle salt, turmeric, red chili powder and garam masala as well. Mix and fry just for a minute or two.
- Add in tomatoes. Mix well and fry for 2 mins. Cover and cook bhindi ki sabji on a low flame.
- When the tomatoes turn soft and mushy, check the salt and spice.
- If needed add more of them. Add kasuri methi or curry leaves.
- Fry for a few minutes till the raw smell of tomatoes goes away. You can cook the bhindi to your liking partially cooked or fully cooked.
- Serve bhindi ki sabji with plain rice or chapati.
Notes
NUTRITION INFO (estimation only)
© Swasthi’s Recipes
About Swasthi
I’m Swasthi Shreekanth, the recipe developer, food photographer & food writer behind Swasthi’s Recipes. My aim is to help you cook great Indian food with my time-tested recipes. After 2 decades of experience in practical Indian cooking I started this blog to help people cook better & more often at home. Whether you are a novice or an experienced cook I am sure Swasthi’s Recipes will assist you to enhance your cooking skills. More about me
Follow Swasthi’s Recipes

Comments
Alas! My chilli got wasted. You told to cut and didn’t use.
Turned out very tasty. Thank you ??
Hi, Swasthi, your recipes are amazing, your recipes are my cook book.
Thank you so much.
Hi Elina
So happy to know! Thank you so much!
Hi Swasthi, thanks for sharing the recipe.
You may wish to correct the timing under photo 4 which states that we should sauté the garlic for *30 minutes* instead of 30 seconds as stated in the following instructions.
Anyhow, I can’t wait to try cooking it. Thanks again.
Hi Mid,
Thanks for pointing. I updated it. Hope you enjoy the dish
Thanks for the recipe, Swasthi!! I always refer to your blog before I cook something, even if I know the recipe. I like the little notes that you add. It helps me to make the recipe perfect. For eg, I know this recipe, but reading your blog helps me to get rid of the slime in bhindi, which goes a long way in making the recipe better. I have learnt a lot of cooking tips from your blog over the years. I visit your site to refer to the recipe like how I would have otherwise called up my mother.
So thanks a lot for your work!!
Hello Anupama
You are most welcome! So happy to know my posts are helpful. Thank you so much for leaving a comment. It makes me really happy!!
🙂
Thanks for the recipe, Swasthi! I always refer to your blog before I cook something, even if I know the recipe. I like the little notes that you add. It helps me to make the perfect recipe. For eg, I know this recipe, but reading your blog helps me get rid of the slime in the bhindi, which goes a long way in making the recipe better. I have learnt a lot of cooking tips from your blog over the years. So thanks a lot for your work!!
Made this today. Wonderful flavor! I’m very grateful for your authentic, delicious recipe. Thank you for the tips for reducing sticky/slimy quality of okra. Photos were very helpful.
bhindi is my most favorite vegetable… I liked bhindi ki sabji so much, thanks for sharing I know actually how to make bhindi, but your way looks different, I will definitely try to cook in your way… please check mine on
how long bhindi take to cook???
Hi Kinjal,
You must cook them until tender and non sticky. When you bite into the bhindi you should not feel the stickiness.Timing will vary depending on the bhindi. Fresh and young ones get cooked with in 10 mins. Hope this helps
Hi Swasthi,
I tried your bindhi receipe today. Indeed, simple to make and my family liked it. Best part was your explanation and step wise pictures. Thank you
Welcome Uma
So glad to know you all like it. Thanks a lot for rating the recipe
I made this last night but I made a small change because I didn’t have the green chilli and I found my tomatoes were rotten. :’-( I substituted a 10 oz can of Ro-Tel tomatoes and green chilis (original spicy flavor) and it worked great. I drained out the juice from the can and did not put it in the pan with the bhindi. I’ll definitely make this again.
Ruth
Hi Ruth
Thank you so much for trying. I have a similar recipe in which you can add up the juice as well in case next time you want to try. Here is the bhindi masala recipe. Thanks for rating the recipe.
Thanks swasthigaaru for posting wonderfull veg dishes….
This bhindi sabji came out very well…
Welcome Sagar garu
Awesome recipie. Everyone loved it and appreciated it. You deserve a part of the appreciation sonce i looked this one up and made it. Keep up the good work . Thx !!
Welcome Lalita. So Glad to know you all loved it. Thanks for the comment.
Aaj mne apni mama kO surprise diA alOo Bhindi bana kr khelai ..
Thanks For sharing recipe 🙂
Hi Bilal Ahmed
So glad to know you made it for your mama. Really appreciate your effort. Have a good day.
🙂