Khoya Recipe | Mawa Recipe
Updated: September 16, 2023, By Swasthi
Khoya Recipe – Learn how to make Instant Mawa at home with my easy step-by-step picture guide. Ever wondered what lends that hint of richness, flavor and sweetness to your Indian sweets like Gulab jamun, burfi, Doodh peda, Kalakand and kulfi. The secret lies in a simple product derived from milk – Mawa. This creamy ingredient with a slightly sweetish, nutty taste is often used in Indian cooking, especially in sweets, koftas and some curries.
About Khoya
Khoya is nothing but milk solids obtained by simmering and reducing full fat milk until all the liquid evaporates. It is also known as Mawa or koa. You’ll find both sweetened and unsweetened mawa in the market.
The unsweetened version is used to make both sweets like burfi, kalakand, ladoos, karanji/ gujiya (fried dumplings) mawa cake, kachori and savory foods like koftas.
Traditional vs Instant Mawa
Traditionally mawa is made by boiling full fat milk and then slow cooking it on a low flame to almost 20% of its volume. The liquids evaporate leaving you with milk solids. This is known as khoya or mawa. Some add sugar to it and use this directly in sweets.
But the standard way of making mawa takes a long time (2 to 8 hours depending on the quantity of milk). My recipe will help you make an instant version with the same richness, texture and taste.
With just three ingredients, this recipe comes together much faster. Use it to make many Indian sweets. Since this contains milk powder, it is a sweetened form of khoya. Add this to many Indian sweets and stuffed fried foods or savory curries that require a hint of sweetness.
Types of Khoya
You’ll find many types of khoya in the market. The hard or batti khoya is very firm and is used for peda and ladoos.
Soft khoya or hariyali khoya is squishy and the cooking process is stopped a bit earlier. This is used in gravies, added to cookies, cakes and cupcakes. Depending on the recipes this can also be used to make gulab jamun, koftas etc.
Then you have the granular khoya which is known as daanedar khoya which is made by coagulating milk with an acidic ingredient like alum, phitkari in Hindi. This is used in sweets like kalakand and some kind of burfis to give a grainy texture. It is also used to garnish sweets.
With so many kinds of khoya available in the market, one is more likely to get confused in choosing the right kind for the recipes. It is always best to use the same kind of khoya as suggested in the recipe.
But good khoya is not easily available everywhere. If you are living outside India you have to look for it a few months ahead of Diwali as it goes out of stock too fast.
My khoya recipe will help you make it at home with milk powder.
Photo Guide
How To Make Instant Mawa (Stepwise Photos)
Simmer the milk
Melt ½ tablespoon of ghee in a wide pan with a thick bottom and simmer on low heat. If you want very soft khoya start with 1 ½ tablespoons ghee.
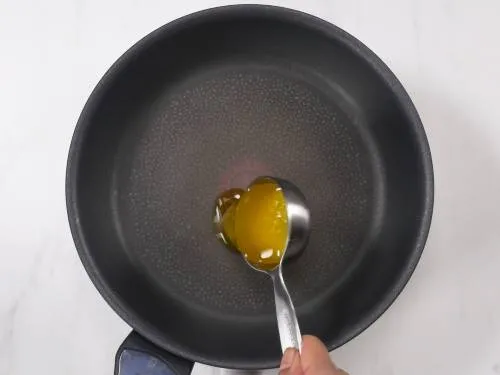
Add ¼ cup of full fat milk and stir well to combine.
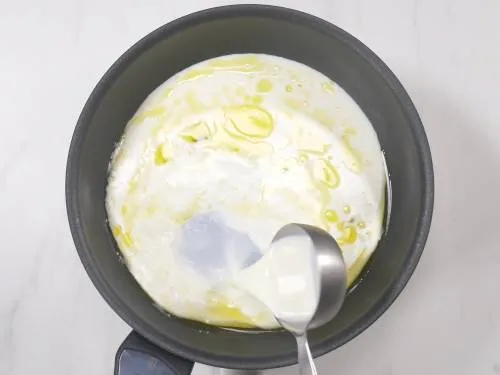
Slowly add 1 cup of milk powder (I use nestle brand). Stir continuously to prevent lumps from forming.
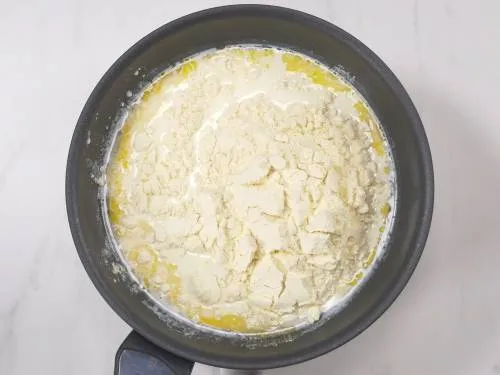
As the milk heats up, the lumps will start to dissolve easily. You should have a smooth liquid.
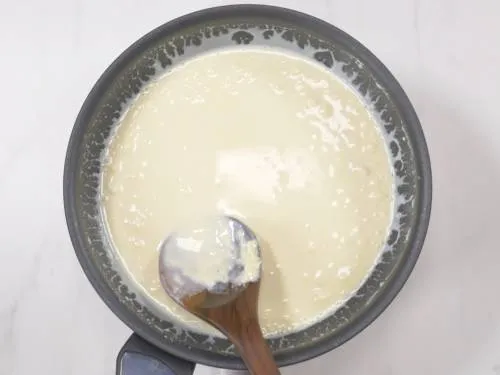
Keep cooking the milk mixture on medium heat and stir continuously for around 6 mins.
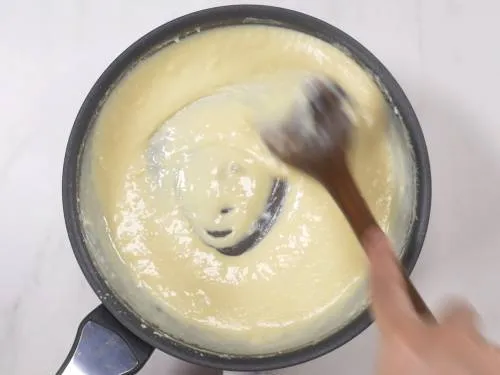
Cook Milk Powder
The milk will thicken slowly and begins to leave the sides of the pan. Reduce the heat to low and add ½ tablespoon of ghee. Mix well to combine and continue cooking.
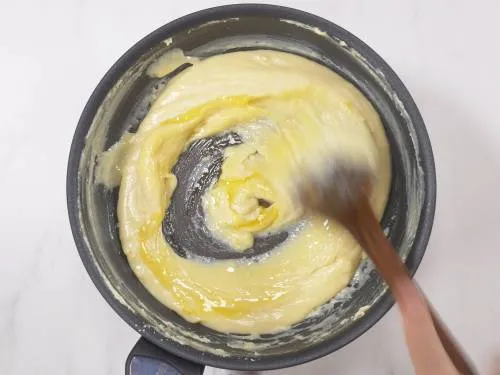
As it cooks, Scrape the sides of pan with a wooden spatula. The mixture on the sides will turns chewy or hard otherwise, so don’t skip this step. Soon it turns thick but is still loose and begins to leave the sides of the pan.
Turn off at this stage, when it is slightly sticky and loose if you want to use khoya in
Rabri
Kulfi
Kheer
Sheer khurma
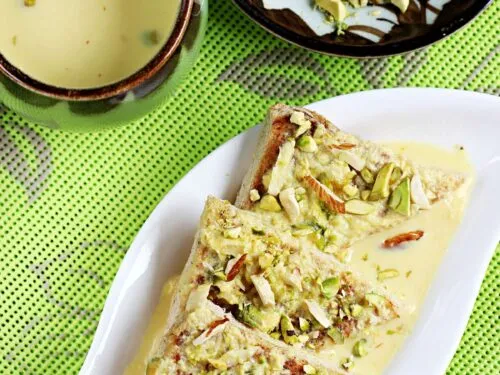
Shahi tukda
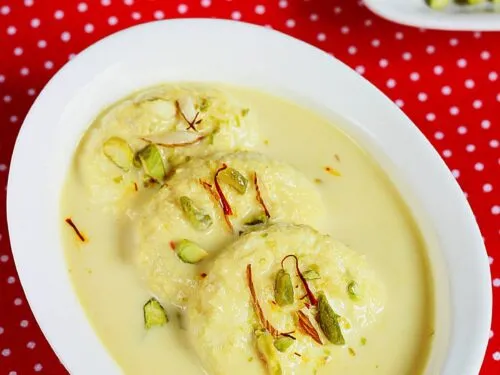
Rasmalai
Faluda or use this in gravies.
This is the first stage of instant khoya.
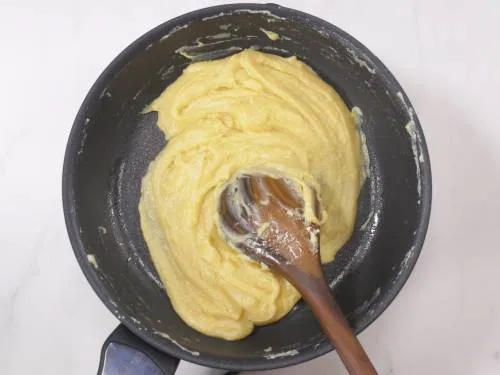
To reach the next stage, continue stirring the mawa non-stop and cook for a few mins more, until it turns to a thick mass.
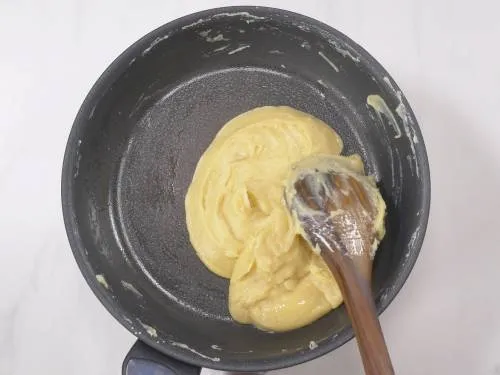
Remove from heat and spread it well on a plate to cool down. Test the khoya after it cools down. Grease your fingers with a little ghee and take a tiny portion of this mawa. Try rolling into a ball. Mawa maybe be a little sticky, but that is perfectly fine. This is the second stage of the instant mawa and is soft khoya.
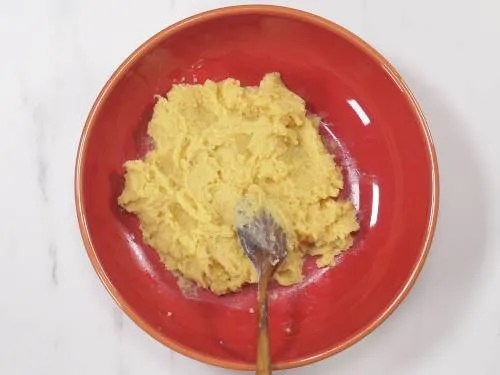
Cool the mawa completely. It will become a bit dry after cooling but will still be slightly sticky. You can use this to make Gulab jamun. This can also be used in any of the recipes I mentioned above.
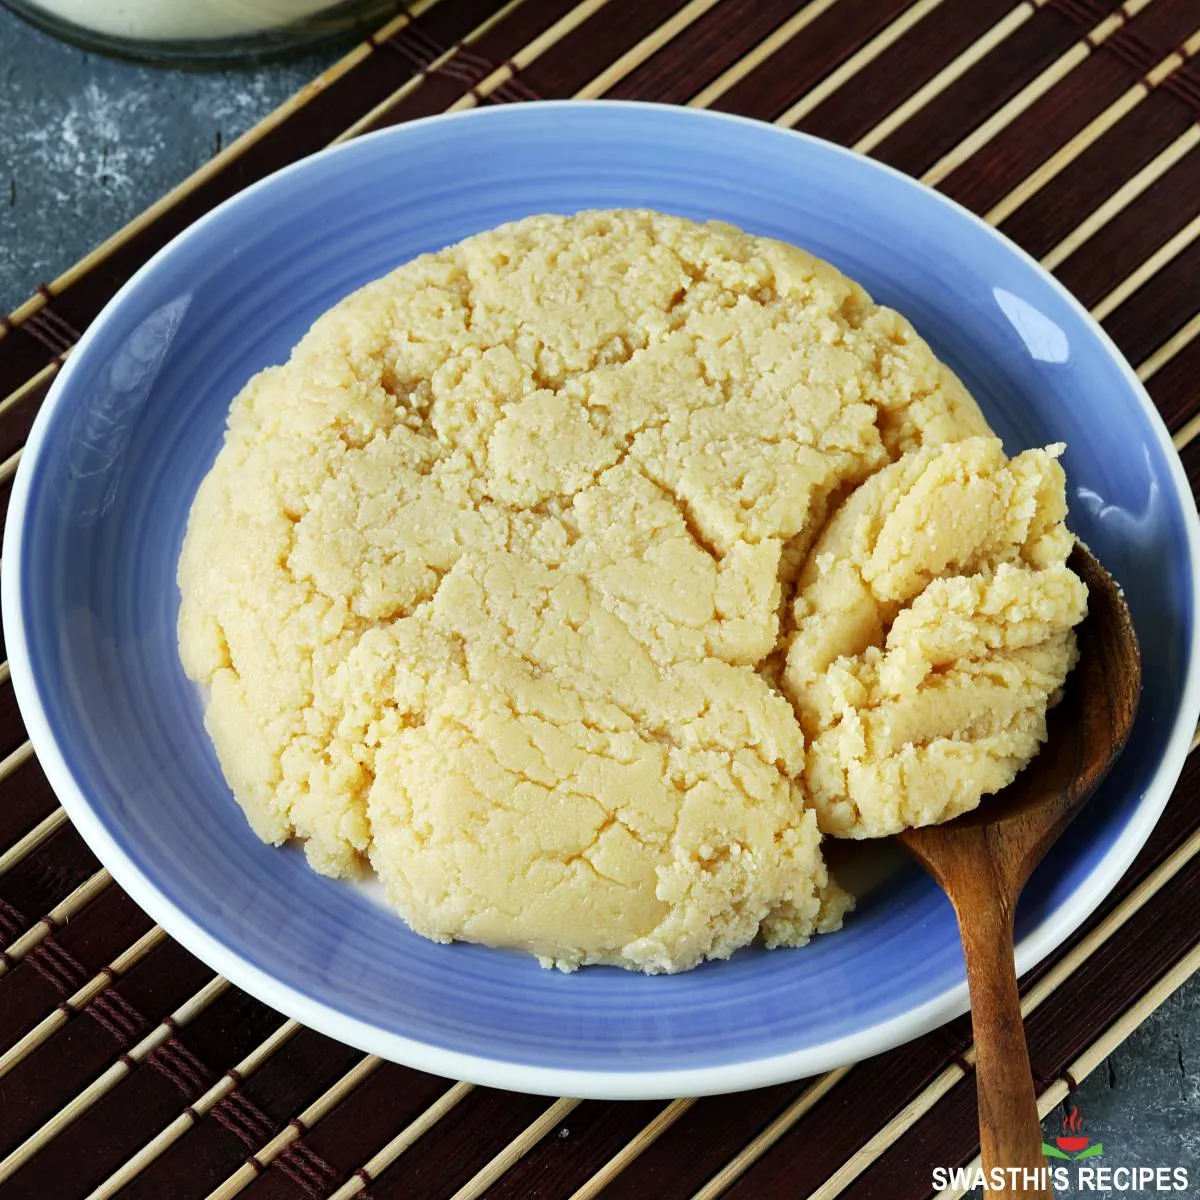
Storage
Store it in an airtight jar in the fridge for 1 week or in the freezer for up to 2 months. Use it to make Indian sweets, cakes, cookies or curries.
If you want to use khoya in recipes like peda, gujiya, ladoos and burfi, cook the mawa further for 2 to 3 mins more. Cool down completely, upon cooling it will dry out and will be easy to grate or crumble. I will update the picture of it soon.
Related Recipes
Recipe Card
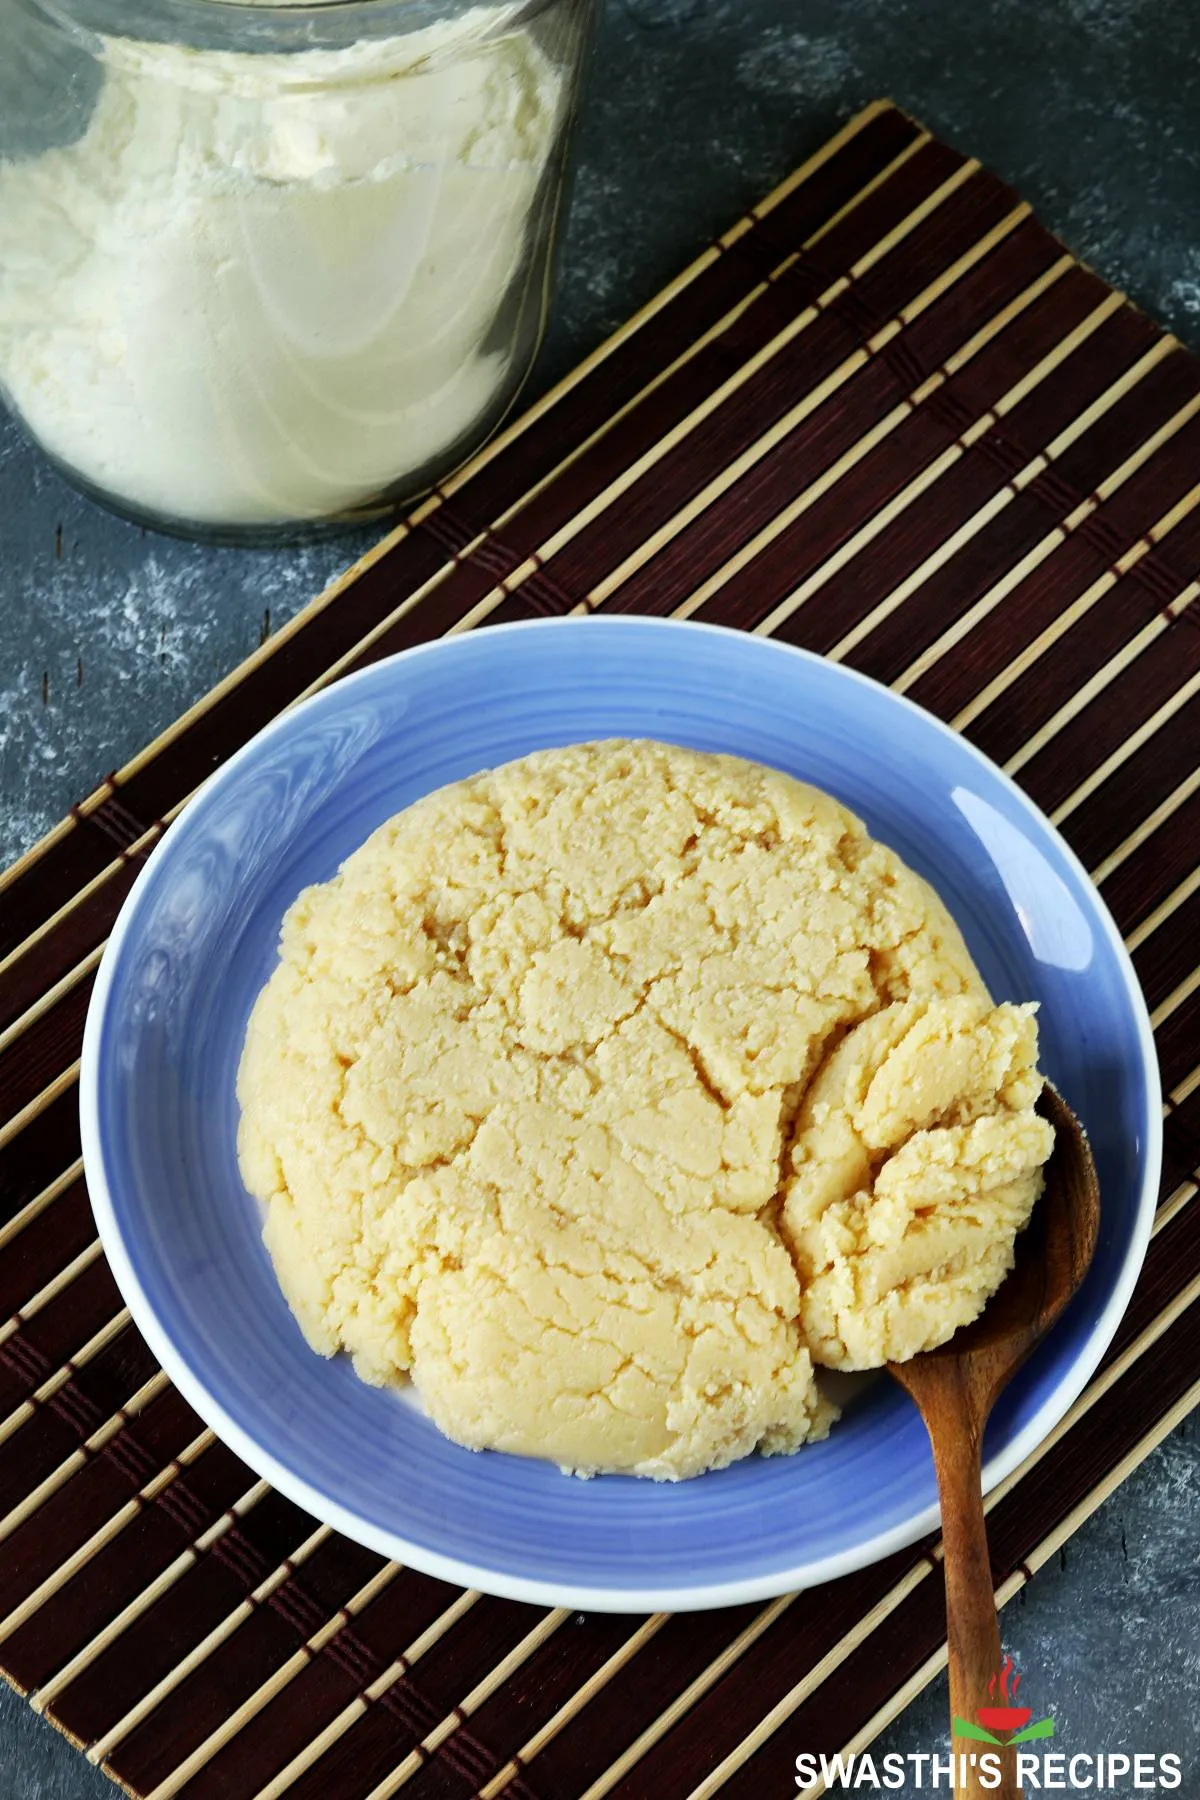
Khoya Recipe | Instant Mawa
For best results follow the step-by-step photos above the recipe card
Ingredients (US cup = 240ml )
- 1 cup milk powder (I use nestle)
- ¼ cup full fat milk (whole milk)
- 1 tablespoon ghee
Instructions
- To make instant mawa, firstly pour ½ tablespoon ghee and milk to a wide pan. Begin to heat it on a low flame.
- Add milk powder and begin to mix well continuously breaking lumps.
- As the milk turns hot, you will see the lumps dissolve easily.
- Keep cooking on a medium heat stirring continuously for approximately 6 mins. You will see the milk begins to thicken slowly & begin to leave the sides of the pan. (check the pictures in the step by step photos)
- Reduce the heat to low and add ½ tablespoon ghee. Mix well and cook.
- As it cooks, take a small wooden spoon and scrape the sides of pan and the spatula you used to stir the mixture. The mixture here usually turns chewy or hard. So do not miss this step.
- Option 1 – Take it off the stove when it is sticky and loose yet thick if you want to use it in rabri, kheer, kulfi, falooda, sheer khurma or shahi tukda.
- Option 2 – Continue cooking stirring non-stop until all of the mixture turns to a mass. Turn off the stove at this stage if you want to use it in gulab jamun or any of the recipes mentioned earlier.
- Test – When the temperature cools down, grease your fingers and take a tiny portion of this mawa. You should be able to roll it to a ball. It should not be too sticky, a little sticky is just okay. This is soft khoya.
- Option 3 – Cook for 2 to 3 mins more if you want to use the khoya in peda, gujiya, ladoos, burfi or koftas.
- Cool the khoya – mawa completely and store it in a air tight glass jar in the fridge for 1 week.
Notes
- I prefer a non stick heavy bottom pan for this for even cooking.
- The cook time I have mentioned is just an approximation and it may change depending on the kind of pan, intensity of heat and stove used.
- I use Nestle everyday milk powder and fresh whole milk. Any kind of milk should work well.
- Nutritional value is for the whole recipe, for 100 grams mawa.
NUTRITION INFO (estimation only)
© Swasthi’s Recipes
About Swasthi
I’m Swasthi Shreekanth, the recipe developer, food photographer & food writer behind Swasthi’s Recipes. My aim is to help you cook great Indian food with my time-tested recipes. After 2 decades of experience in practical Indian cooking I started this blog to help people cook better & more often at home. Whether you are a novice or an experienced cook I am sure Swasthi’s Recipes will assist you to enhance your cooking skills. More about me
Follow Swasthi’s Recipes

Comments
Every time I add mawa made from milk powder to a mithai it turns very dry and hard the next day. Can you pl advise what I should do to avoid this.
I can help you if you let me know what kind of mithai
What is the tastewise difference between regular mawa and this instant mawa.?
I feel this is slightly sweeter and saltier than regular mawa. Because milk powder has sugar and salt added to it
Easy to understand thx
So helpful contain, excellent. I want contact no mam because I want to talk personally and learn about Indian Continantal recepies
If I want sweet khoya at what stage do I add sugar in this recipe?
Cool the Khoya completely and incorporate powdered sugar. I have shown how to do that in this milk powder burfi recipe