Pala thalikalu recipe
Updated: August 3, 2022, By Swasthi
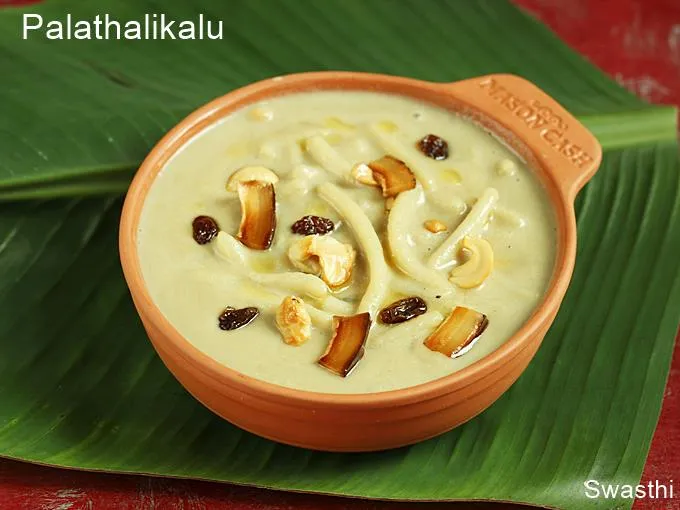
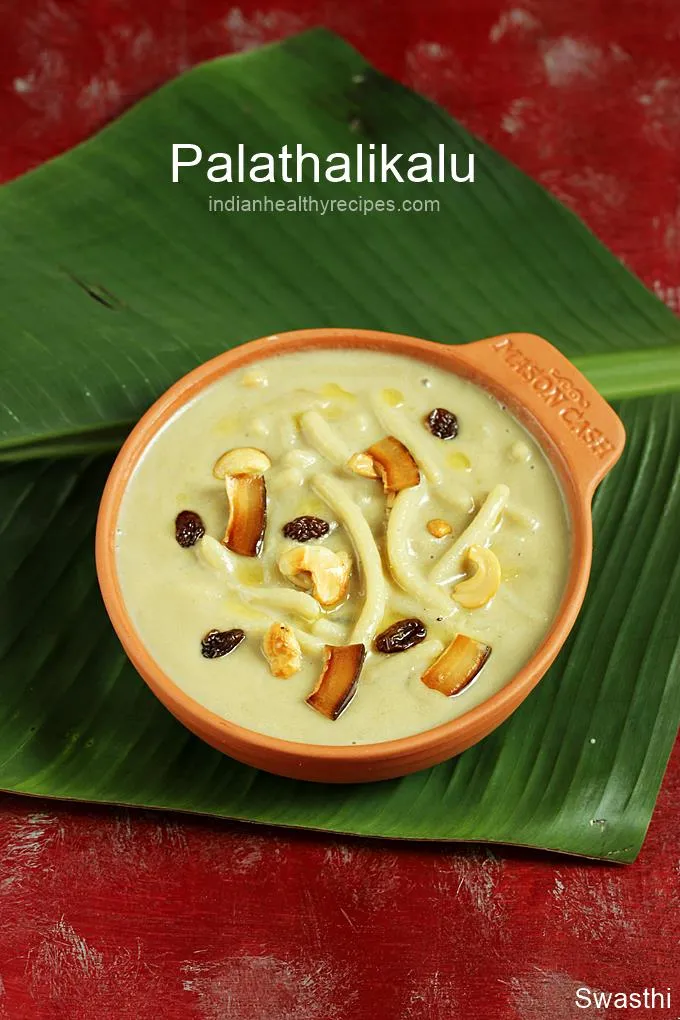
Pala thalikalu is a traditional sweet dish from Andhra pradesh made of handmade rice noodles, milk, jaggery and ghee. It is a special dish offered as Naivedyam not only during Vinayaka chavithi but also during other Andhra festivals. The recipe shared here will give you a delicious, thick & creamy payasam with soft pala thalikalu.
Palathalikalu
As I had many requests for the traditional palathalikalu recipe I am sharing my Mum’s recipe. I adapted the quick way of making the thalikalu in the murukku maker as the hand made ones take lot of time.
Traditionally palathalikalu are made with homemade rice flour but I have used store bought flour since I did not make it for the Naivedyam. If you plan to offer this as naivedyam during the vinayaka chavithi puja, then make fresh rice flour at home. I have included the instructions to make the rice flour in the recipe card below.
The day I made this recipe I was running short of milk, so I just made a small quantity. If you like to double the recipe, make sure you use a wide pot or pressure pan to cook the palathalikalu. This helps them to cook well without clumping up.
Photo Guide
Making jaggery syrup
1. I prefer to make jaggery syrup first for any payasam recipe as the aroma & taste is much superior than adding the jaggery directly. Secondly most times jaggery has debris or even sand. It is easy to get rid of that this way. However if you still prefer to add it directly you can skip this section and add grated jaggery directly towards the end. Add grated jaggery and water to a pan.
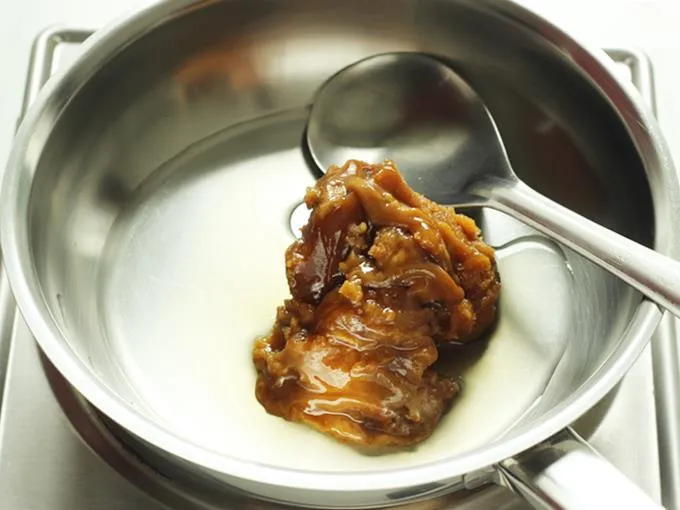
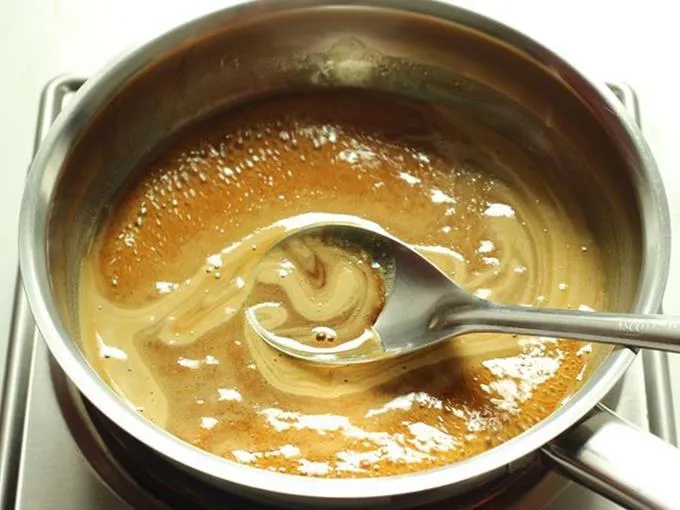
2. Dissolve the jaggery and cook until it is slightly thick & sticky. No string consistency is required. Set this aside to cool completely.
Making dough
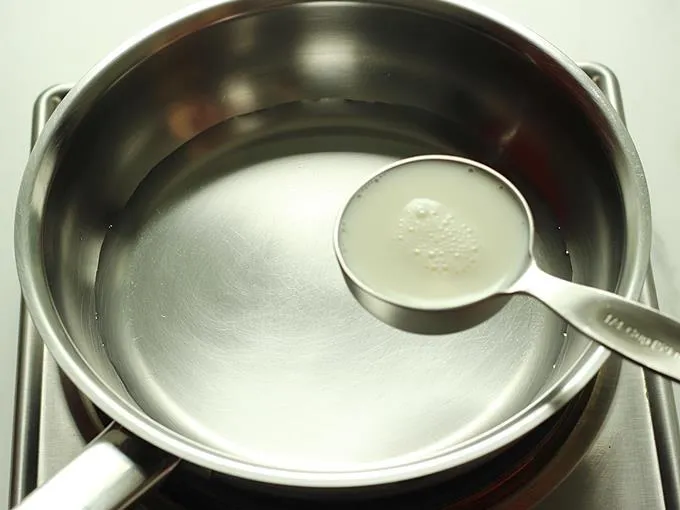
3. Pour ½ cup water and ¼ cup milk to a pan.
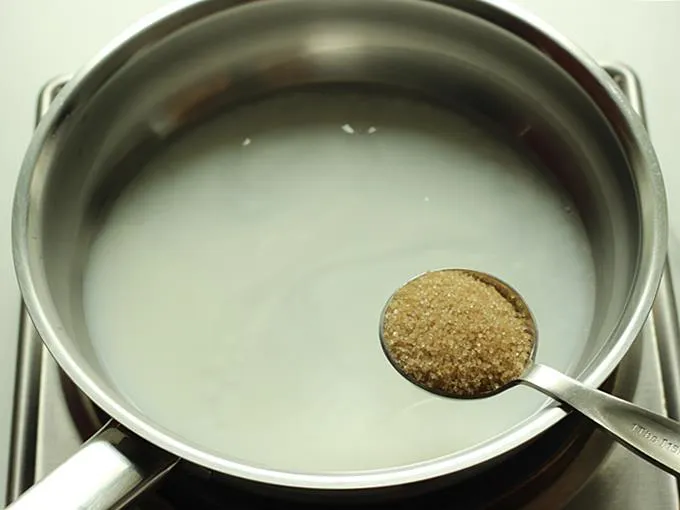
4. Next add in 1 tbsp sugar.
5. Also add in 1 tsp ghee. To dissolve the sugar heat this.
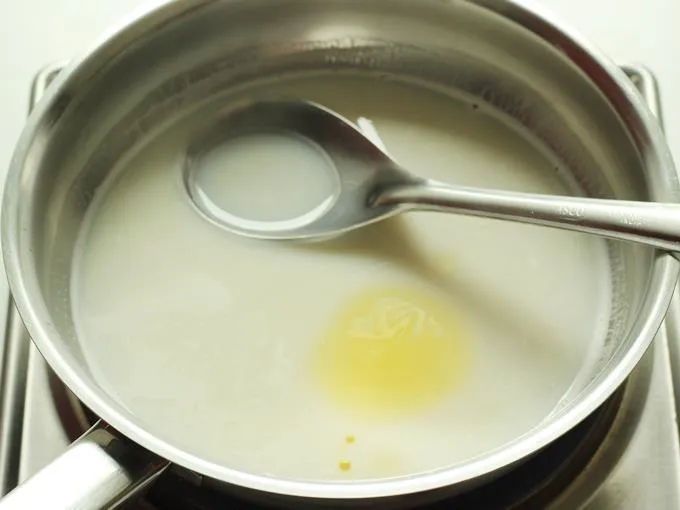
6. When the water turns very hot, add the rice flour and turn off the stove.
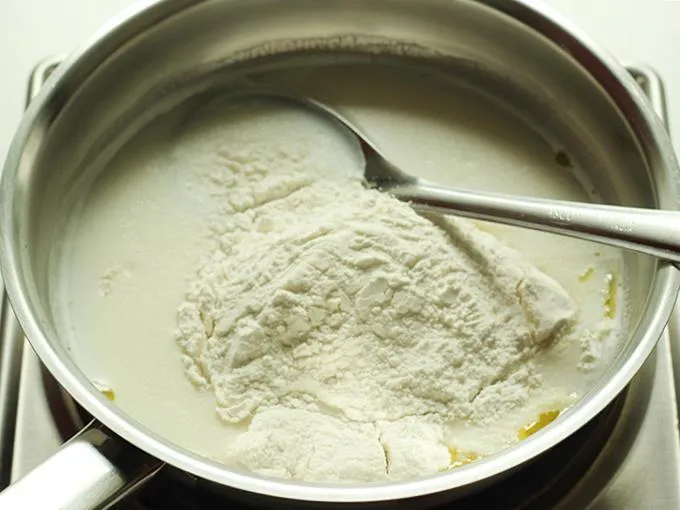
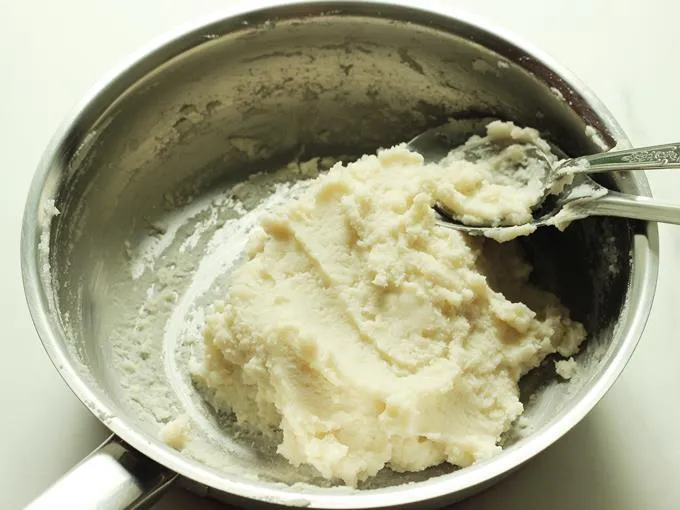
7. Mix it well to make a lump free smooth and soft dough. The dough has to be slightly sticky and not tight. If the dough is too tight then the thalikalu will turn hard. If the dough is too sticky you can also add a tbsp of flour. I had to do that.
Preparation
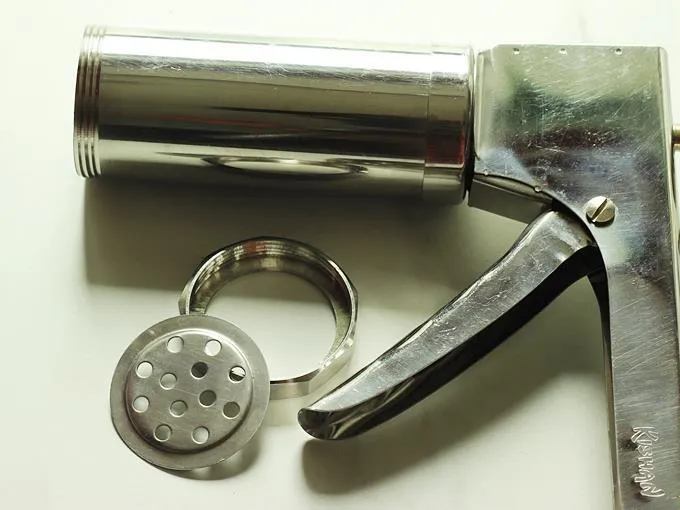
8. Grease your murukku mould or janthikalu maker.
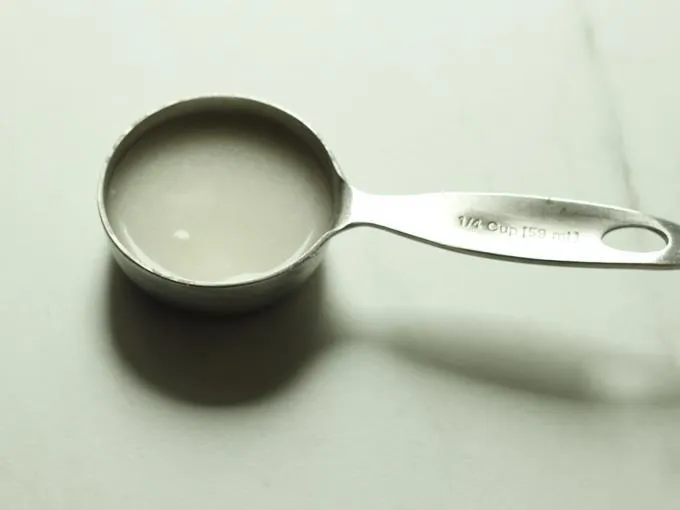
9. Mix 1 tbsp rice flour in ¼ cup water to make a smooth lump free mixture.
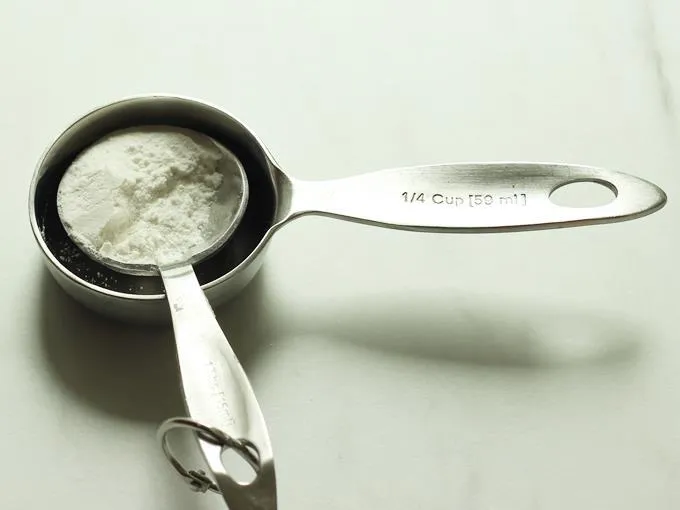
10. Set this aside.
11. Put the dough inside the mould.
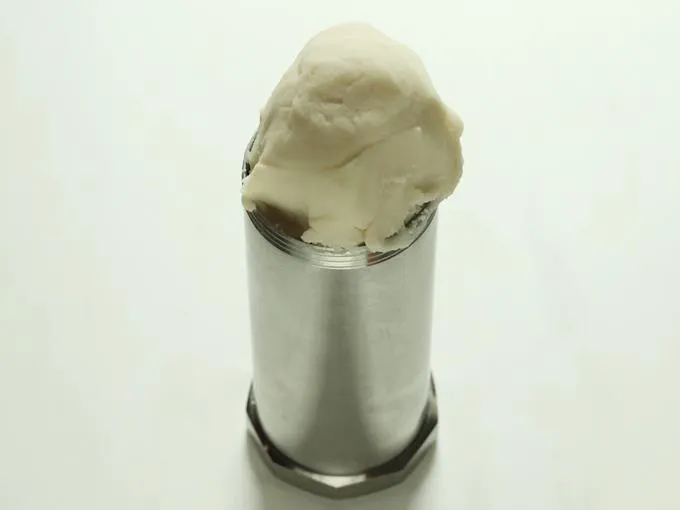
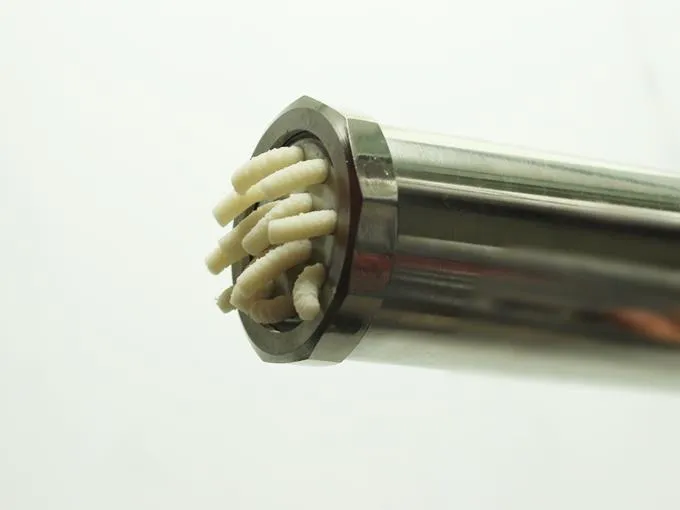
12. When you press the mould gently the dough should come out easily without breaking. This is the right consistency of the dough.
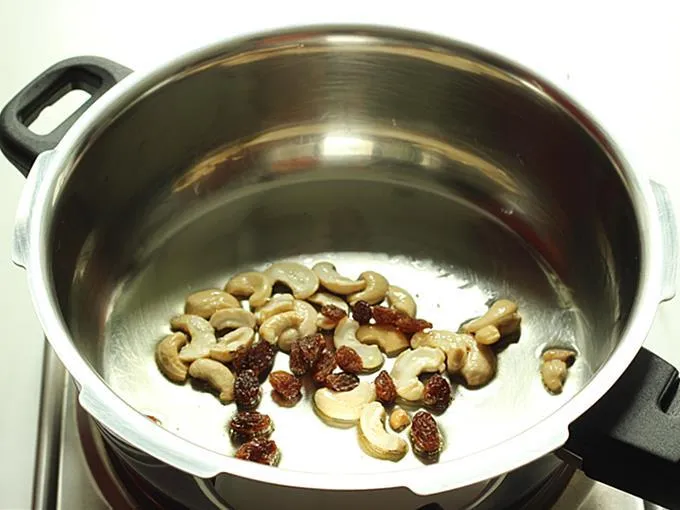
13. Heat ghee in a wide pan. I used a pressure pan. Add cashews and fry until light golden. Then add dried coconut and raisins. When they turn golden remove to a plate. I forgot to use coconut, later I fried separately and used.
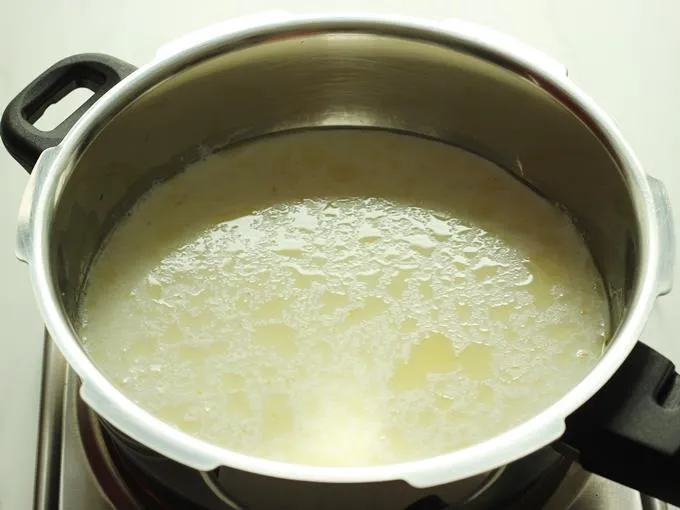
14. Pour milk to the pot and bring it to a boil.
How to make pala thalikalu
15. When the milk comes to a boil, regulate the flame to medium. Make sure the milk is boiling, then gently squeeze in the dough from the mould.
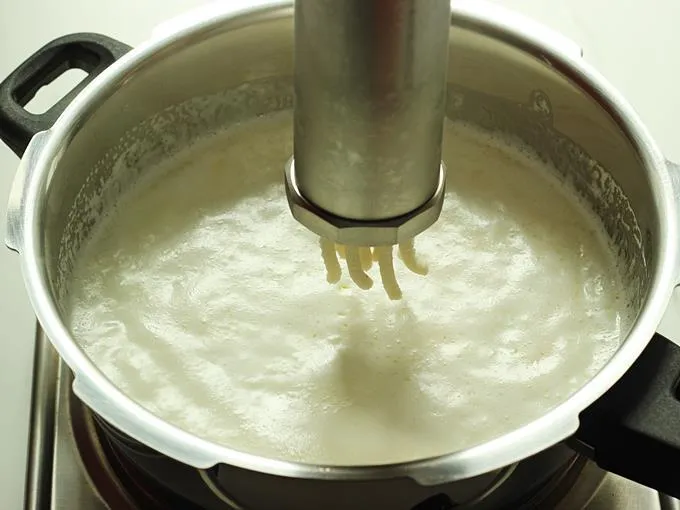
16. I squeezed up all the dough at once in circular motion as my pressure pan was wide enough to hold the entire dough. If you are using a small pan then they will all clump up together due to less space.
Please note: Avoid using a spoon or ladle from here on. Just swirl the milk in the pan when needed to mix. This avoids breaking the pala thalikalu.
17. Do not stir them or disturb for 3 mins. They will break as the dough is still not cooked. After 3 mins, Swirl the milk in the pan gently a few times to disperse the thalikalu evenly in milk.
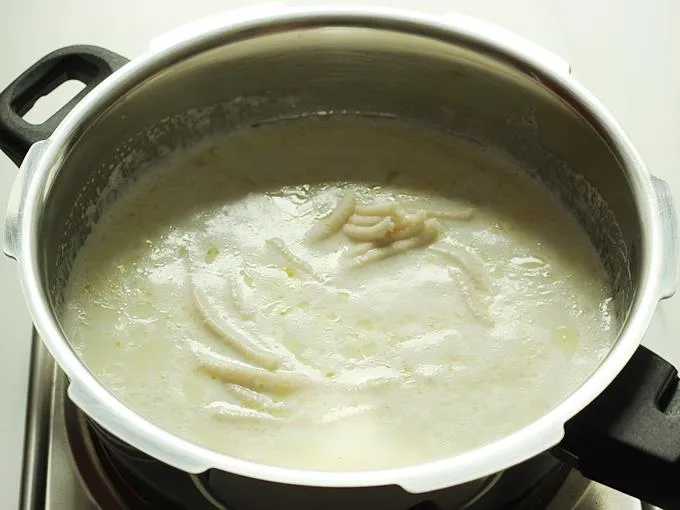
18. Allow to cook exactly for another 4 to 5 mins depending on the thickness of the thalikalu. So total cook time is 7 to 8 mins. Overcooking can make them hard and dense.
19. Stir the rice flour mixture in the cup with a spoon. Slowly pour it to the pan towards the sides of the pan. Swirl a few times to disperse the rice flour in the milk otherwise lumps can form. Cook until it thickens. Swril again if needed. With in 1 to 2 mins the mixture turns thick. Do not overcook until it turns too thick, slightly thickness is good enough as it turns more thick after cooling.
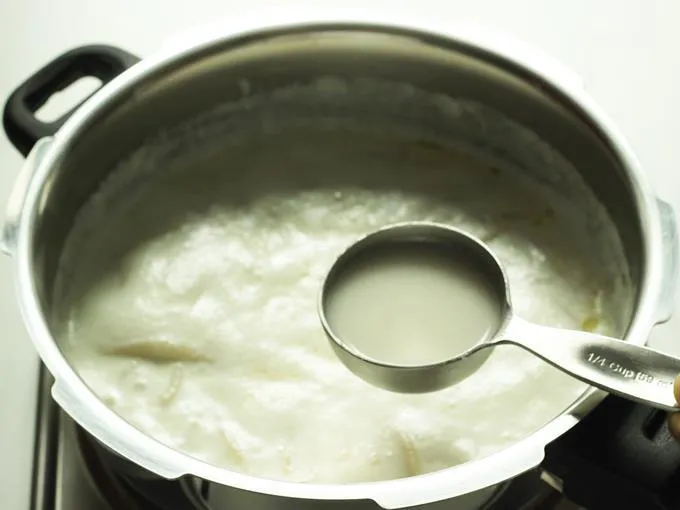
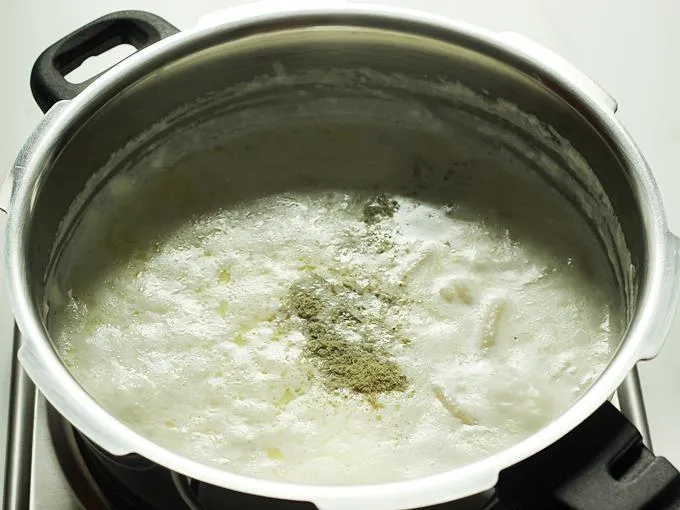
20. Add cardamom powder. Turn off and take it away from the stove. If adding grated jaggery then you can add it and stir until it dissolves. Cooking further may curdle the payasam.
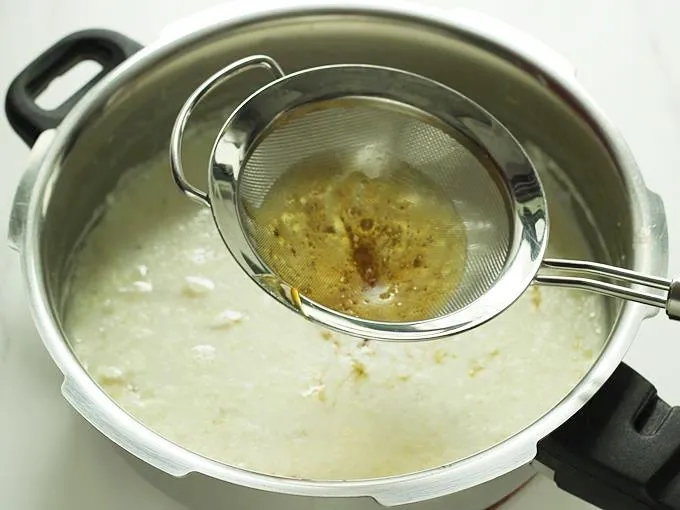
21. Ensure the jaggery syrup is cooled completely. Filter that to the pala thalikalu. Swirl gently as many times as needed until the jaggery is blended well. You can also use ladle at this stage as the thalikalu firm up.
22. Pour some ghee if desired and add the cashews, coconut and raisins.
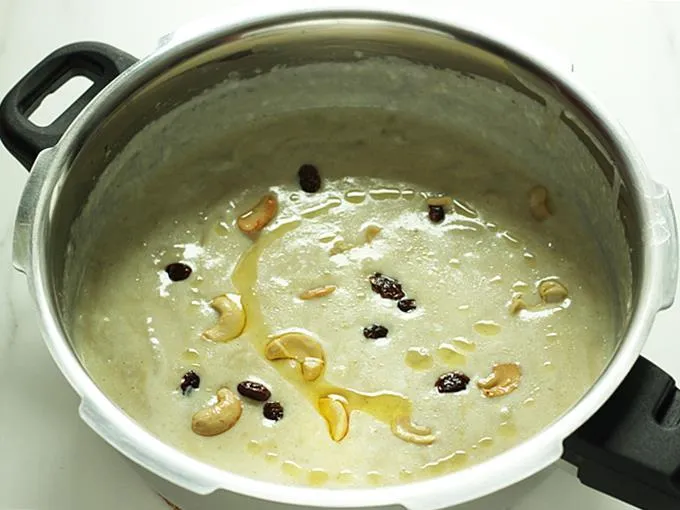
Cool the pala thalikalu and offer to Ganesha.
More Vinayaka Chavithi Recipes here
Ladoo Recipes
Payasam Recipes
Recipe card
Pala thalikalu recipe
For best results follow the step-by-step photos above the recipe card
Ingredients (US cup = 240ml )
For thalikalu
- ¾ cup rice flour (can also use thadi pindi)
- ½ cup water (use ¼ cup if using thadi pindi)
- ¼ cup milk
- 1 tbsp sugar (do not use jaggery)
- 1 tsp ghee
For the payasam
- 2 tbsp ghee
- 12 cashews
- 12 raisins
- 2 tbsp dried coconut pieces, endu kobari
- 3 cups milk full fat
- 1 tbsp rice flour (to thicken the payasam)
- ¼ cup water to mix the flour
- ¼ tsp cardamom powder or elaichi powder
For jaggery syrup
- ½ to ¾ cup jaggery (I used ½ cup unrefined jaggery)
- 3 tbsp water
Instructions
Preparation for pala thalikalu
- If using store bought rice flour, skip this step. To make rice flour at home, wash and soak ¾ cup rice for 2 to 4 hours.
- Drain completely in a colander. Spread on a clean cloth and dry until slightly moist but not wet.
- Add to the blender and make a fine powder.
- Then add it to a fine floor sieve. Pass it through the sieve with your fingers if needed. The flour must be very fine otherwise the thalikalu will break.
- You can grind the coarse grains again. Measure and set aside only ¾ cup flour.
- To make palathalikalu please follow the step by step photo instructions below as it is easy to understand with pictures.
NUTRITION INFO (estimation only)
© Swasthi’s Recipes
About Swasthi
I’m Swasthi Shreekanth, the recipe developer, food photographer & food writer behind Swasthi’s Recipes. My aim is to help you cook great Indian food with my time-tested recipes. After 2 decades of experience in practical Indian cooking I started this blog to help people cook better & more often at home. Whether you are a novice or an experienced cook I am sure Swasthi’s Recipes will assist you to enhance your cooking skills. More about me
Follow Swasthi’s Recipes

Comments
Thank you Swasthi for the awesome recipe. I made it for the first time for Ganesh Chaturdhi and it turned out super delicious. We enjoy all your recipes and the tips and alternatives you add are very helpful.
Glad to Know Satyasree
Thank you for letting me know!
🙂
Very good & useful
Thank you
It was my first time making this and it seemed really easy with all the tips and accurate measurements. Thank you Swasthi for sharing your talent. Looking forward to trying more recipes on this site
Hi Sindhu,
You are welcome. Thanks for the comment. Yes do try more recipes.
🙂