Semiya Upma Recipe (Vermicelli Upma)
Updated: July 2, 2024, By Swasthi
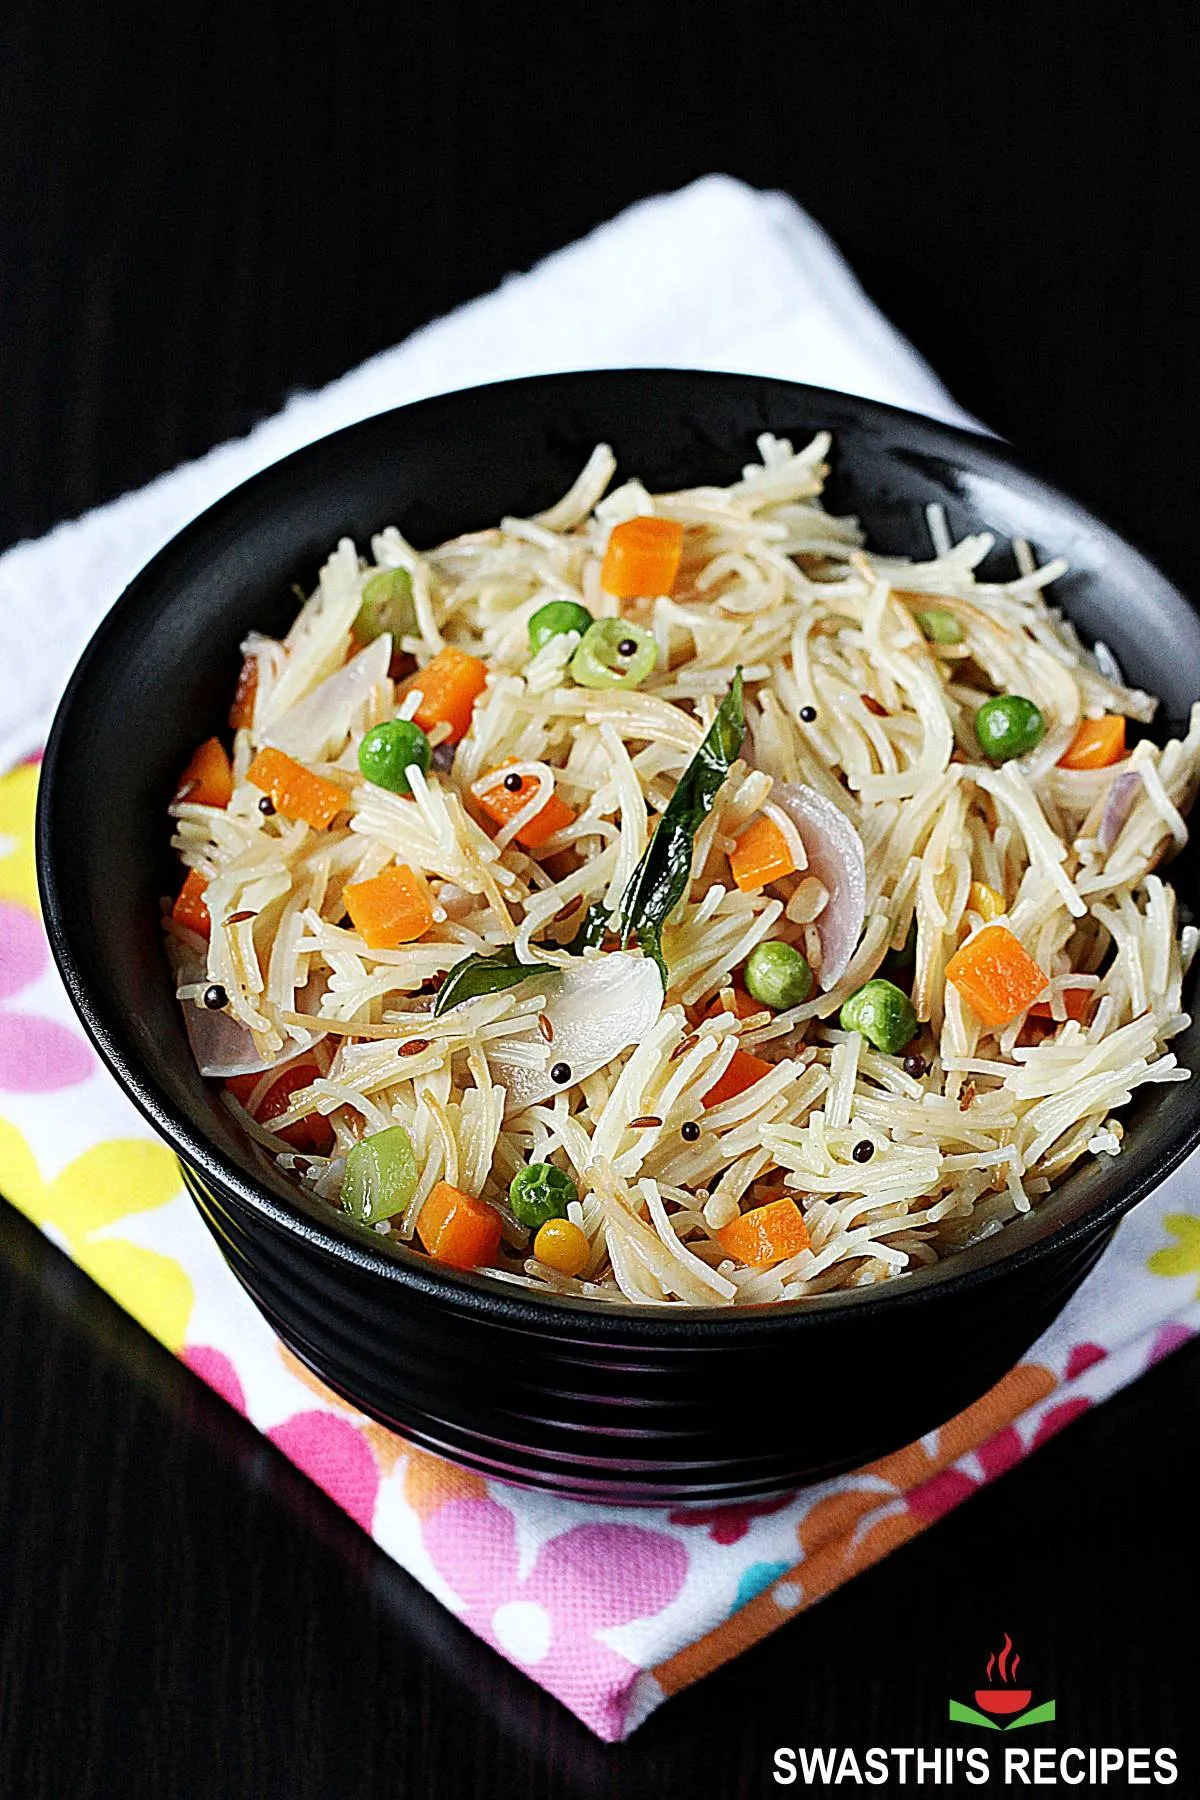
Semiya Upma also known as Vermicelli Upma, is a popular South Indian breakfast made with wheat vermicelli, spices, vegetables, curry leaves, lentils and cashews or peanuts. It is a super quick one-pan dish that you can whip up under 25 minutes. It is usually eaten with coconut chutney, peanut podi or seasoned yogurt (tempered curd).
Though it is a breakfast staple, it can be eaten for light dinner with a side of yogurt, pickle and a salad or roast veggies. Semiya Upma also goes well in office and school lunch box. In this post I share how to make non-sticky fluffy Vermicelli Upma 2 ways – classic version without vegetables and with vegetables.
About Semiya Upma
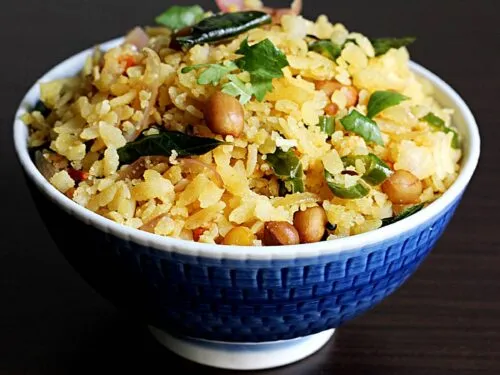
The name comes from the South Indian word Semiya which means vermicelli and Upma is a South Indian breakfast dish made with semolina and tempering spices and curry leaves. While there are numerous upma variations using poha, sabudana, oats, quinoa & millets, this version replaces the traditional ingredient semolina/rava with wheat vermicelli.
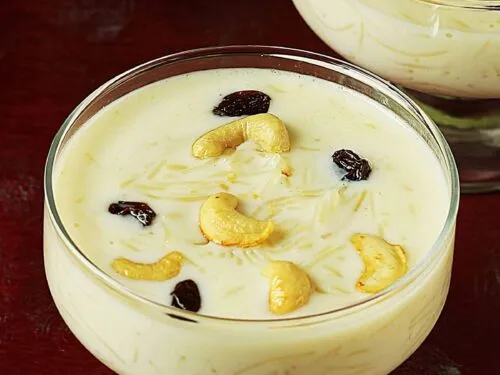
Semiya is one of the pantry ingredients in the Indian households and is often used to make various dishes. Some of the popular dishes made with it are Semiya Payasam (sweet vermicelli milk pudding), Meethi Seviyan (no milk vermicelli pudding) and Sheer Khurma (dates vermicelli dessert).
How to choose Vermicelli
You may be surprised to see the Asian grocery stores sell numerous kinds of vermicelli made with different grains. Indian stores usually have rice, wheat, ragi and other kinds of millet semiya. You will look for thick wheat vermicelli, preferably from an Indian brand.
Vermicelli from other Asian countries may not be suitable to make this dish. I use the Bambino or MTR vermicelli as the results are consistent with these brands. Indian wheat semiya is available in roasted and unroasted varieties.
The unroasted kind requires roasting them prior to cooking. To save roasting time you may buy roasted vermicelli and skip the roasting part mentioned in the recipe. However the flavor of pre-roasted semiya is nutty and is completely different.
It is very important to use the right amount of water to avoid a mushy semiya upma. Using the right amount of liquid makes it fluffy, non-sticky and beautiful.
For a quick 25 mins meal, make this dish without any veggies or use frozen veggies as chopping fresh vegetables takes some time. On occasions we have the vegetable semiya upma for a dinner with a spicy seasoned yogurt which I have shared below.
Vegetables like carrots, peas and young green beans go well in this. My mom would usually add a parboiled potato to this. But do not add the raw potato as it takes time to cook.
More breakfast recipes
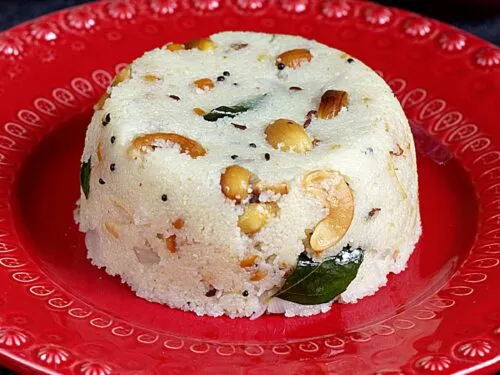
Soft Idli
Crispy Dosa
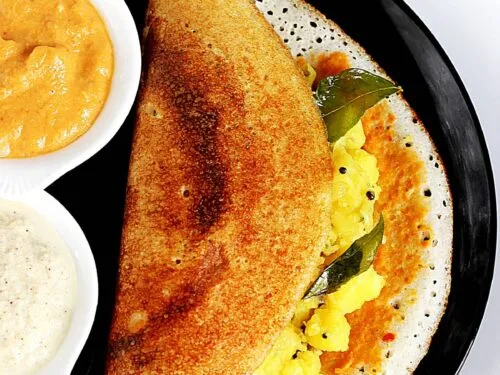
Masala dosa
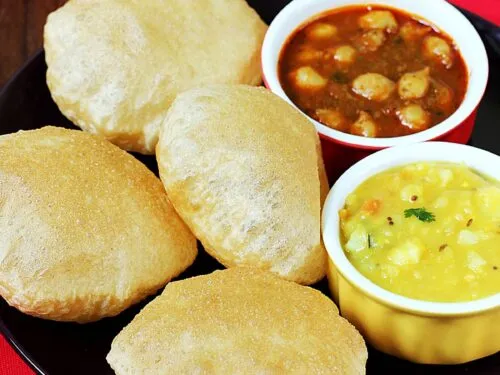
Puffed Poori
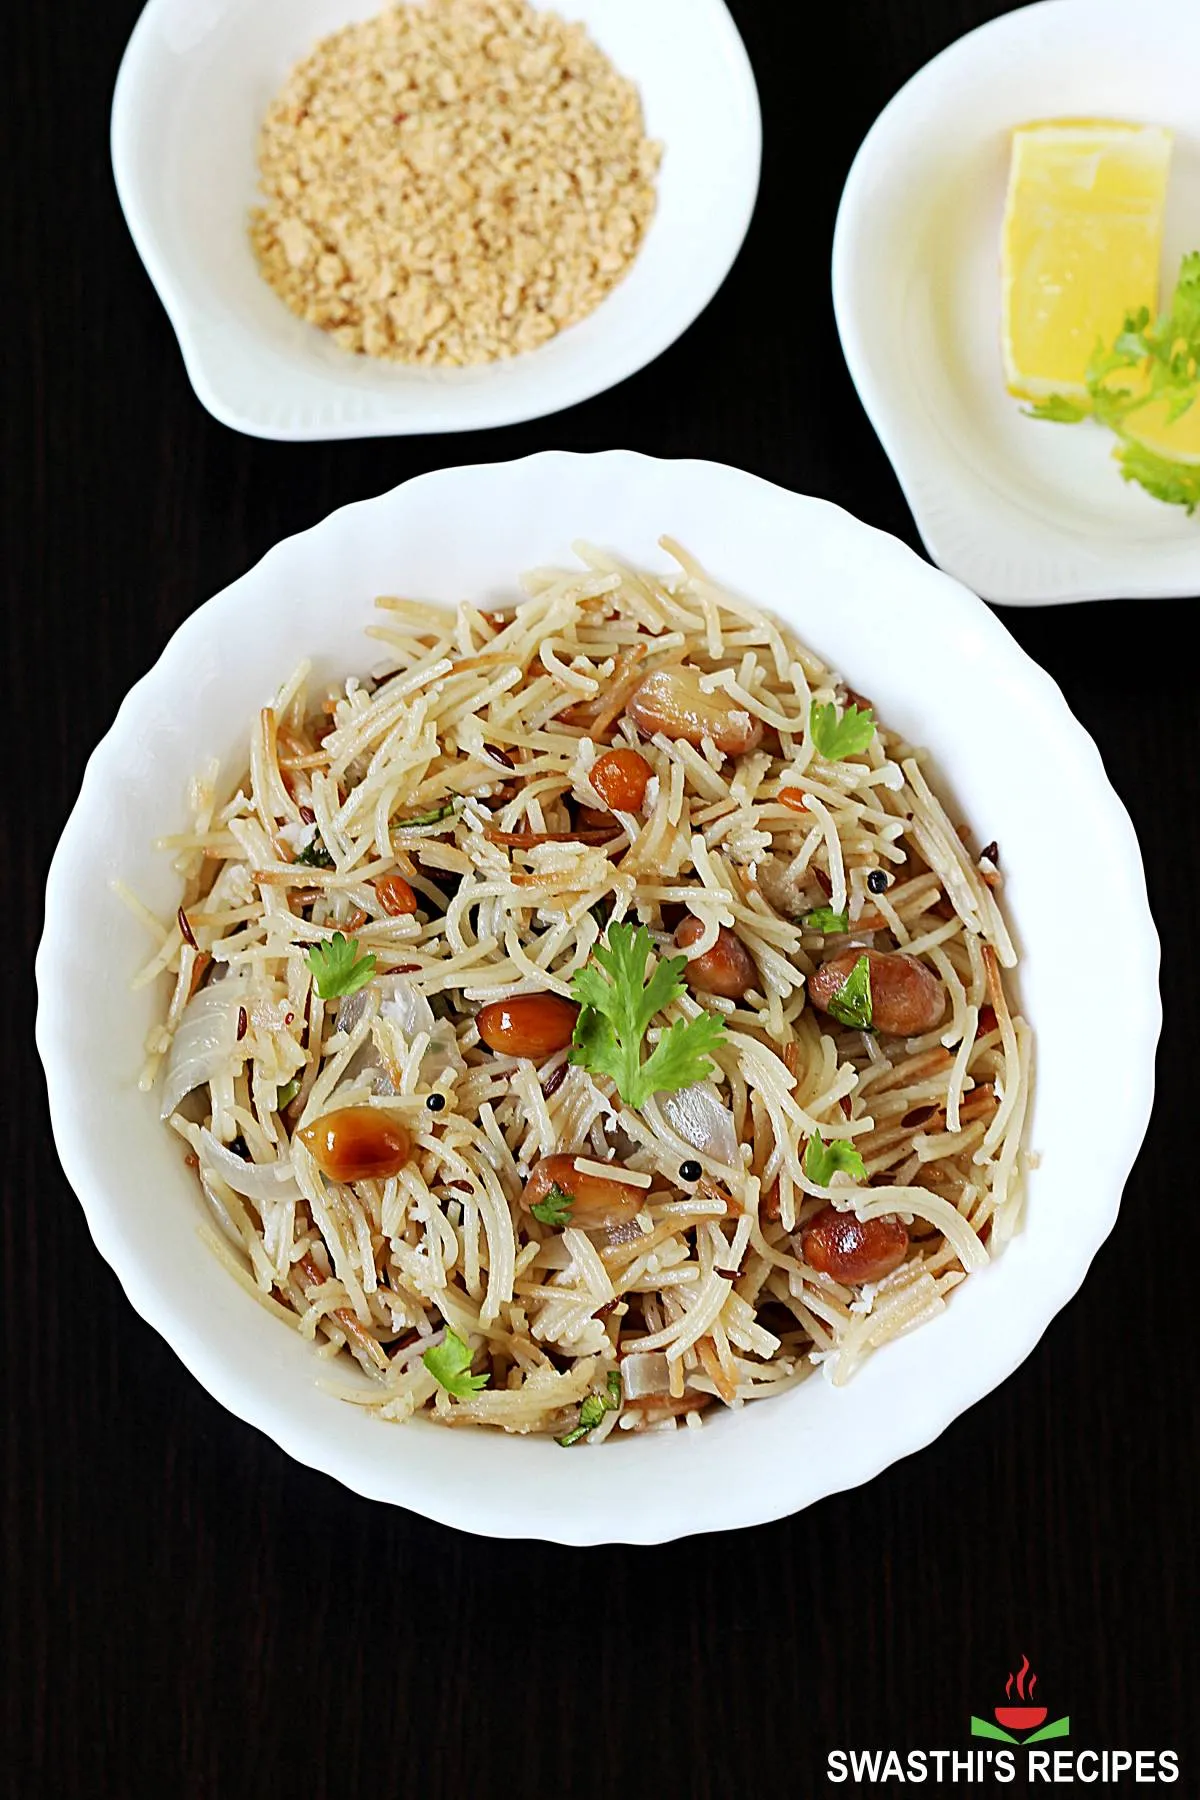
Photo Guide
How to make Semiya Upma (Stepwise Photos)
Roasting vermicelli & peanuts
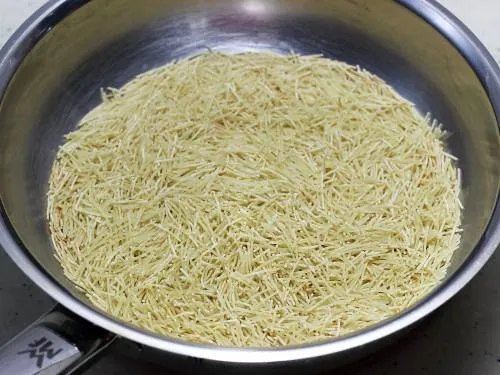
1. Skip this step if using roasted semiya. Dry roast 1 cup vermicelli (110 grams) on a low to medium flame stirring often until light & slightly golden. Do not brown the vermicelli as the flavor alters. Transfer this to a plate.
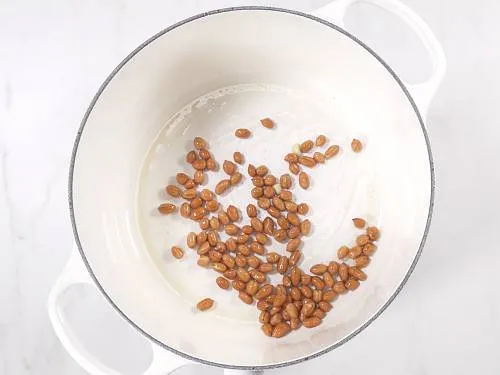
2. Pour ½ tablespoon oil to a hot pan. Add 2 to 3 tablespoons peanuts. On a medium heat, roast them until golden and crunchy. Remove to a plate and set aside for garnishing.
Tempering
3. Pour 1 tablespoon oil to the hot pan or pot. Add
- ½ teaspoon cumin seeds (jeera)
- ¼ teaspoon mustard seeds
- 1 teaspoon chana dal (skinned bengal gram)
- 1 teaspoon urad dal (skinned, split black dal)
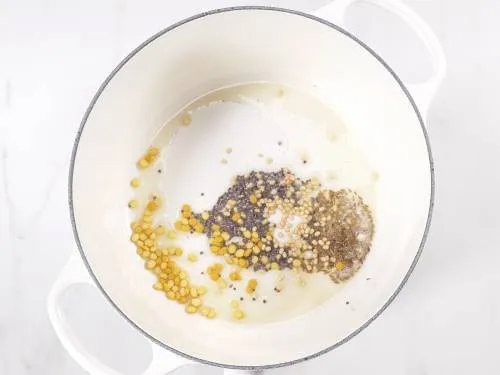
4. Fry all the ingredients until the lentils become golden. Then add 8 to 10 cashew nuts (optional). Saute until all of the lentils become deep golden but not burnt.
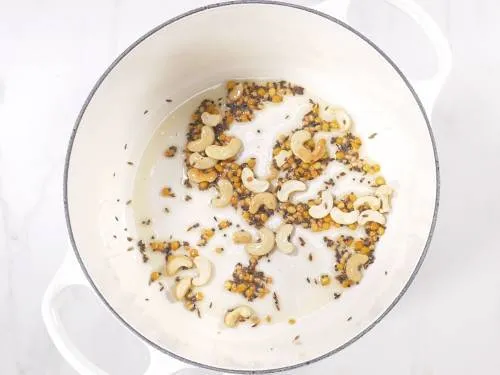
5. Then add 1 sprig curry leaves, 1 slit or chopped green chilies and 3 to 4 tbsps chopped onions. (1 small onion)
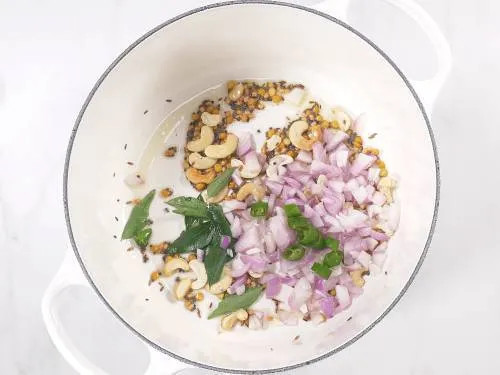
6. Saute until the onions turn golden or transparent. The add a pinch of hing and 1 teaspoon fine chopped ginger. Saute for 30 to 60 seconds until the ginger turns aromatic.
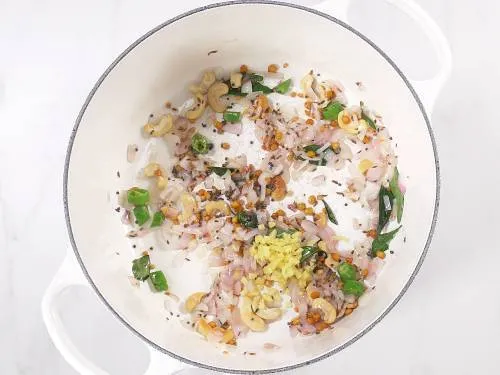
7. Pour 1½ cups water and add ½ teaspoon salt. Start with 1/3 teaspoon and add more if required. Stir very well and taste test the water after which you can adjust the salt and spice (green chili). The water has to be slightly salty.
Tip: If using thin vermicelli 1 ¼ cup water would be sufficient.
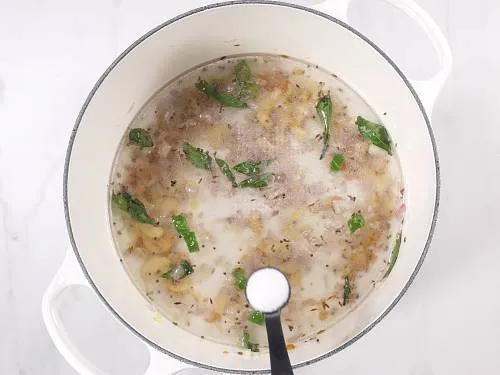
8. Bring the water to a rapid boil on a high heat. Then add all of the vermicelli at one time. I have used store bought roasted vermicelli here.
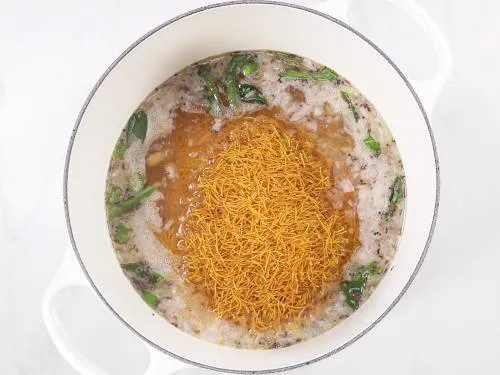
9. Mix very well. Cook uncovered on a medium heat until the water is completely absorbed and the semiya is cooked through.
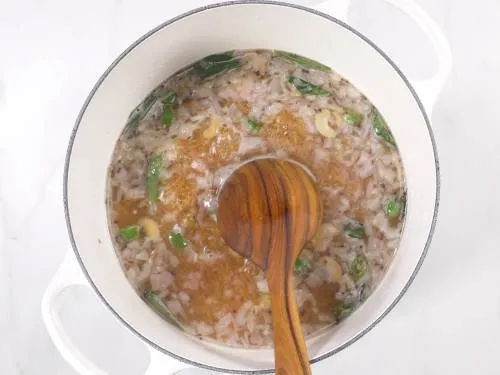
10. Cover and turn off the heat. Keep the pot covered for at least 5 to 6 minutes. This step is important and makes your semiya upma fluffy. Sprinkle some coriander leaves and fresh grated coconut if you want.
Troubleshooting
I do not add any extra water. But if your semiya is undercooked, bring 1/4 cup water to a rolling boil in a small pan and sprinkle little by little water and cook. The quantity of water I have mentioned works well with both MTR and Bambino.
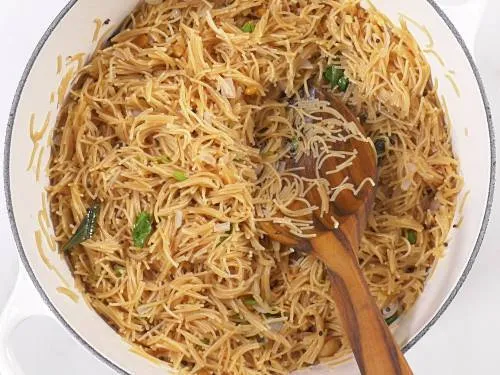
Garnish semiya upma with roasted peanuts. Squeeze some lemon juice if you like and serve with peanut podi.
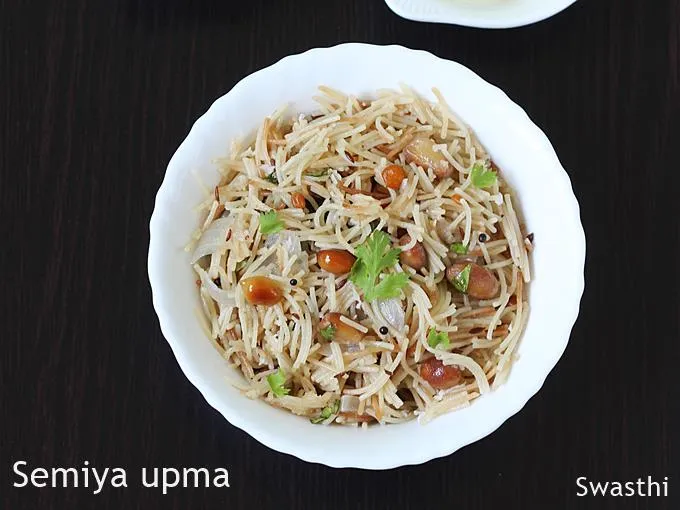
Photo Guide
How To Make Vermicelli Upma With Vegetables
1. Roast the vermicelli if required. Set aside. For this recipe you will require 110 grams. Pour half tablespoon oil to a pan and roast the peanuts on a medium heat until golden and crunchy. Remove to a plate and set aside for garnish.
3. To the same pan, pour 1 tablespoon oil and add –
- ½ teaspoon cumin seeds
- ¼ teaspoon mustard seeds
- 1 teaspoon urad dal
- 1 teaspoon chana dal
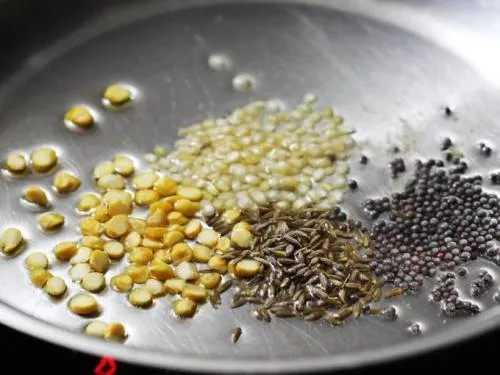
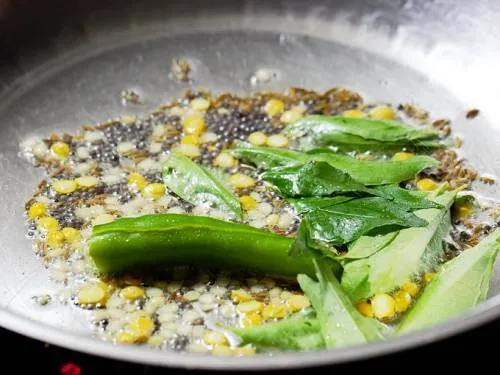
4. Fry until the dal turns lightly golden. Add –
- 1 pinch hing
- 1 sprig curry leaves
- ½ teaspoon chopped ginger(optional)
- 1 chopped green chili.
5. Add 1 small sliced onion and saute until transparent. Optional – You can also skip the vegetables. Add ¾ cup mixed vegetables – carrots, peas and french beans. Ensure the veggies are fine chopped otherwise they won’t cook fast. I sprinkle little salt so the veggies release moisture and cook easily.
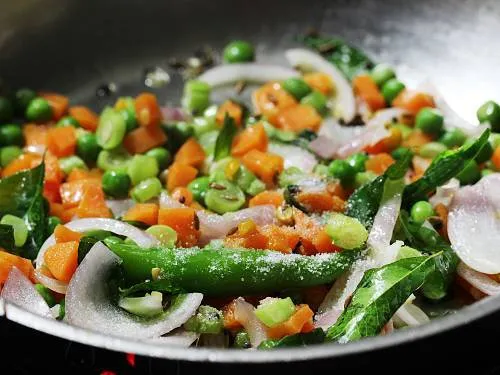
6. Cover and cook on a low flame till they turn tender and almost cooked. If they don’t cook well, then sprinkle little water and cook.
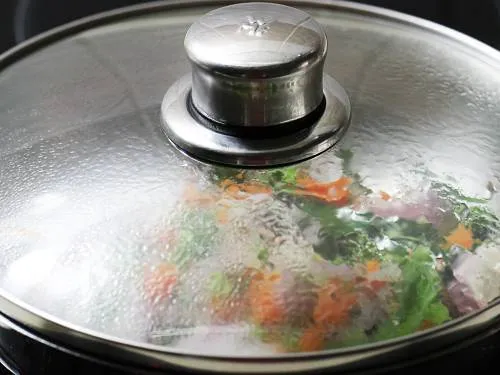
7. Add salt and pour 1½ cups water. Stir and taste test the water. It has to be slightly salty. If using thin vermicelli 1 ¼ cup water would be sufficient.
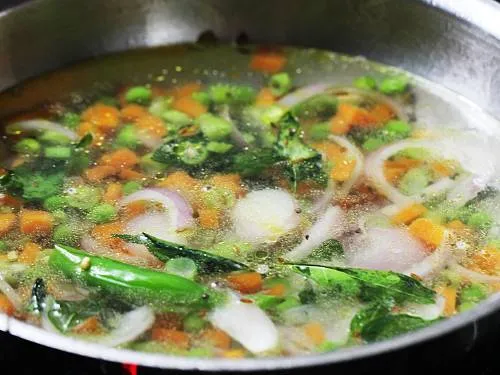
8. Bring it to a rolling boil on a high flame.
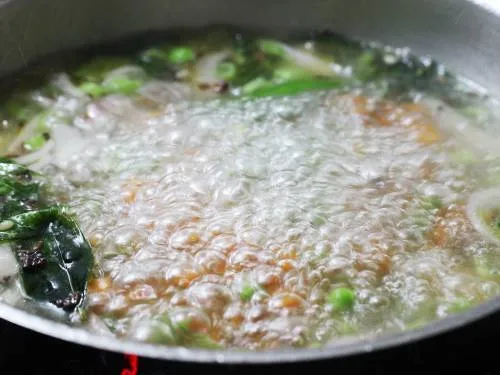
9. Add the roasted vermicelli. Stir well to prevent lumps.
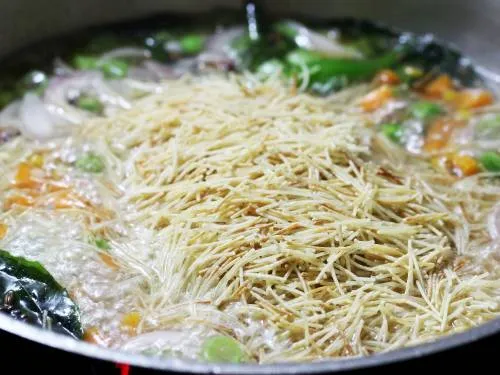
10. Cook on a medium high flame till all the water is absorbed. By then the semiya should be cooked well. (Troubleshooting tip: If the semiya does not cook well then boil little hot water and pour it here. Read tips below.)
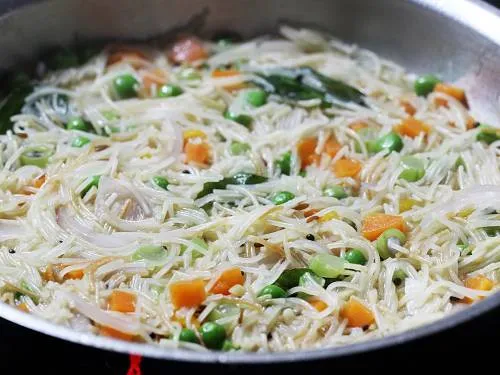
11. Cover and cook on a low flame for 2 to 3 minutes. Turn off and rest for 5 minutes.
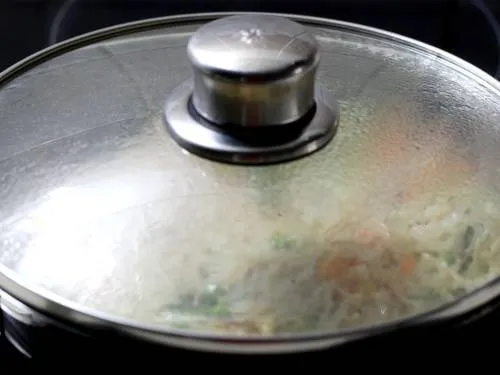
When the temperature comes down a bit, sprinkle lemon juice and add coriander leaves. Mix and garnish with roasted peanuts or cashews. Serve it hot with peanut podi.
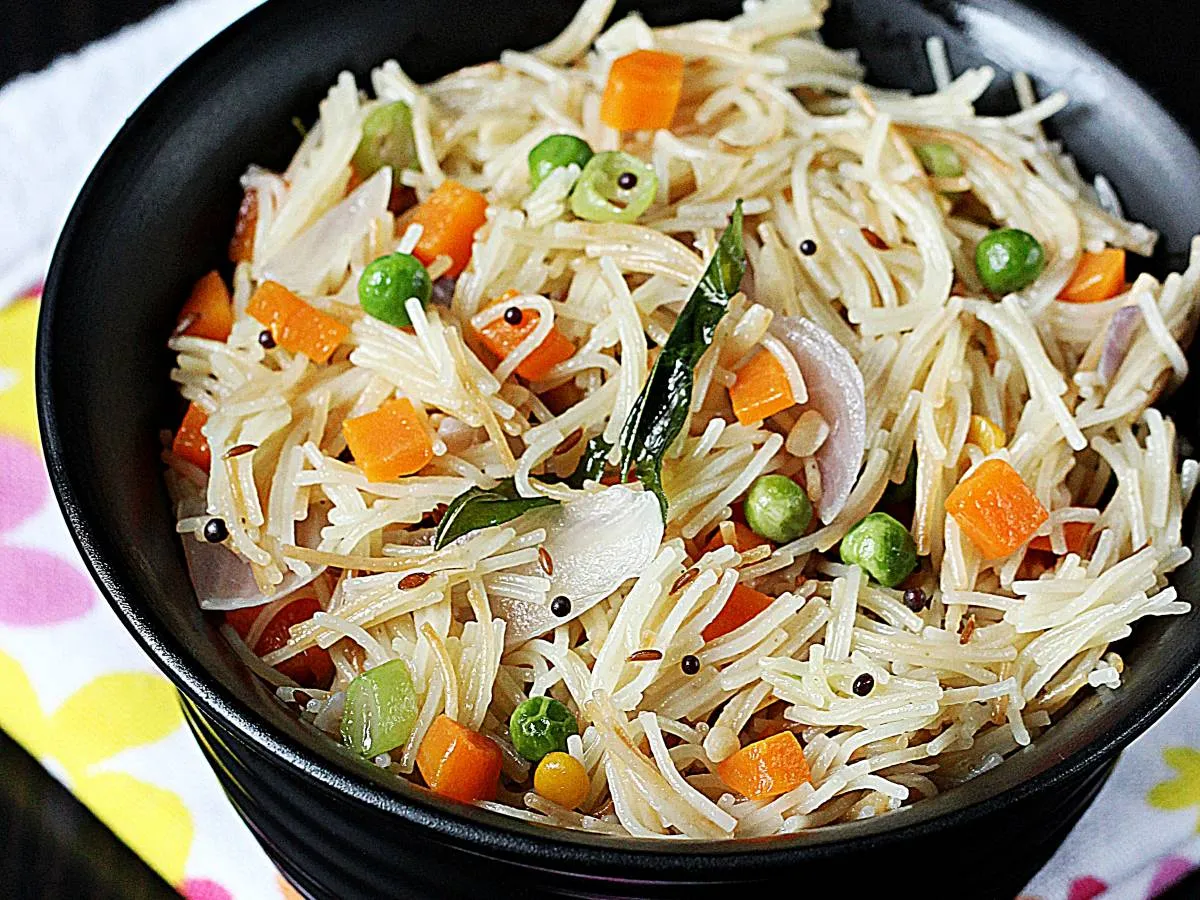
This is the semiya upma I made without veggies. It turns out good even without veggies.
Pro Tips
1. There are 2 kinds of semiya in the market – roasted & unroasted. If using preroasted vermicelli, you don’t need to roast them again. Otherwise you have to roast them following my step 1 otherwise the dish will turn mushy and sticky.
2. The quantity of water to use differs for thick and thin variety vermicelli. I use the thicker bambino semiya which takes 1½ cups water for every cup of semiya. If using thin semiya then it would only need 1¼ cups.
3. Semiya upma is always made with wheat vermicelli and not with rice vermicelli. If using rice vermicelli, then boil them following the instructions on the pack. Drain them and then just do the tempering without adding water. Then just mix the precooked vermicelli there. Cover and cook for 1 to 2 mins.
Related Recipes
Recipe Card
Semiya Upma Recipe (Vermicelli Upma)
For best results follow the step-by-step photos above the recipe card
Ingredients (US cup = 240ml )
- 1 cup semiya (110 grams vermicelli)
- 1½ cups water for thick semiya (1 cup for thin variety,1¼ cup for instant pot)
- ½ teaspoon salt (adjust to taste)
- 1 small onion (3 to 4 tbsps, thinly sliced or chopped)
- 1 green chili slit or chopped
- 1 sprig curry leaves
- ½ teaspoon ginger chopped finely
Tempering ingredients for semiya upma
- 1½ tablespoon oil or ghee
- ¼ teaspoon mustard seeds
- ½ teaspoon cumin seeds
- 1 teaspoon channa dal (split bengal gram) (optional)
- 1 teaspoon urad dal (skinned black gram) (optional)
- 1 pinch asafoetida (hing) (optional)
- 2 to 3 tablespoon peanuts or cashews (or both)
- 1 tablespoon lemon juice (to serve, optional)
optional ingredients
- ¾ cup mix vegetables carrot, peas, green beans – fine chopped
- 2 tablespoon coriander leaves chopped
- 2 tablespoon fresh grated coconut for garnish
Instructions
Preparation
- If using roasted vermicelli, then skip this step. Dry roast semiya uniformly on a medium flame until lightly golden. Keep stirring and fry without browning them. They will turn light when done. Transfer to a plate.
How to make Semiya Upma
- Heat oil in a pan. Add peanuts or cashews. Fry them until golden and crunchy. Remove to a plate.
- To the same pan add mustard, cumin, chana dal & urad dal . Fry until the dal turn golden and roasted well.
- Next add hing, onions, ginger, green chilli and curry leaves. Fry for about 2 to 3 minutes until the onions turn transparent or light golden.
- This step is optional. If using carrot, beans and peas add them now and saute for another 3 mins. Cook covered on a low flame till they turn slightly tender.
- Pour water and add salt. Stir and check by tasting the water. It has to be slightly salty. If needed add more salt.
- Bring it to a rapid boil on a high heat. Transfer roasted semiya to the pan & stir immediately.
- Cook uncovered on a medium flame till all the water is absorbed and the vermicelli is cooked through. Turn off and cover for another 5 to 6 minutes.(Troubleshooting – If you feel the semiya is undercooked then pour little boiling water. You may need about 2 tbsps more)
- When the temperature cools down a bit sprinkle some lemon juice & coriander leaves.
- Garnish semiya upma with grated coconut (optional), roasted peanuts or cashews. Serve with peanut podi or pickle.
Instant pot semiya upma
- Follow all the steps on a saute mode. Add semiya and mixed vegetables if using. Pour 1¼ cups water and deglaze.
- Secure the IP with the lid and position the steam release handle to sealing. Pressure cook for 1 minute. When the instant pot is done, wait for 2 mins and release the pressure manually.
- Remove the steel insert and fluff up with a fork. I keep it covered further for another 5 to 10 mins. Serve semiya upma hot.
Notes
- Pre-roasted semiya is easily available in Indian grocery stores. I feel the home roasted semiya (from raw) and store bought pre-roasted have a different flavor.
- Usually Bambino Semiya takes up to 1½ cups water for 1 cup semiya. MTR pre-roasted requires 1¾ cup water without vegetables. 2 cups if using fresh vegetables (not frozen). This is just an approximation and please adjust.
- Always keep ¼ cup boiling water ready on the side, if you feel the upma is undercooked, pour that at the last stage.
Video
NUTRITION INFO (estimation only)
© Swasthi’s Recipes
About Swasthi
I’m Swasthi Shreekanth, the recipe developer, food photographer & food writer behind Swasthi’s Recipes. My aim is to help you cook great Indian food with my time-tested recipes. After 2 decades of experience in practical Indian cooking I started this blog to help people cook better & more often at home. Whether you are a novice or an experienced cook I am sure Swasthi’s Recipes will assist you to enhance your cooking skills. More about me
Follow Swasthi’s Recipes

Comments
Curious what makes this the perfect “breakfast” dish? I made it as a side for tandoori chicken. It was amazing!
Good guidance here, thank you!
Excellent recipe. Really liked it.
I tried it… Came out well.. Thank you 🙂
Food tastes better when we cook with your Recipes
Keep going
God Bless
Thank you so much for the wishes!
Excellent recipe.
I tried your recipe and it came out very good. If I use 2 cups of Bambino brand vermicelli, how much of water should I use? My husband likes upma with vegetables.
Hi Radha,
Start with 3½ cups water. While you cook, if the semiya is still undercooked, pour another ¼ to ½ cup boiling water towards the end & cook further. Hope this helps
Your recipes are simple, easy and turn out delicious. Always check your recipes before trying something new. Cheers!
Thank you Rose
I like your way of making breakfast items. Thus, I always follow you.
Thanks for your simplicity.
Glad to know Suneeta
Hi. I would love if you link down your pot used. Looks pretty.
Hi Tonya
I don’t buy my cookware and tableware online. I buy them from stores in Singapore. So I don’t have the link.
Hi it will be so helpful to show pictures of thick vs thin semiya. Could you please if you see my comment? ❤️
Hi,
I have used the thicker one here. Thinner one looks something like I have used in this post (but not the same) seviyan
Thanks!!
Nice,good explanation
would be great if you could mention measurement in grams for a serving
it remind me of my school days , my grandma used to cook this
That’s Awesome!
Thank you
I used to eat this semiya upma in my office canteen and liked it very much. Since then I was searching for this recipe.
Finally I found this. Thanks a lot for this detailed step by step recipe. ?
Recipe with tips is so useful. Perfect measurements for different type of vermicelli. My kids and mother in law absolutely love this dish. Must try for everyone. Combination of veggies makes it yummier and healthier! Thank you ?
Welcome Rupal
Glad to know! Thank you!
Hi,
Water you have mentioned for thick sevai is too much.. Mine came out sticky.
Regards,
Rajshree
Tried the vegetable semiya upma today. Turned out just perfect. The details of water ratio provided for different types of vermicelli was informative.
Very very tasty semiya upma. Thank you Swasti very much. For two and quarter glass of semiya I used two and half glass water. It was proper. Will your other recipes too.
Hi Shanthi Sankaran
You are welcome!
Glad to know
You put a good amount of effort and research in your recipes. I liked the little details like different water ratios fir different vermicellis, different cooking techniques and also a separate step by step photo. Most bloggers/authors don’t do that.
Kudos!
Thank you so much!
Amazing recipe for beginners
Thank you
Dear Swasthi, your recipes are all mind blowing!! Simple and easy to follow… a real treat for a cooking novice like me!! Thank you and God Bless
Hi Gwen Stephen,
You are welcome! Thank you so much for the wishes. Glad the recipes are helpful.
🙂