Sev Recipe (Omapodi, Karapusa)
Updated: October 22, 2022, By Swasthi
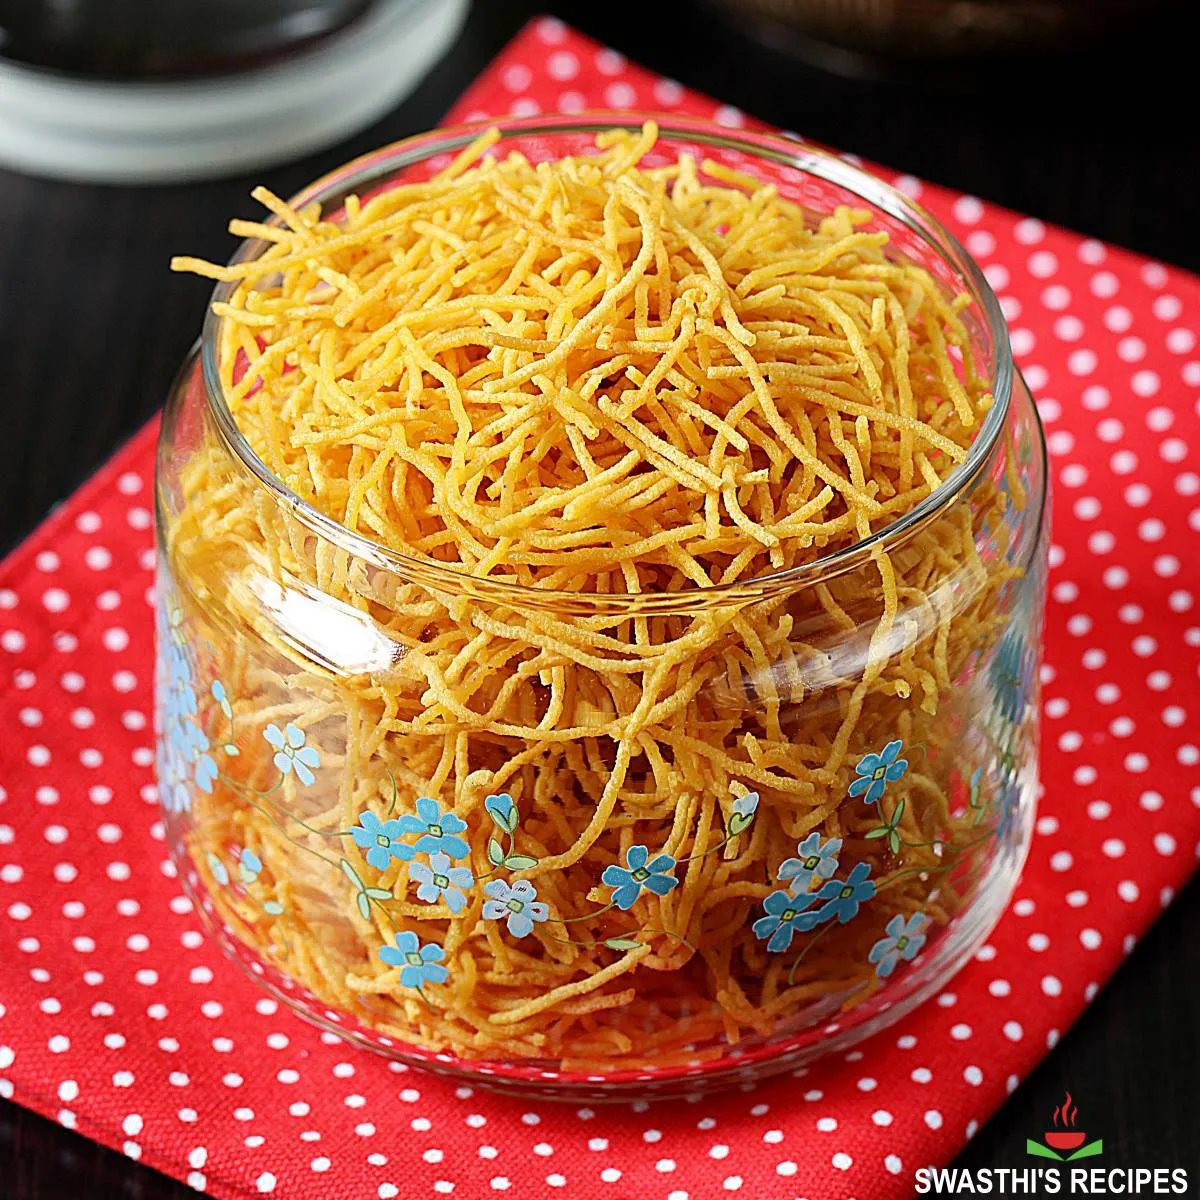
Sev recipe to make crispy-crunchy Indian gram flour fried noodles. Known as Sev in Hindi, Omapodi in Tamil and Karapusa in Telugu, it is an immensely popular deep fried Snack of crisp noodles usually made with gram flour and spices. It is eaten on its own or mixed with various other deep fried titbits to make a snack like Mixture or Chivda. Sev is also used as a topping for Chaat foods & breakfasts like upma & poha .
In this post I share how to make crunchy thin sev. It is addictive and can be enjoyed in so many ways.
About Sev
Sev is a generic Hindi term used to refer to Indian fried noodles that are crunchy. There are numerous variations of Sev that vary in thickness, size & flavors. In the Indian Markets, you are likely to find Karasev, Plain sev, Ratlami sev, Nylon sev, Palak sev, Bhujia sev, Indori Sev & the list goes on.
The most common version of sev is made with only gram flour. Sometimes even rice flour is added, especially to the South Indian versions, so the sev keeps crisp for longer.
Usually no spices are added to make plain sev. The Tamil Nadu version is flavoured with omam aka ajwain so it is called Omapodi. Various ingredients like garlic, green chilies, carom seeds can be added while making the dough.
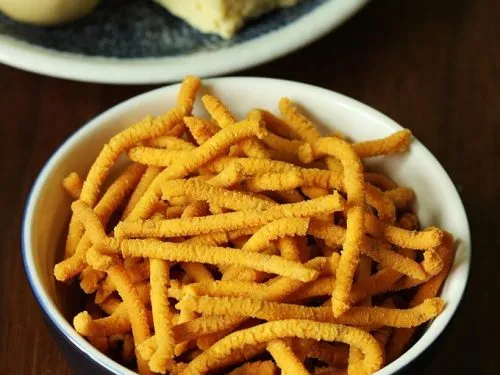
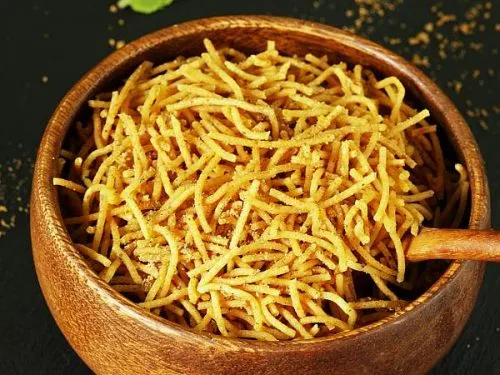
I have 2 other similar sev variations on the blog – Karasev and Bhujia sev.
My Sev Recipe
To make this sev, I use a small quantity of rice flour to keep them extra crisp for few more days. They remain crispy & light with a mild flavor of ajwain that compliments the aroma of fried besan.
However using rice flour, ajwain, red chili powder are all optional. They can be skipped to make plain sev that is used for chaats like sev puri, bhel puri, dahi puri, papdi chaat and many more.
So you can easily skip the spices and the rice flour from this recipe. But these enhance the flavors and texture and taste better than the regular sev we get outside.
But note that this recipe won’t yield you nylon sev that is used for chaat toppings. If you are looking for a homemade alternate for store bought nylon sev, these are a great option.
This Sev keeps good for 1 to 2 weeks if stored in an air tight jar. If you make these in large quantities then store them in different containers. This way they keep fresh and crisp for longer.
If you follow the recipe correctly, you will get very flavorful and crunchy sev.
You may also like
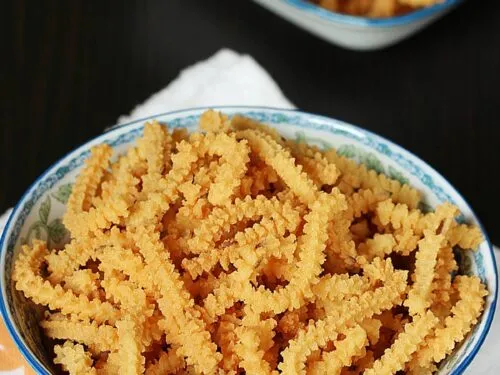
Thattai
Butter murukku
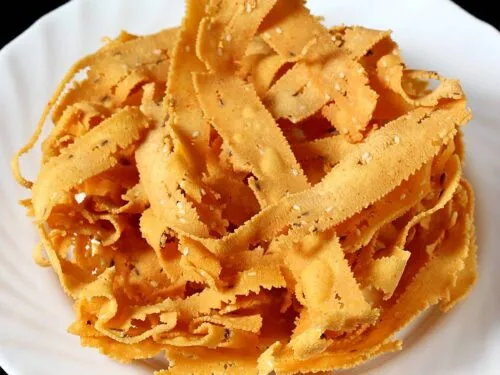
Ribbon pakoda
Murukku / Janthikalu
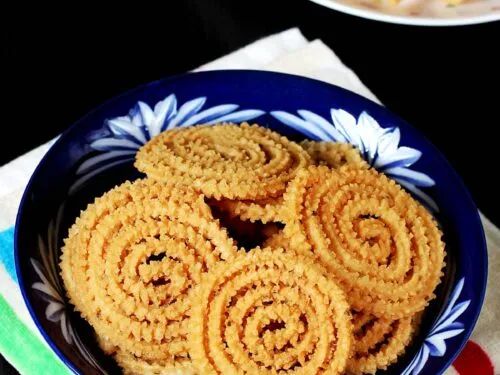
Chakli
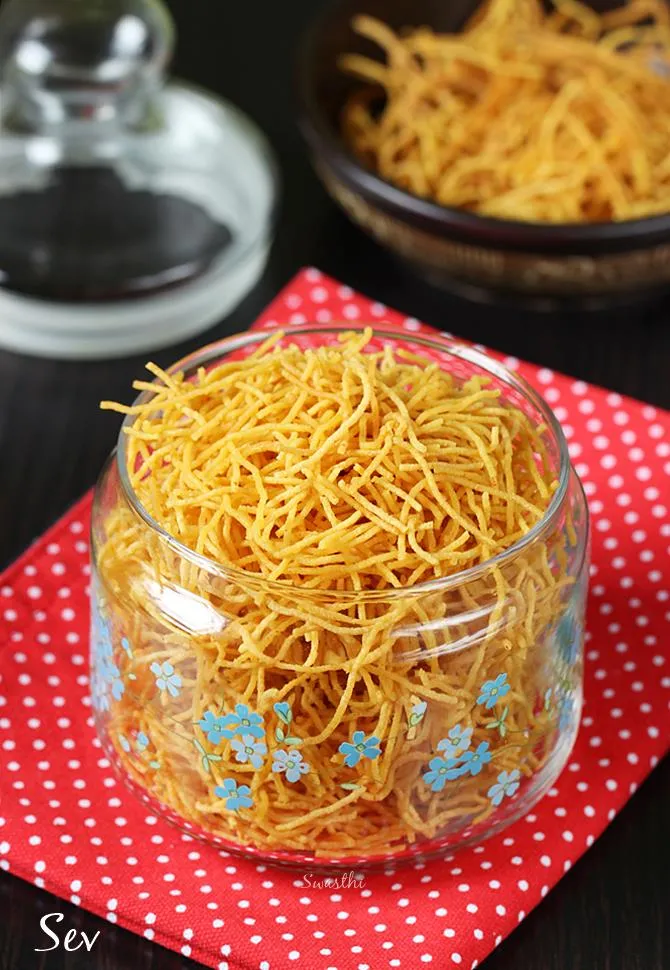
Photo Guide
How to Make Sev (Stepwise Photos)
Prepare Dough for Omapodi
1. To a large mixing bowl, add 2 cups fine besan, ½ cup rice flour, ¾ teaspoon salt, ¾ teaspoon red chilli powder, 1/8 teaspoon hing and ¼ teaspoon turmeric. If you want to make plain sev for chaat, then skip rice flour and red chilli powder. If the flour is not fine, then sieve all them using a fine sieve.
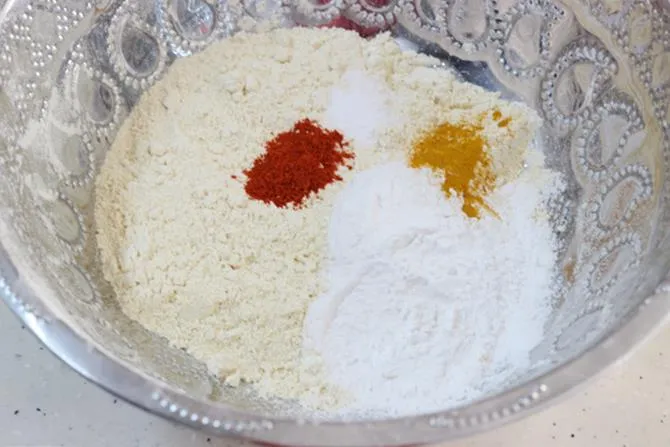
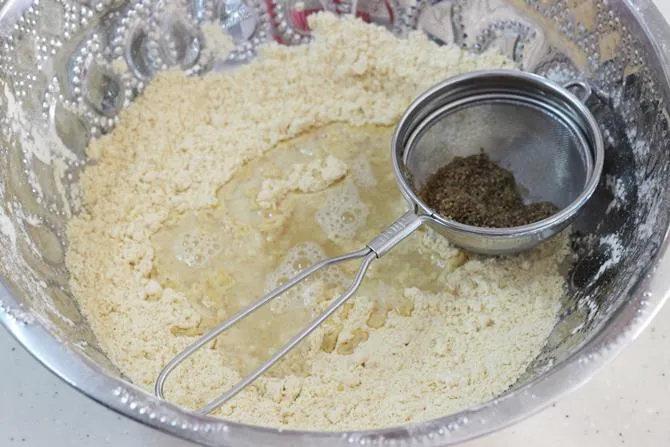
2. Mix everything well. Heat 1 tablespoon oil in a kadai. When the oil becomes very hot pour it to the flour. Adding oil at this stage makes light and crunchy sev.
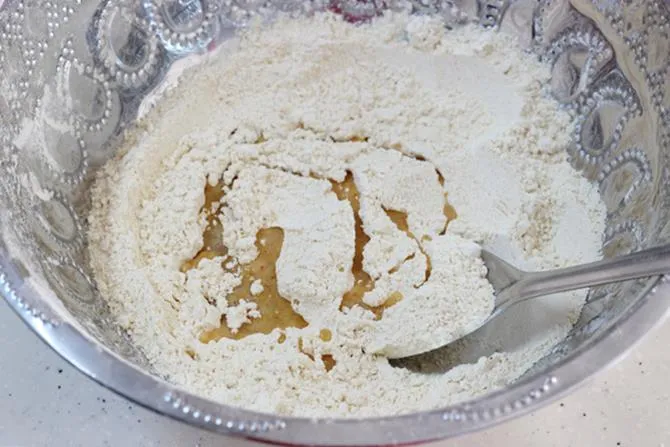
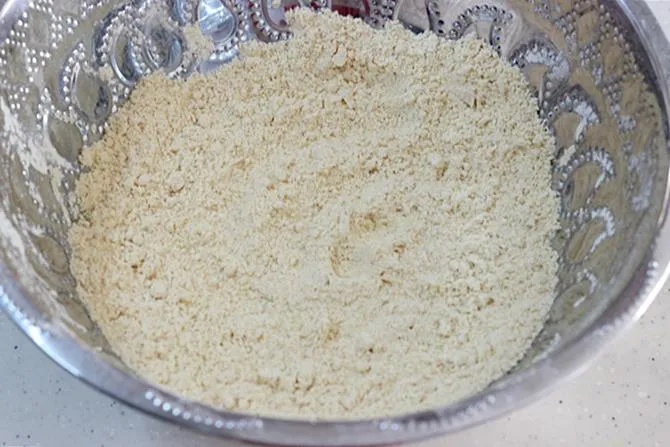
3. Mix well with a spoon first. Be careful as the oil is hot here. Using your hand incorporate the oil into the flour. You will get some lumps, rub the flour in between your palms. Break up lumps if any.
Make Spiced Water
A. To use ajwain: To make sev with omapodi/ajwain flavor, heat half cup water. When it turns hot, add ¾ tablespoon powdered ajwain to the water. Turn off the stove and cover. Rest until it cools down. Filter the water to a small cup.
B. For garlic or green chilli flavor, add 2 green chilies and 4 to 5 garlic cloves to a small grinder. Make a fine paste adding little water. Stir half cup room temperature water. Rest for 5 to 10 minutes. Filter the water to a small cup
4. Pour water little by little as required to make the dough. Do not pour all of the water at one time. Add only as needed.
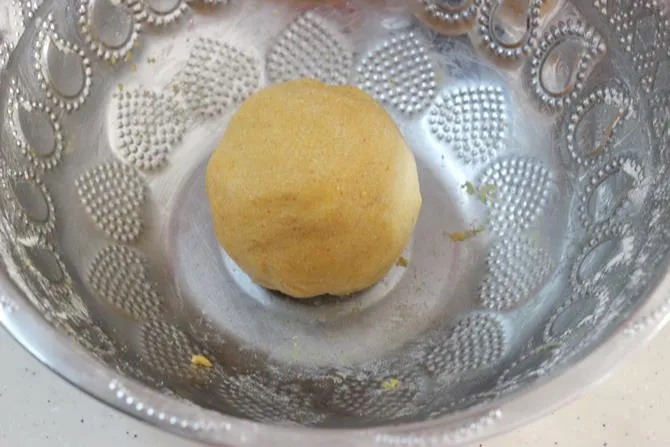
5. Mix well to make a non sticky dough. It should not be dry with cracks as well. Cover this and keep aside.
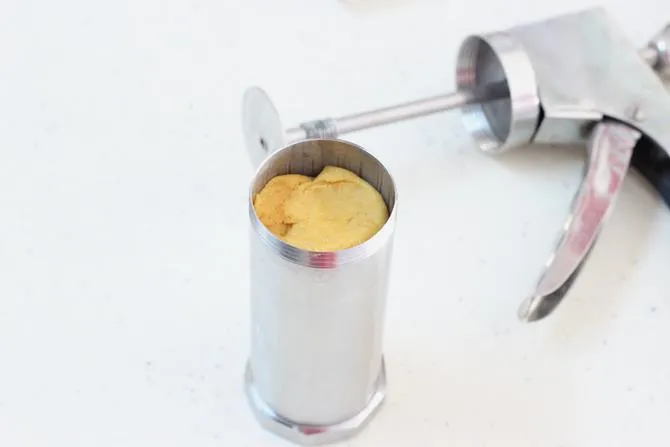
6. Grease the mould or sev maker with little oil using a brush. Use the plate with the smallest holes. Take 1/3 portion of the dough and fill the mould. Cover the rest of the dough to prevent drying.
Shape & Fry Sev
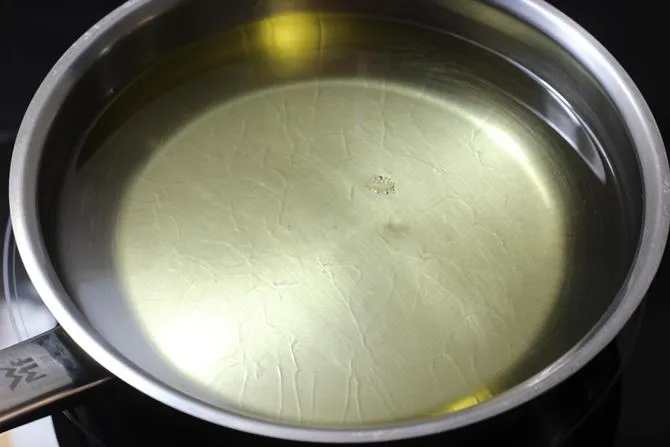
7. Heat oil for deep frying. Check if it is hot enough by dropping a small flat piece of dough in the oil. The dough must rise without browning. This is the right temperature. There must be enough oil in the kadai to fry else omapodi won’t fry evenly. I used 2 cups oil. Use according to the size and shape of your kadai.
8. If you are an experienced cook, then press the dough directly in the hot oil to make circular shapes.
This step is for beginners. Grease a perforated ladle/ hole ladle (one that is used for frying foods). Press the dough from the mould to make a circular shape. If you have a large ladle you can make a large sized disc. While pressing the dough, you can rest the handle of the laddle on to a utensil the way i did.
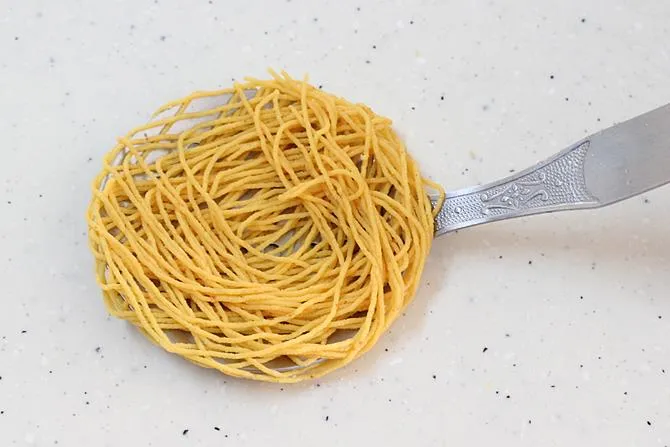
9. Dip the ladle in the hot oil. The flame must be medium as the sev is very thin and gets fried quite fast. A very high flame may burn or give a uneven color to them.
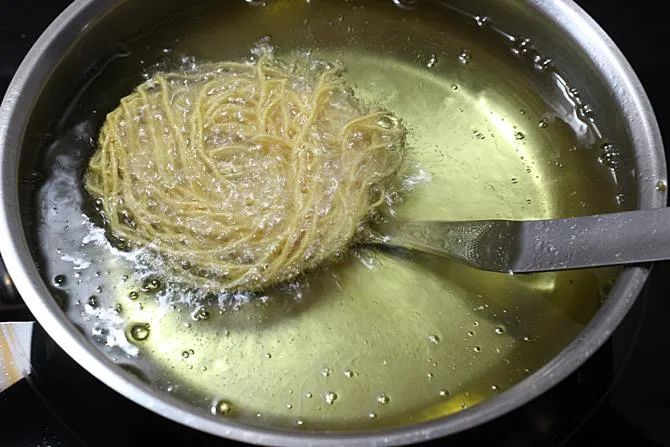
10. After few seconds, you can see that the shaped dough comes off from the ladle.
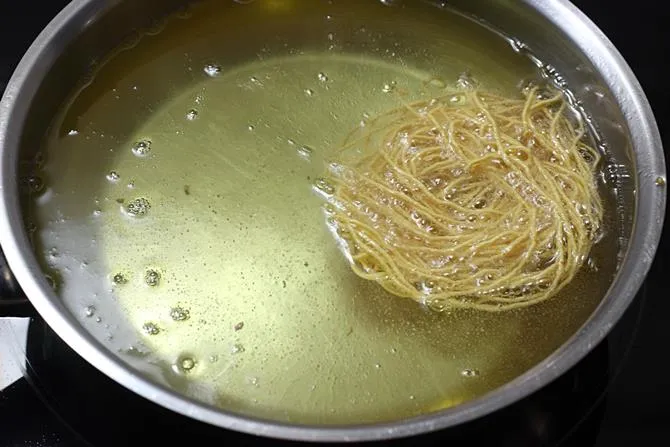
11. Fry until golden and remove them to a steel colander or a cooling rack. Reduce the heat slightly until you make your next disc. You can also make 2 discs at one time and fry if there is enough space in the kadai. Make sure there is enough space for them to get fried well.
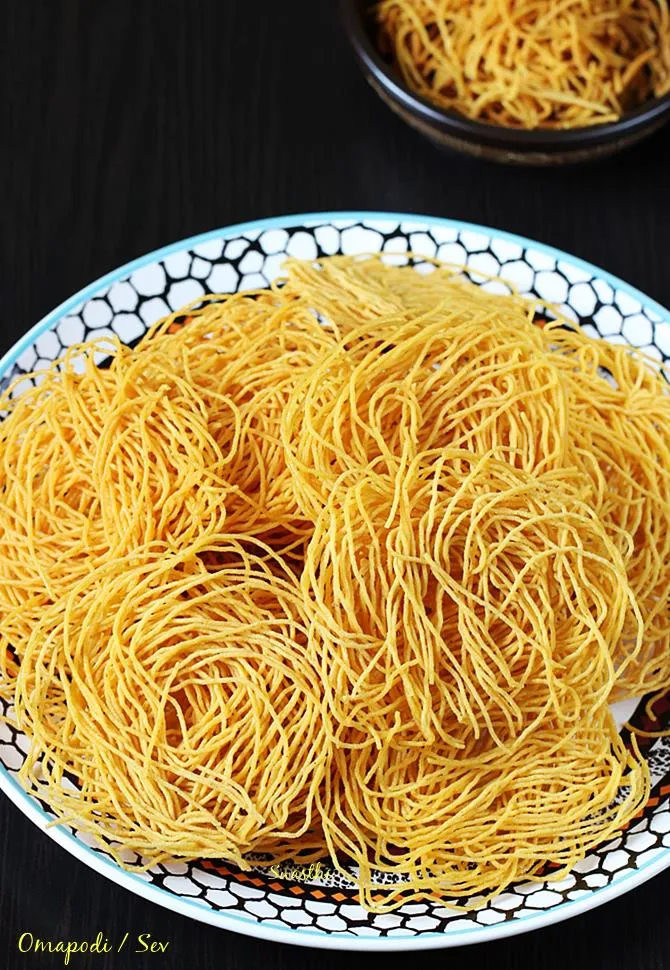
Cool them completely. Break them and store in air tight jars. If using for chaat, then gently break them to smaller size. I usally store sev in smaller individual jars as they keep crisp for longer that way.
Pro Tips
Flour: Use fine besan & rice flour. Also sieve it well if it is not too fine. Coarse flour will get stuck in the mould/ sev maker when you press down the dough. So ensure it is fine.
Dough should be stiff yet smooth and not dry. If it is too tight then it is very difficult to press down the dough through the sev maker.
Flavoring: We always add ajwain to sev dough for flavor. If you want to use it, then powder it finely. Add it to boiling hot water. Cover and rest until it cools. Filter and use the water.
Spice: You can also make hot and spicy sev with this recipe. We use green chilli and garlic to flavor. To use them, blend green chilies and garlic with little water. Filter the water and use it to make the dough.
Or alternately stir in chilli and garlic paste to room temperature water. Filter it and use to make the dough. Any spices like red chilli powder and ajwain should be fine.
Hot oil: Adding hot oil to make the dough, helps in making light and crunchy sev.
Related Recipes
Recipe Card
Sev Recipe | Omapodi Recipe | Karapusa
For best results follow the step-by-step photos above the recipe card
Ingredients (US cup = 240ml )
- 2 cups besan (fine gram flour)
- ½ cup rice flour (fine flour, 2 tbsp extra for extra crisp)
- 1 tablespoon oil (hot)
- ¼ teaspoon turmeric (optional)
- ¾ teaspoon salt (adjust to taste)
- ¾ teaspoon red chili powder (skip for plain sev)
- ¾ tablespoon ajwain
- ⅛ teaspoon hing (asafoetida)
- 2 cups oil (for frying)
Instructions
Preparation
- If making plain sev, skip this step. For flavoring, add ajwain powder to half cup boiling hot water. Cover and keep aside for 5 to 10 minutes. Filter the water and use for kneading the dough. If you like green chili or garlic flavour, blend 3 garlic cloves or 3 green chilies and add to cold water. Strain and use only as needed.
- To a large bowl, add gram flour, rice flour, salt, chili powder, turmeric and hing. Mix well.
- Heat 1 tablespoon oil in a kadai until hot. Pour this to the flour.
- Using a spoon mix it well. Then use your hand to incorporate the oil well to the flour. Rub the flour with your palms for a while to incorporate the oil evenly. Break up any lumps of flour and oil.
- Add water only as required and make a non sticky dough. You can use plain water if you don't prefer the spiced water.
How to Make Sev or Omapodi
- Heat oil in a deep frying pan on a medium flame.
- Meanwhile grease the sev maker/ mould with little oil using a brush. Fill the dough in the mould. Fit the plate with the smallest holes to your sev maker.
- Fill ⅓ of the prepared dough or as much to fill your sev maker.
- Check if the oil is hot enough by dropping a small portion of dough. The oil is ready when the dough rises without browning.
- Regulate the flame to medium. Press the mould gently over the hot oil in circular motion to release the dough in circular discs.
- If you are a beginner, then grease a perforated ladle with little oil. Squeeze the dough on to the ladle and keep the ladle in the oil. Within a few minutes the sev will release on its own to to hot oil.
- Fry the omapodi until crisp and golden. Remove them to a colander or kitchen tissue.
- To make the next batch of sev, ensure the oil is medium hot and not too hot. If the oil is too hot they will burn. If the oil is not hot enough they will soak up the oil.
- Cool all of the sev and transfer to air tight jars. I usually break them and store in separate containers so they remain crisp and fresh for longer.
- Serve sev as a tea time snack or garnish your chaat snacks with it.
NUTRITION INFO (estimation only)
© Swasthi’s Recipes
Sev Recipe first published in October 2015. Updated & republished in October 2022.
About Swasthi
I’m Swasthi Shreekanth, the recipe developer, food photographer & food writer behind Swasthi’s Recipes. My aim is to help you cook great Indian food with my time-tested recipes. After 2 decades of experience in practical Indian cooking I started this blog to help people cook better & more often at home. Whether you are a novice or an experienced cook I am sure Swasthi’s Recipes will assist you to enhance your cooking skills. More about me
Follow Swasthi’s Recipes


Comments
Can I use a different flour as an addition if I don’t have rice flour? Otherwise the recipe looks good. Thanks!
You need rice flour for a crisp texture. Potato starch may work but I am not sure if they remain crisp for long, like the rice flour sev.
What other flour can you use instead of rice flour?
Hi Swasthi
I tried this recipe for the first time and it came out perfect. It was very good and tasty.
Thanks for letting me know Sowmya. Glad you like them
I made this for the first time following the recipe you have shared and it came out very good and tasty
Love your recipes! I’m cooking snacks for a guest that has a severe oil allergy and really want to make them your Karapusa (household favorite addition to all of our snack dishes!) is there anyway to form/press them and bake them in the oven vs frying them? I understand that they might not turn out as crunchy, but am curious if you have any tricks/hints that could help salvage their integrity while attempting my baking approach?
Thank you Kristey. I have tried to bake and even air fry but they will still have a raw flavor. I remember this aloo bhujia worked better in air fryer but not great. I don’t remember the temp and timings that I could share. I made the dough the same way.
Hello! Love the recipes I wish it was clearly stated how long they stay fresh so that we can plan accordingly especially for like a party or festival like Diwali.
Hello,
Yes it is mentioned in the post intro, they keep good for 1 to 2 weeks in an air tight jar. It also depends on a lot of factors like the kind of oil used and the weather conditions where you live. It is not good to keep fried foods for too long
Hi Swasthi. Thankyou so much for sharing recipes in such a simple and practical way. I blindly follow your instructions and all your recipes turn out perfect.
Thankyou so much
Hi Jayshri,
Thank you so much for letting me know! That makes me happy!
🙂
Tried this today it is a perfect, fool proof recipe! Thank you so much Swasthi !
Glad to know Komal.
Thank you
Mam ? I like all your recipies very much. please give a chart of all common measurements of dal, spice, seeds, fresh, coconut, dried coconut, flour and vegetables in grams to cup measurement.
Mam ? I like all your recipies very much. But please give a chart of all common measurement of dal, spices, flour, seeds, coconut fresh and dried coconut and Venables.
I want to make sev, but first I have to buy a press. Which press is best and easiest to use? I love your recipes btw.
Hi Susan
You can look online. There is no particular brand to look for. But I feel the gun kind is harder to press. So go for a cup shaped one with 2 handles.
Hi Swasthi, I tried your Omapodi recipe. It was very good??. Will try your other recipes. Thanks for sharing?
Hi Rani,
You are welcome! Glad you liked them.
Thank you
Hi! Cant wait to try this. Can you tell me approximately how much water did you add for 2 cups besan flour? Thanks!
Hi Priyanka,
To make the ajwain water, I used half cup.
Later I used another half cup for the chilli garlic water. The quantity of water depends on the flour. Add little by little only as needed. Hope this helps.
Hi Swasthi, what type of kadhais do you use for deep frying? From the pics yours looks like enamel or steel. Please share info. Thanks
Hi Gitanjali
Most times I use WMF German made steel pans with heavy bottom, Le crueset enameled & staub enameled pans as well for frying. I also use one which I bought from India, it has a heavy bottom. Don’t know the brand. I personally love the steel ones for deep frying. Hope this helps
Mine absorbed too much oil what’s the reason
If the dough is too moist (sticky) or if the oil is not hot enough they will soak up lot of oil
Hi swasthi Garu hru e very useful blog. My favourite blog thanks for it…
Hi Lavanya Garu,
I am fine. Thank you.
Happy to know you like this blog. Thank you once again. Have a good day.