Tandoori Roti (Butter Roti)
Updated: May 11, 2024, By Swasthi
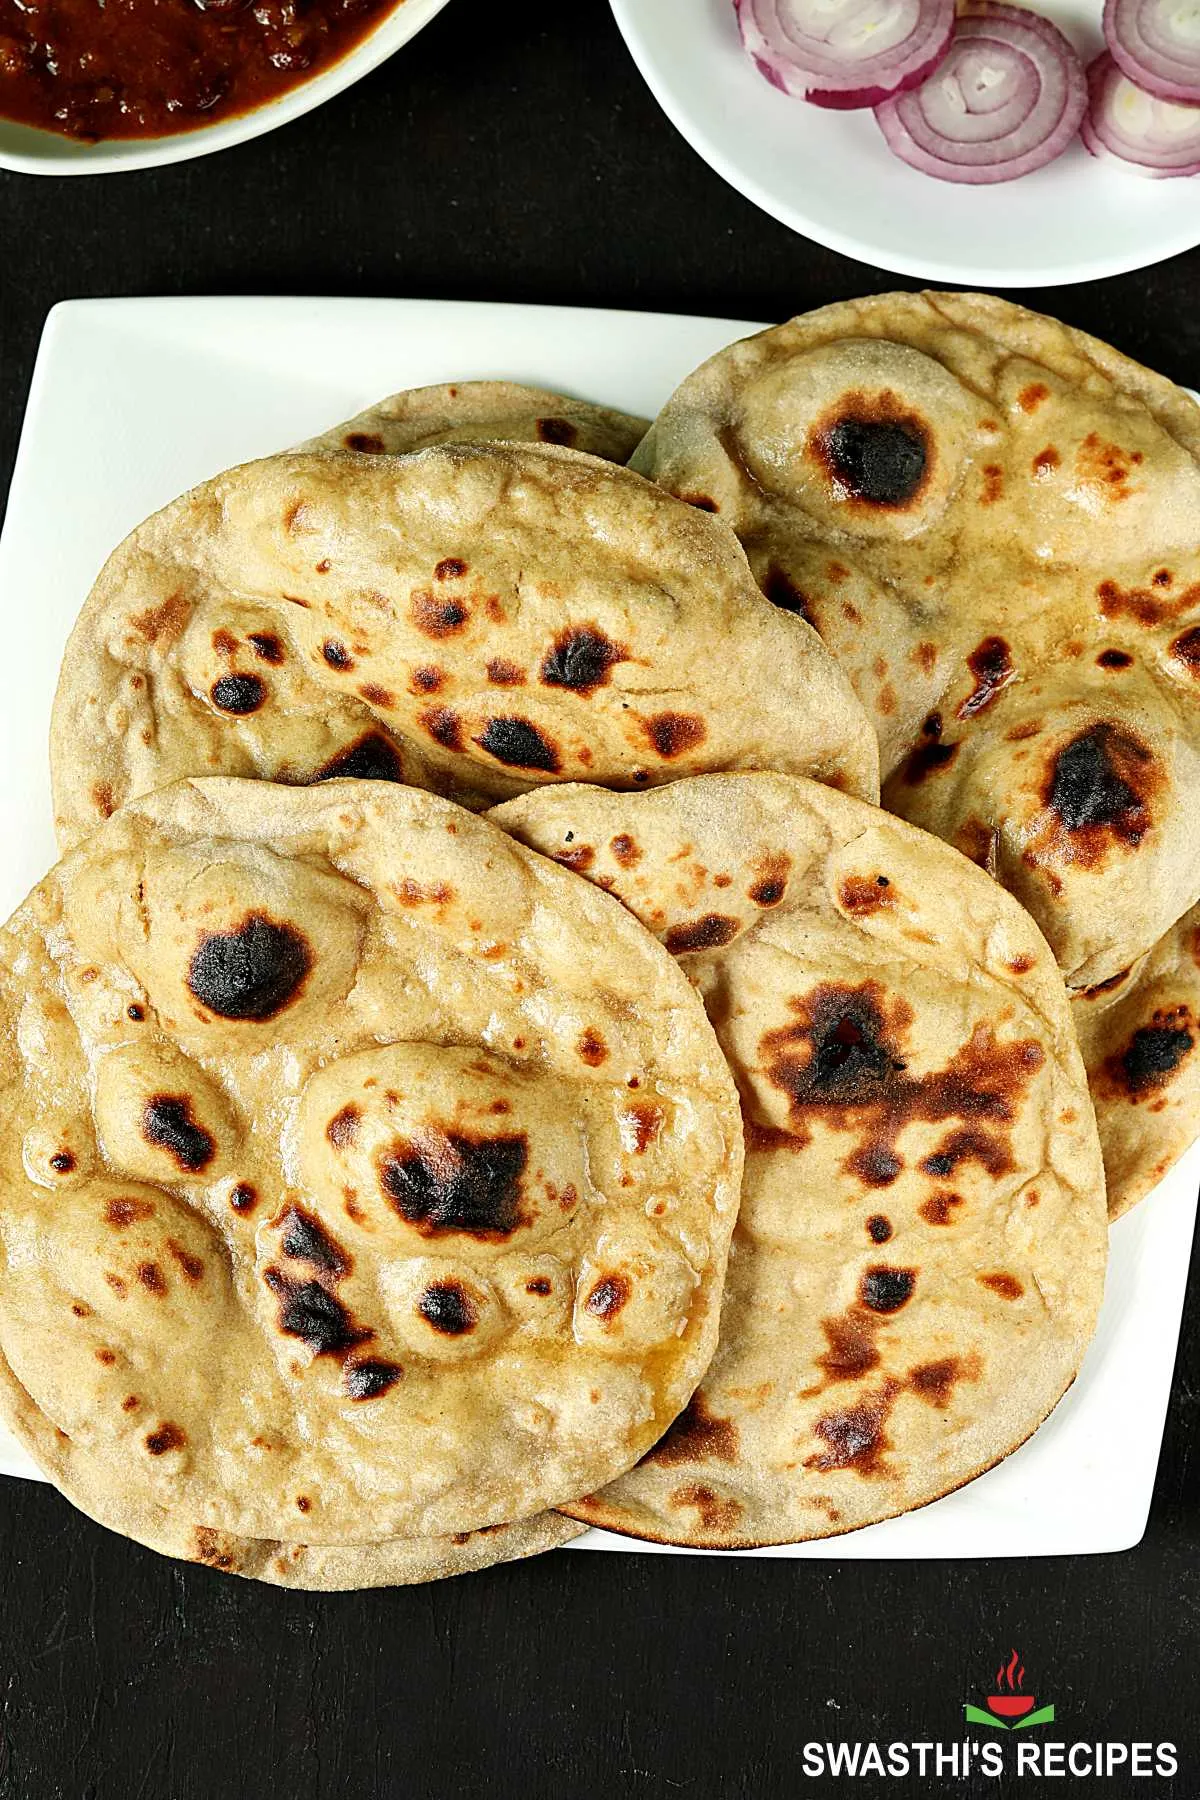
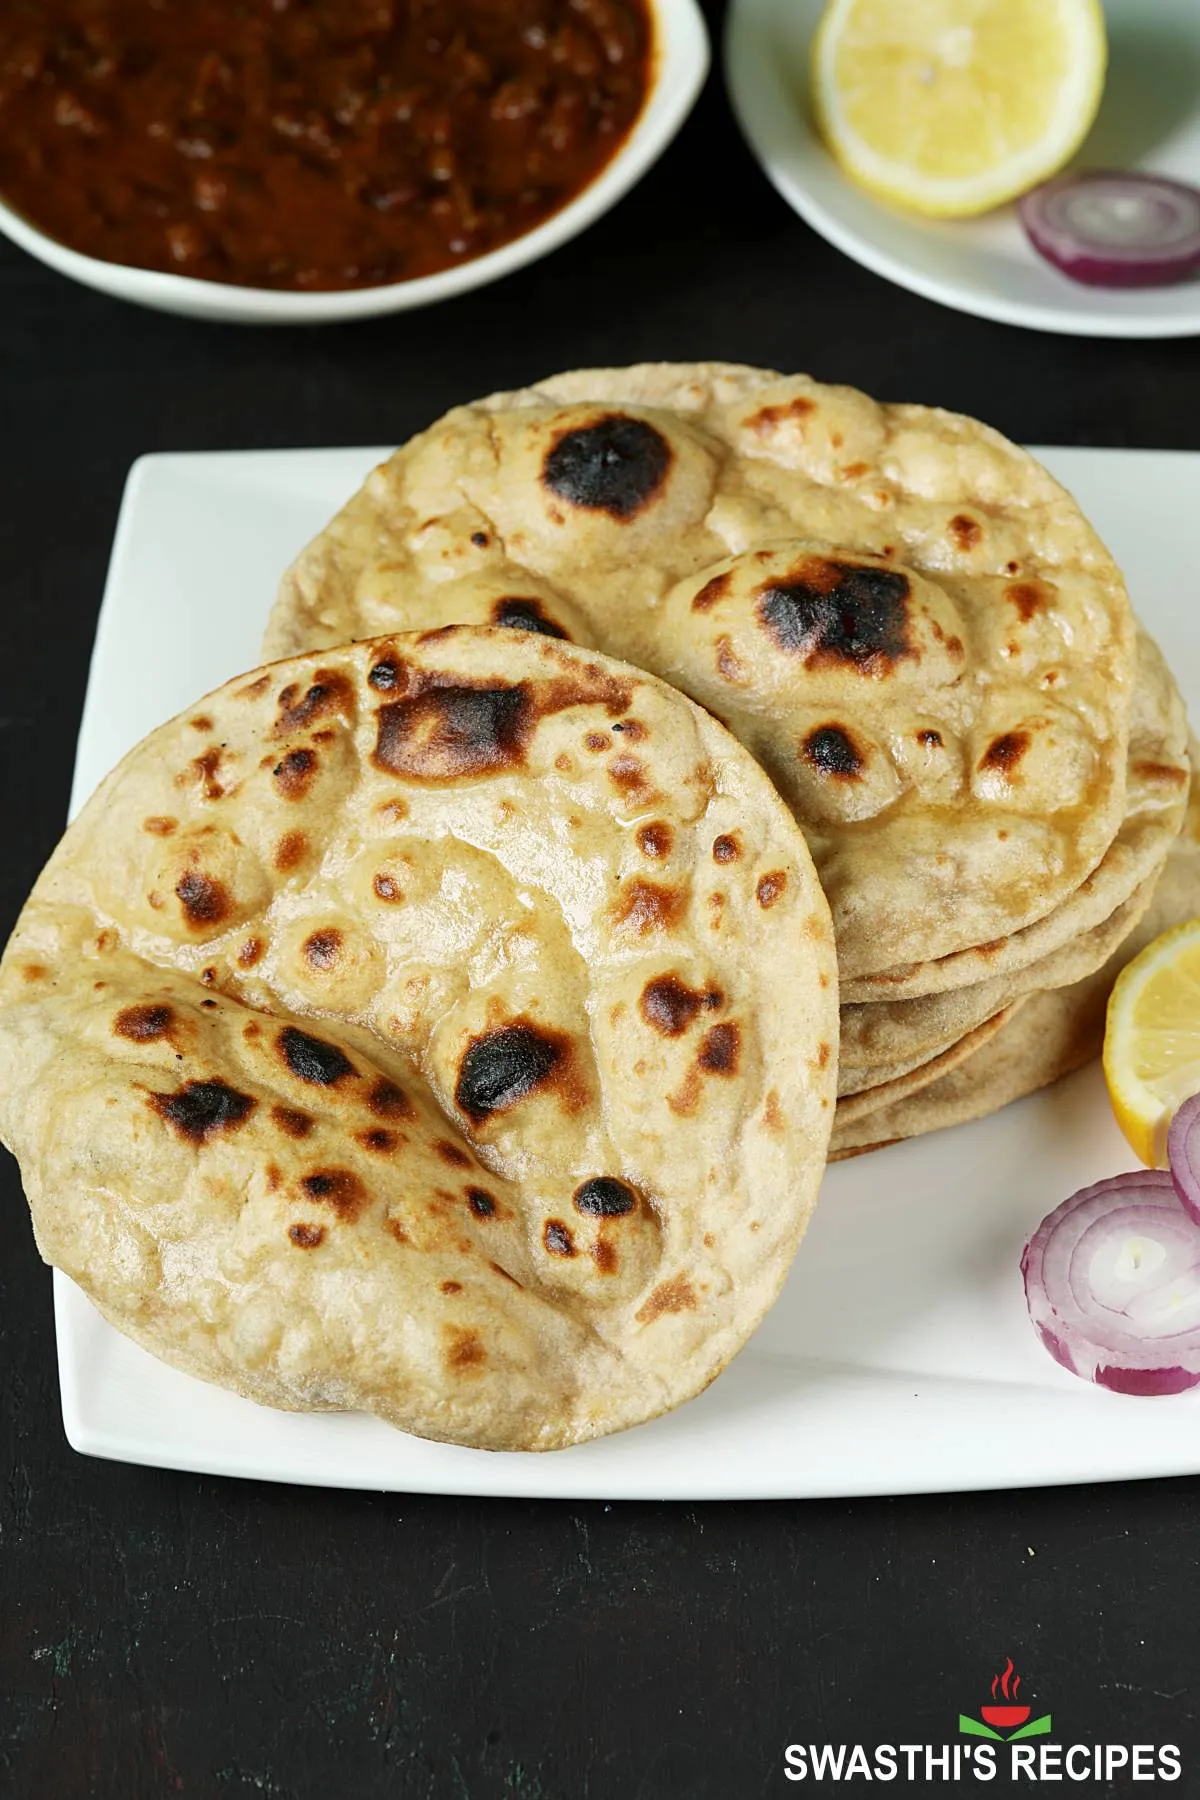
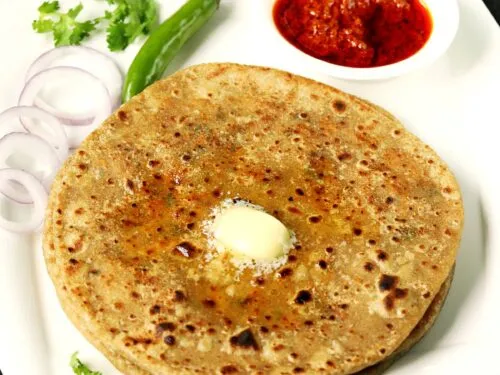
Make Tandoori Roti aka Butter Roti just like your favorite restaurant! These buttery tandoori style roti are delicious, crisp on the edges and soft in the center. Like any other flatbreads these are best served with a curry, dal or stew. In this post I share how to make Tandoori Butter Roti at home without a tandoor or any kind of oven, meaning we are going to toast these on the stove using a pan/tawa.
What is Tandoori Roti?
Tandoori Roti are flatbreads made with whole wheat flour and cooked in a tandoor, a clay oven. These are made all over the Indian sub-continent & are popular in the restaurants & dhabas. These flatbreads are made with whole wheat flour also known as atta and sometimes with a mix of wheat flour and all-purpose flour.
Every restaurant has a different recipe to make these and no 2 places serve the same tasting tandoori roti but every place cooks them in a tandoor which gives them a distinct flavor and texture. Budget food places make these with just simple roti or Chapati dough that uses nothing more than flour, water and salt. But standard and upscale restaurants use a few more ingredients to make them fluffier, softer and flavorsome.
Everyone has a secret or unique formula that makes their tandoori butter roti different from others in taste and texture. Some people use leavening ingredients like baking powder or baking soda while some don’t.
Differences between Naan and Tandoori Roti
- Naan is always made with all-purpose flour while tandoori roti is made with wheat flour. Some restaurants use little all-purpose flour in this roti to avoid dry and hard roti. This way they also turn out slightly softer.
- Most of the naan recipes use yeast and sometimes also leavening agents like baking powder and baking soda. But butter roti is never made with yeast and it may or may not have the leavening agents.
- To make naan dough, flour is usually mixed with yogurt and milk but to make roti, flour is mixed with water and no milk is used.
- Naan is always soft and fluffy while tandoori roti has crisp edges due to lesser fat and higher fiber/bran in flour. Roti is soft in the center only if the dough has higher fat content.
These are just a few differences but there are no hard and fast rules followed by people. But cooking them on fire/gas is essential and using wheat flour is the key which actually imparts a smoky flavor naturally when it is slightly charred.
About this recipe
This Tandoori Roti recipe is inspired from a restaurant in Bengaluru, India where they make really soft and delicious tandoori rotis with 100% whole wheat flour. The edges are crisp while they are hot and the roti is fluffy and soft due to the higher fat content in the dough.
If you want you can mimic and make these look like garlic butter naans with the same toppings – garlic, coriander leaves and kalonji (onion seeds).
These are easy to make only if you use the right kind of tawa/pan. You require a stainless steel or iron pan/ griddle that is not too heavy as you need to invert it often while cooking. Avoid using a non-stick pan.
Here is the picture of my pan. It is a 18 cm (7 inch pan) and has a sandwiched bottom so won’t burn the food easily. You can use even a larger pan.
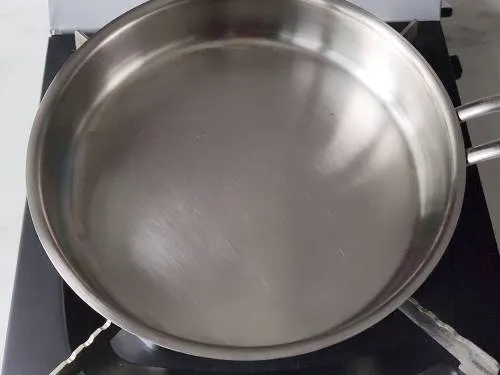
Photo Guide
How to make Tandoori Roti (Stepwise Photos)
Prepare the dough & rest
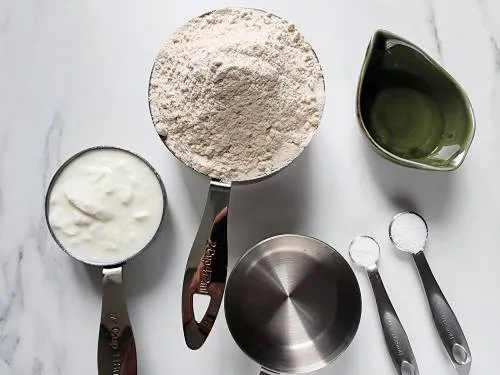
1. To make tandoori roti, you need the following ingredients:
- 2¼ cups whole wheat flour (atta)
- ½ teaspoon salt
- ¼ teaspoon baking soda
- ½ cup plain yogurt (fresh, not sour)
- 1 tablespoon oil
- ½ cup water (+ more if required)
If your yogurt is sour or have only Greek yogurt, mix 1/4 cup yogurt with 1/4 cup milk and use.
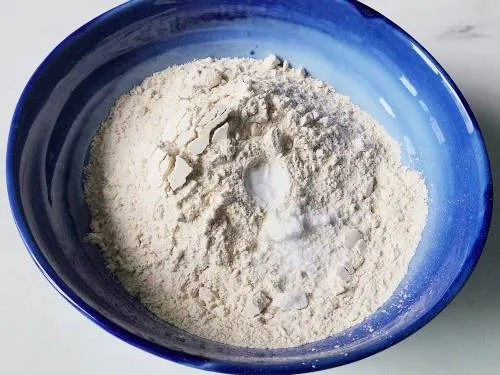
2. I am mixing the dough in a bowl, you can also use a stand mixer or a food processor. Stir together the flour, salt and baking soda in a large mixing bowl.
3. Make a well in the center and pour, yogurt, water and oil.
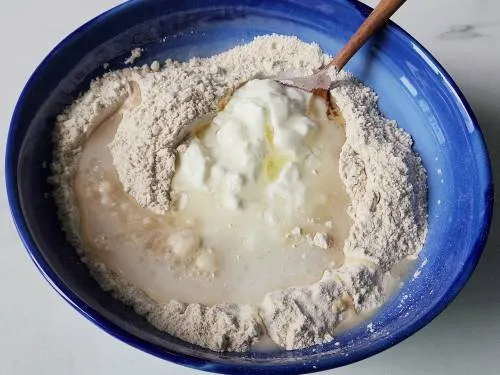
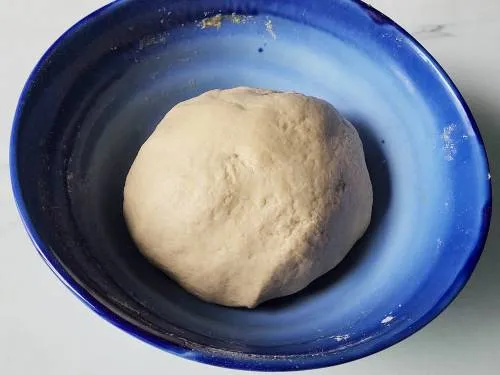
4. Mix together to form a soft non-sticky dough. Make a ball and smear a few drops of oil. Cover and rest for 30 mins. After resting, knead the dough with both your hands until smooth, for 3 minutes. It should look like this:
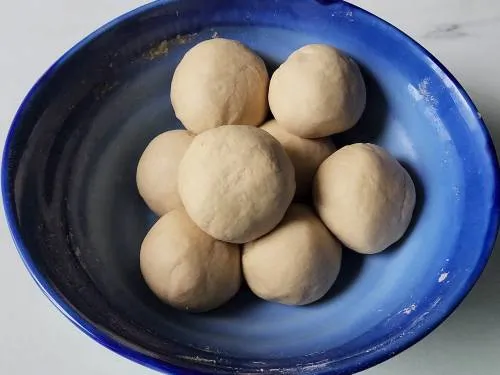
5. Divide the dough to 8 portions and roll them to smooth balls. Keep them covered until you finish rolling.
Roll roti
6. Dust the rolling area lightly, sprinkle a little on the dough ball and flatten it.
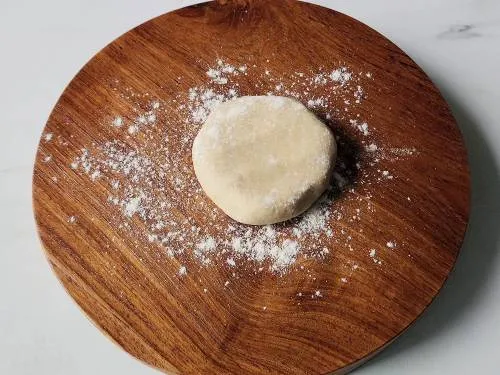
7. Roll to a 6 inch roti. It should be slightly thick and not thin. So don’t roll bigger than 6 inches.
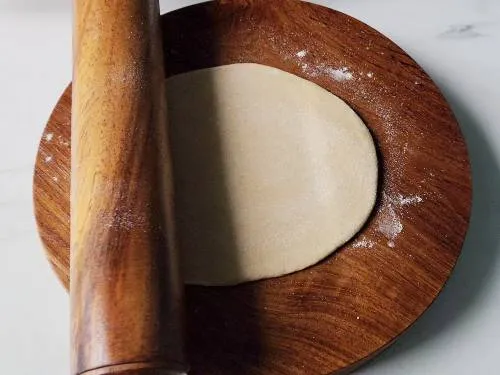
8. Roll all the rotis the same way and transfer to a dry kitchen counter.
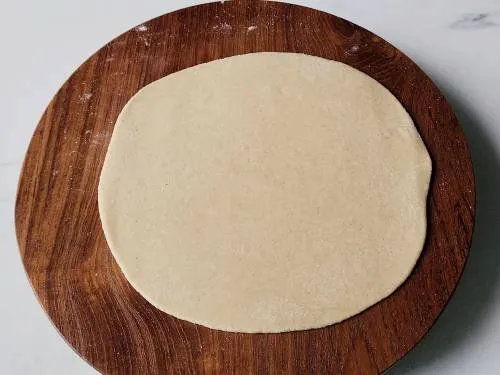
9. Heat a tawa (iron or steel pan, not non-stick) until really hot on a medium heat. When the tawa is very hot, apply water generously all over the roti on one side, with a brush or your fingers. [Basically you are going to wet the roti so it sticks to the hot tawa.]
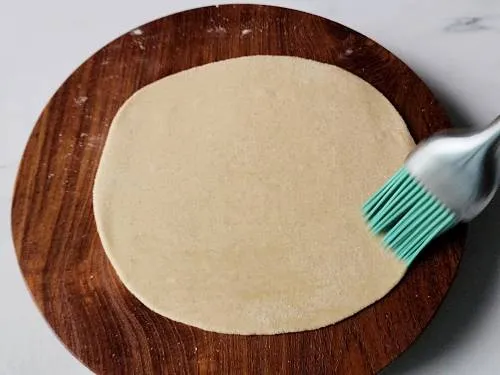
10. Place the roti on the tawa with the wet side down, so it sticks to the tawa (watch video). Make sure the pan is hot and the flame is at medium high.
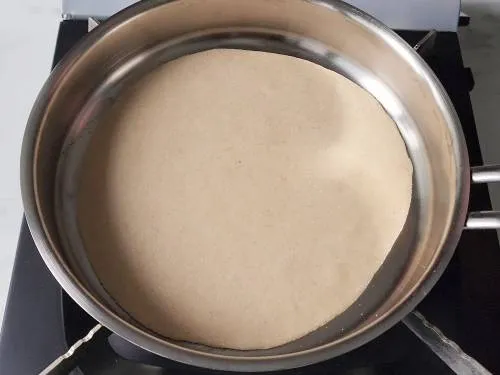
11. Your tandoori roti should begin to puff immediately with a few large bubbles.
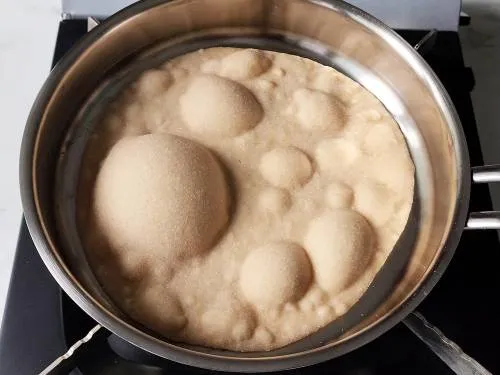
12. After 25 to 30 seconds of cooking, hold the handle of your tawa (wear mittens if required) and turn the tawa upside down, showing direct fire /heat to your tandoori roti. (check video)
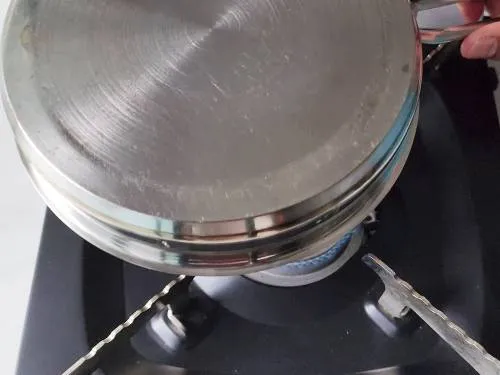
13. Keep moving your hand all over including the edges so the roti cooks evenly and shows up brown spots or chars slightly. Do not take the roti too close or on to the flame as it can burn instantly. Turn back the tawa to normal position & turn down the heat to low.
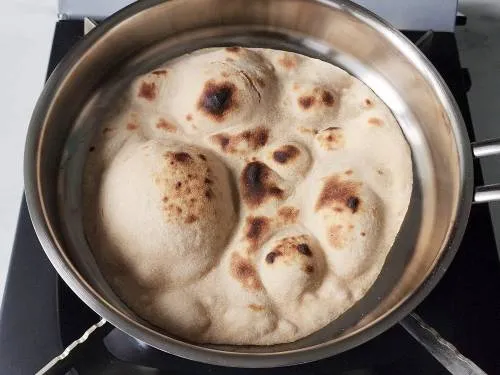
14. Gently remove the tandoori roti with a wooden spatula. If your base is undercooked, the roti may not come out easily.
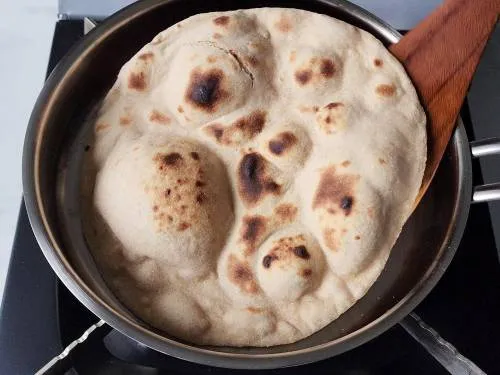
15. This should be the texture of your roti at the bottom.

16. Place it on a serving plate and brush with butter immediately.
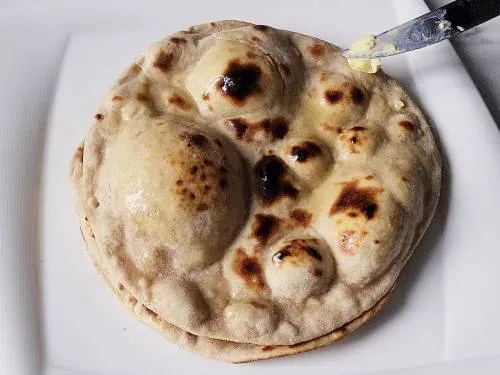
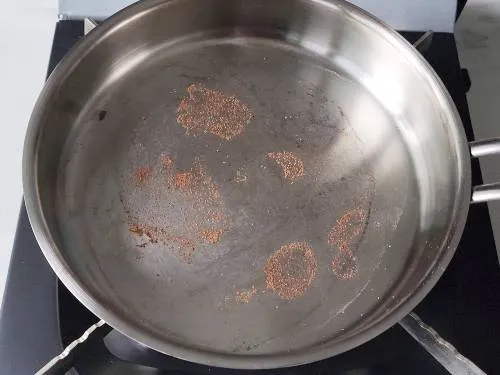
17. Make sure there are no bits of roti/dough stuck to the tawa before you throw in the next one. Gently rub your tawa/pan with the spatula to loosen any bits stuck and dust it off in the kitchen sink. If you see any stubborn burnt pieces, rub and wipe with a wet cloth/kitchen tissues. Place your next roti only when the tawa is really hot.
If you are wondering about the clean-up of the pan, I should say it is easy. Soak it and scrub for 2 to 3 mins, it will sparkle again as before.
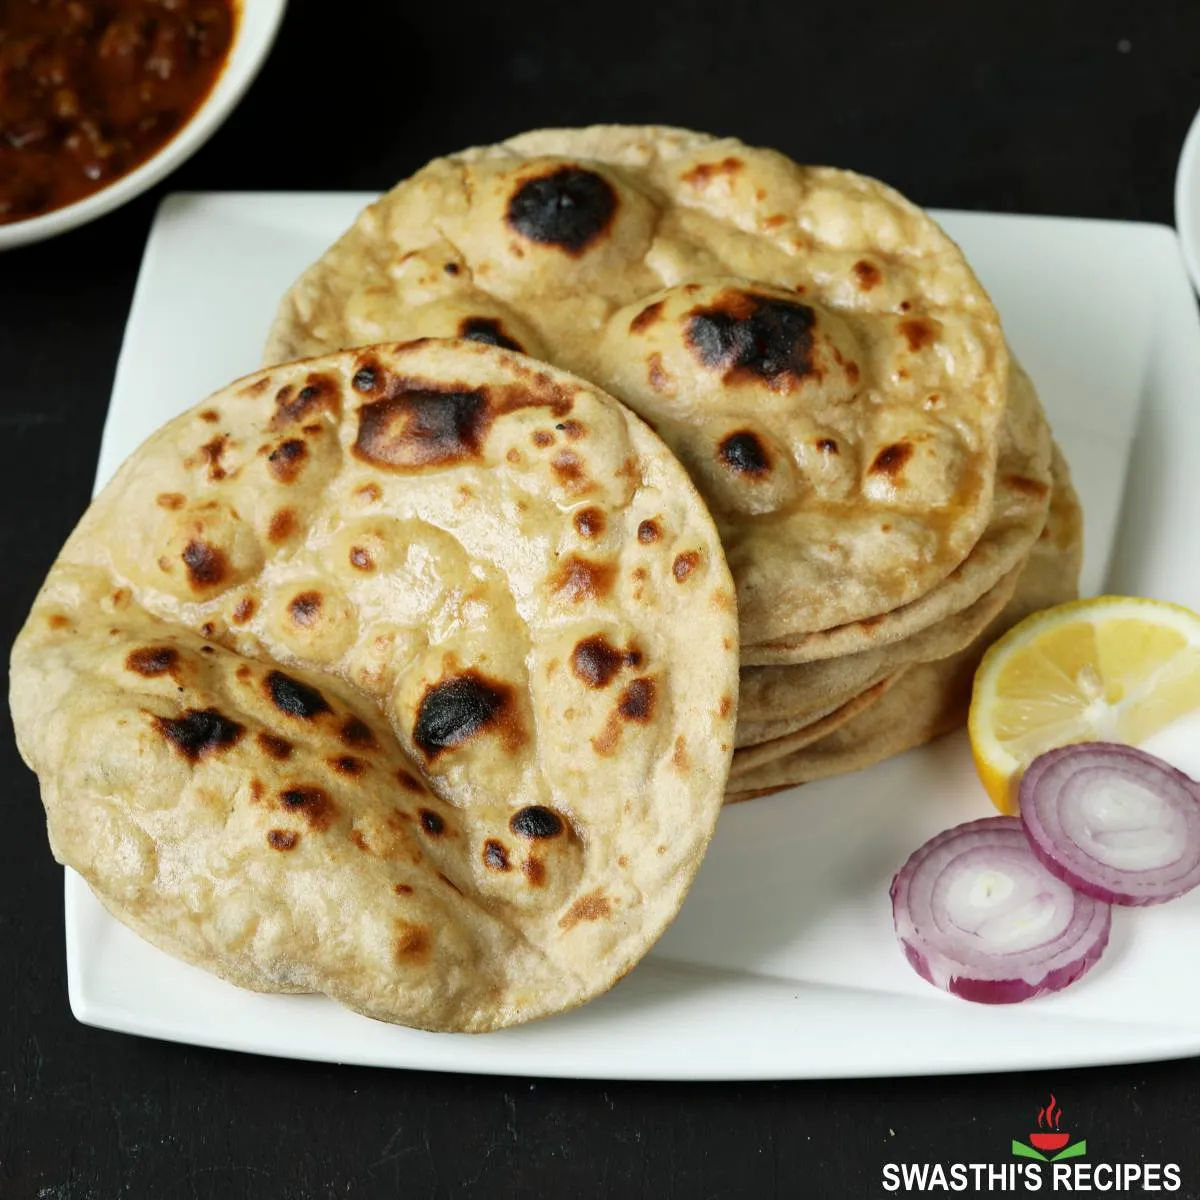
Same way toast all the tandoori roti and stack to keep them soft. If you want them to remain crisp and puffed spread them on a serving tray instead.
Here are some serving suggestions
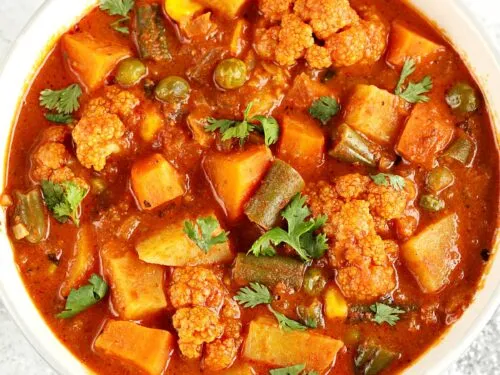
Vegetable Curry
Dhaba Paneer Curry
Dal Makhani
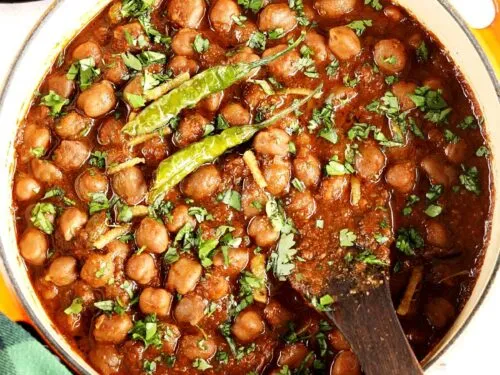
Punjabi Chole
Pro Tips
- Avoid using too much flour while rolling as this makes them harder, drier and you will end up with more burnt particles on your pan (at the bottom). So use only as required. You can also use all-purpose flour while rolling.
- Your roti won’t make bubbles if your pan is not hot enough. Make sure the pan is very hot but not medium hot and not extreme hot. Extreme heat burns the base.
- If you cut down the yogurt and oil your rotis will not have the same texture.
- Do not roll the rotis thin, they won’t be soft. They should be medium thick but not too thick. Thick rotis will remain undercooked.
- If you want to make bigger rotis, make bigger balls and use a large pan. In this case you will make lesser number of rotis. I make mine only 6 inches because my pan is only 7 inches.
- If you use a pan with higher sides/edges like the one I used, make sure you cook the edges well by showing heat to the edges of the roti.
Related Recipes
Recipe Card
Tandoori Roti Recipe (Butter Roti)
For best results follow the step-by-step photos above the recipe card
Ingredients (US cup = 240ml )
- 2¼ cups whole wheat flour (atta)
- ½ teaspoon salt
- ¼ teaspoon baking soda
- ½ cup plain yogurt (fresh, not sour)
- 1 tablespoon oil
- ½ cup water (+ more as required)
- 1 tablespoon butter (to smear after roasting)
Instructions
Prepare dough
- Mix together atta, salt and baking soda in a mixing large bowl. Make a well in the center. Pour yogurt and oil, followed by half of the water.
- Mix together to form a soft dough, adding more water as required. Smear a few drops of oil to the dough. Cover and rest aside for 30 mins.
- After resting knead the dough well with both your hands until really soft and smooth but not sticky. Divide the dough to 8 equal sized portions and roll to smooth balls. Keep them covered until you finish rolling.
How to make Tandoori Roti
- Dust the rolling area lightly and sprinkle little flour on a dough ball and flatten it,
- Roll a dough ball to 6 inches roti. It should be slightly thick (thicker than roti) and not thin. So don't roll bigger than 6 inches. Roll all the rotis the same way and transfer to a dry kitchen counter.
- Heat a tawa (iron or steel pan, not non-stick) until really hot on a medium heat.
- When the tawa is very hot, apply water on one side of the roti with a brush or your fingers generously all over the roti. [Basically you are going to wet the roti so it sticks to the hot tawa.]
- Place the roti on the tawa with the wet side down, so it sticks to the tawa. Make sure the pan is hot and the flame is at medium high.
- It should begin to puff immediately with a few large bubbles.
- After 25 to 30 seconds of cooking, hold the handle of your tawa (wear mittens if required) and turn the tawa upside down, showing direct fire /heat to your tandoori roti. (check video)
- Keep moving your hand all over so the roti cooks evenly and shows up brown spots or chars slightly. Do not take the roti too close or on to the flame as it can burn instantly. Turn back the tawa to normal position.
- Gently remove the tandoori roti with a wooden spatula. Place it on a serving plate and brush with butter immediately.
- Make sure there are no bits of roti/dough stuck to the tawa before you throw in the next one. Gently rub your tawa/pan with the spatula to remove any bits stuck & wipe with a wet cloth/kitchen tissues. Place your next roti only when the tawa is really hot.
- Same way toast all the rotis and stack to keep them soft. If you want them to remain crisp and puffed spread them in a serving tray instead.
- Serve tandoori roti with your favorite curry, dal or stew. This vegetable curry, dal tadka, chole and dhaba paneer curry are some choices.
Notes
- Choose a light weight tawa or pan because you need to hold it when you invert the pan to show heat to the roti.
- Avoid using nonstick tawa as the roti won’t stick to it.
- If your yogurt is sour or have only Greek yogurt, simply mix 1/4 cup yogurt with 1/4 cup milk and use.
Video
NUTRITION INFO (estimation only)
© Swasthi’s Recipes
About Swasthi
I’m Swasthi Shreekanth, the recipe developer, food photographer & food writer behind Swasthi’s Recipes. My aim is to help you cook great Indian food with my time-tested recipes. After 2 decades of experience in practical Indian cooking I started this blog to help people cook better & more often at home. Whether you are a novice or an experienced cook I am sure Swasthi’s Recipes will assist you to enhance your cooking skills. More about me
Follow Swasthi’s Recipes

Comments
hello dear,
we also need a recipe of rumali roti as well ,, hope to get it soon !!
Hello Rahul,
Yes sure I will post it.
Hi! What kind of oil do you recommend using?
Hi Mary,
You can use any cooking oil. I use steam refined coconut oil. Hope you enjoy the tandoori roti
This recipe looks amazing and easy. Can it be made in advance?
Yes you can make them in advance, cool down and store in air tight jar. I reheat in a steamer/ cooker (placed in a bowl and covered) or in a preheated oven, placed on a preheated tray just for 2 to 3 mins. Hope that works for you
Made these tandoori roti for the first time and shocked with the results. They were so good and easy to make. Love that you use wheat flour. Thank you
Happy to read that Priyanka. Thank you for sharing back
Made these tandoori roti for the first time and definitely not the last! I made a double batch, to serve 7. This dough is so forgiving, and overall very easy to make. They turned out amazing!
That’s nice to read Darcy. Thank you for trying
I always wanted to make Tandoori roti and naan at home but couldn’t because I don’t have a iron pan. I was so excited to see your video using steel pan. I tried out instantly and it was a hit. Thank you.
Mast
can I use vegan yogurt, like coconut yogurt?
I haven’t tried it. But it should work & the flavor may be different.
Hi Swasthi,
Thank you very much for sharing all your recipes and the tips and advice as well as the formal recipe. I have made your chicken korma and tikka so far, to great reviews, and am eyeing up the tandoori roti recipe. My question is about the advice not to use a non-stick pan. Is this because the pan needs to be inverted and the roti held over the flame, and the roti would fall out of a non-stick pan but would stick to an iron or steel one? I ask because I don’t have a suitable iron or steel pan.
As an alternative, could you use a non-stick pan to cook the roti for maybe 30-35 seconds, remove it from the pan with a spatula, and then hold it over the flame with tongs until it gets the brown spots?
Hi James,
Glad to know the recipes worked well for you. Yes you are right a non-stick pan would not hold the roti when you invert the pan. The roti will fall off on the burner. An easier way is to place a steel wired rack or a barbeque rack/mesh over the stove and place the roti over that. If you want you may take a look at my Butter naan post for the pictures. But make sure you cook the roti well at the bottom before removing it else it will tear apart. Hope this helps
We always make our own curries at home but order naan and tandoori roti from restaurants. So I never got to try out any kind of roti or naan at home. This recipe is fab! Quick, easy, & helped me make good tandoori roti for the first time. Thank you!
Glad it worked well for you Tami. Thank you
I tried the recipe with my sister. Butter roti came out amazing. We don’t have a gas so broiled the other side in the oven.
Wow! That’s nice and thanks for sharing the method to cook without gas in oven.
We did 50/50 all purpose flour and wheat flour. Turned out great
Glad you like them Jacob
Nice Tandoori Roti! Came out very well
Thanks Devi
Does this recipe work without yogurt? What can I sub?
Try using the same amount of warm milk with ½ to 1 tablespoon vinegar + 1 more tbsp oil.
Tried these tandoori roti with your paneer butter masala. They were soft and delicious, better than the naans we get in restaurants. Thank you.
Thanks for trying Rashi. Glad you like them
Excellent soft rotis.Thsnksvfor sharing
Thank you Neera